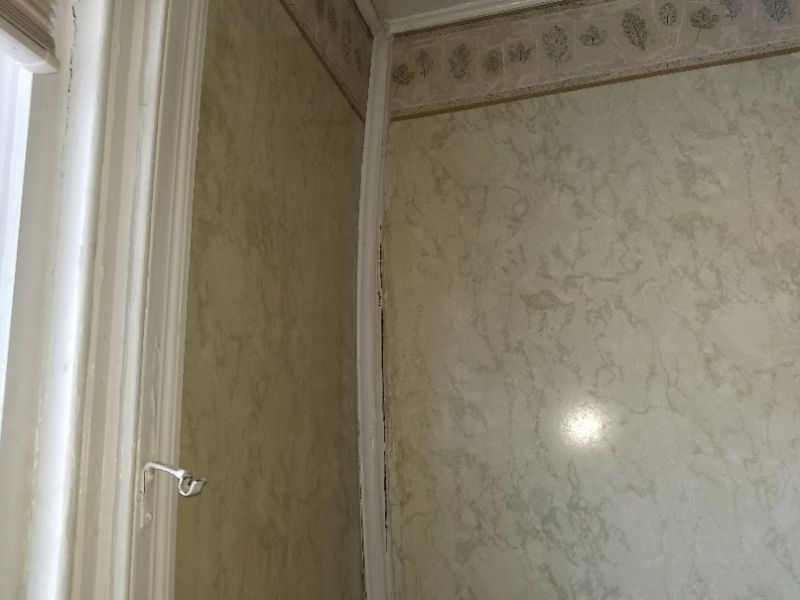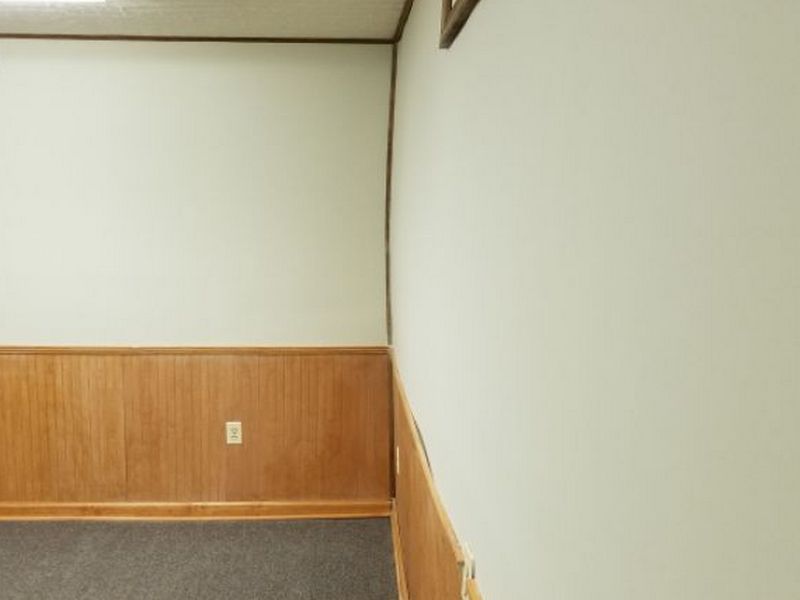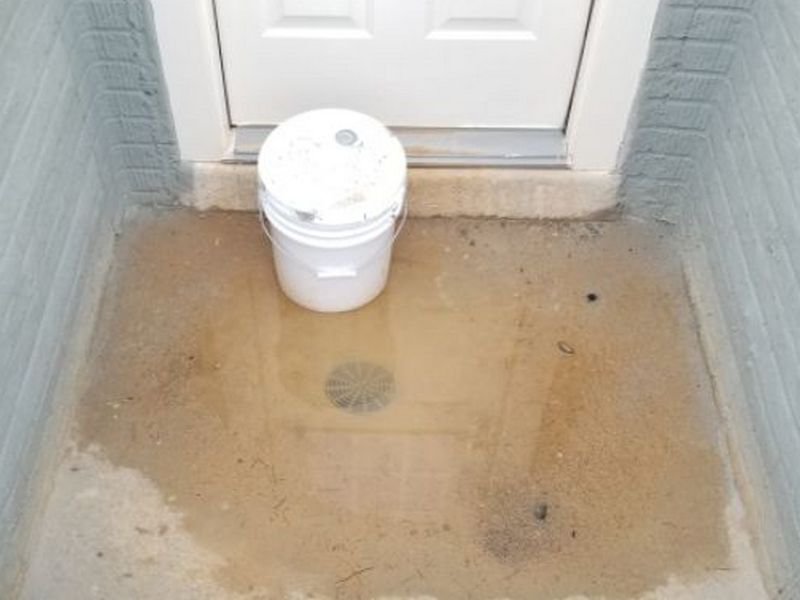
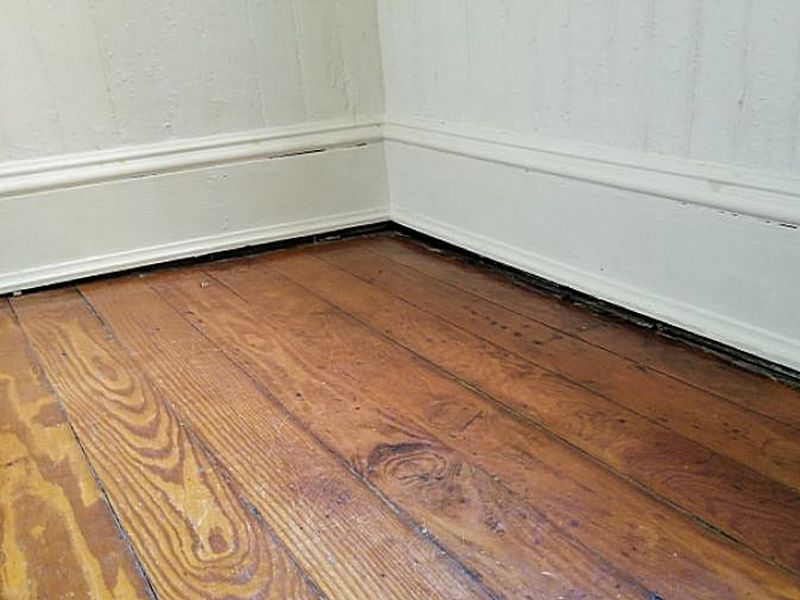
The structural importance of floors is obvious; the floor keeps us from falling into the crawl space, and it’s where we place our furniture. Sagging, soft spots, bounciness, and tilting are noticeable. What’s not as obvious are the flaws present that aren’t apparent until they’re at or near the failure point. The most common structural floor problems are water damage and improper repairs. Your eyes and feet are the best floor inspection tools. Inside a room, view as much of the floor as possible to see tilting or dips. Inspect the floor at the molding to reveal where the surface has dropped. Press your foot down at water-vulnerable areas, e.g. exterior entries and toilets. A large marble or level can help confirm issues.
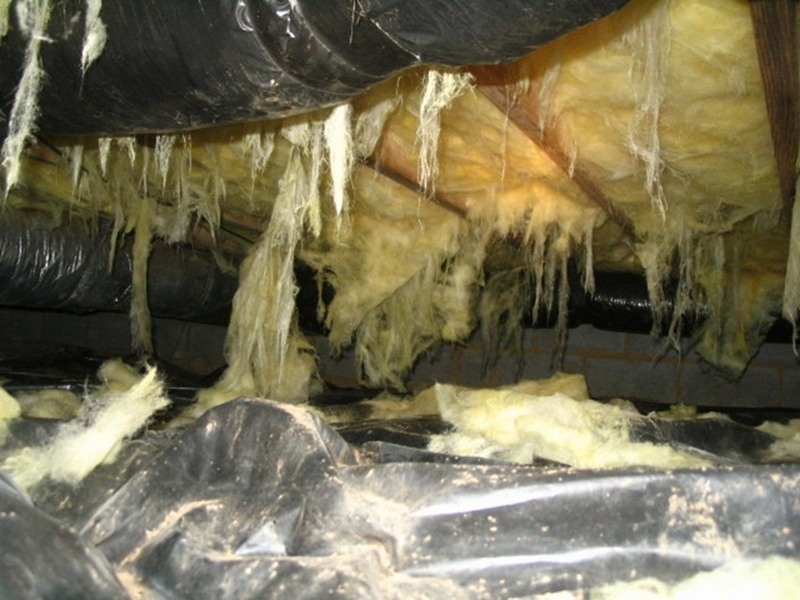
Always connect the dots: why do I see this sag? When under the floor, you should move aside insulation in critical areas, e.g. exterior entries, toilets, tubs, refrigerators. Repairs must be workmanlike. “Sistered” joists must be full size, long enough, and tightly adhered. A surface block and post are not OK in place of a foundation support. Probe for rot!
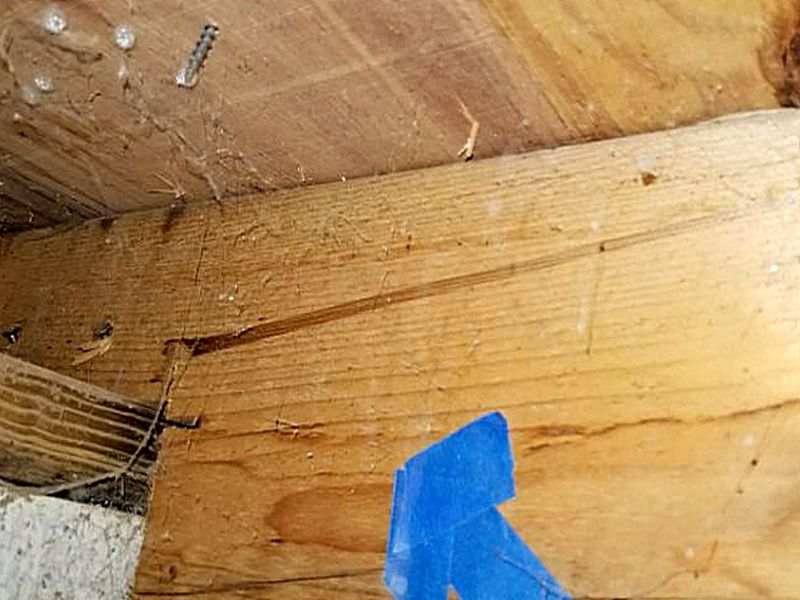
The joist is cracked or damaged. This can affect its load-bearing capacity. Hire a contractor to repair or replace the joist.

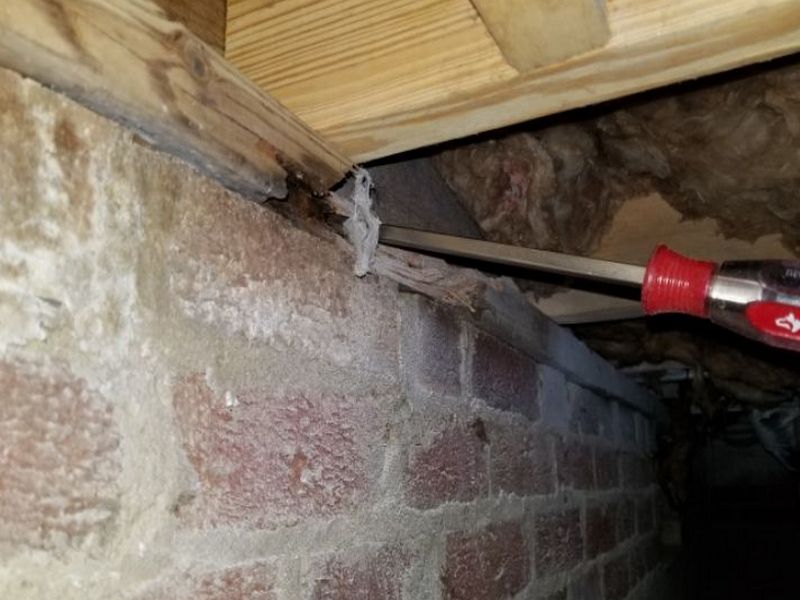
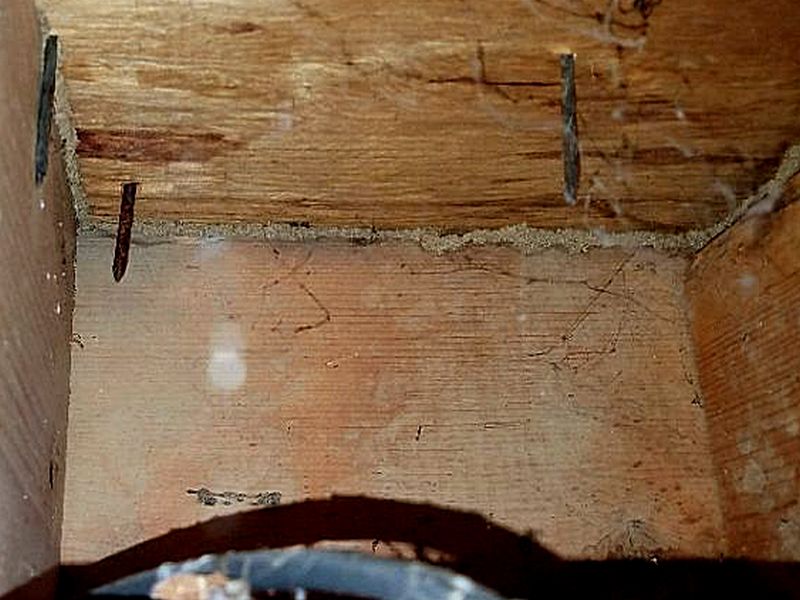
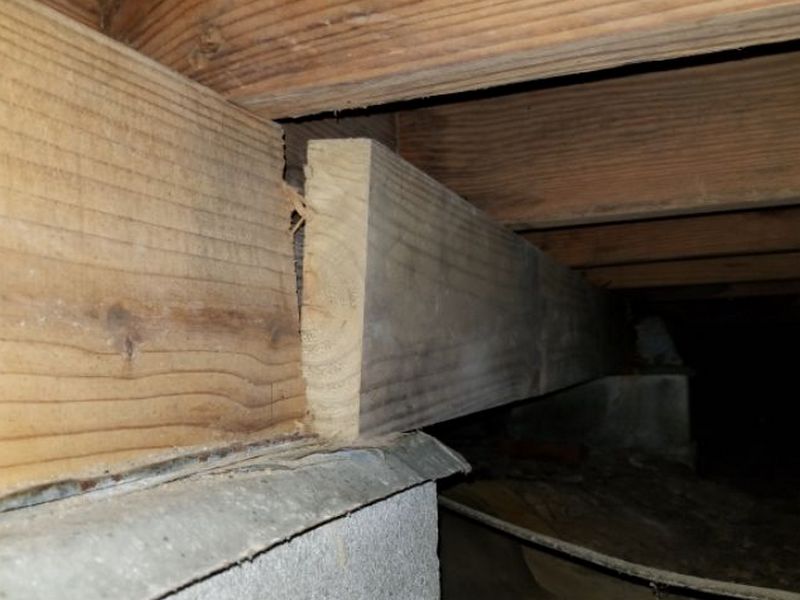
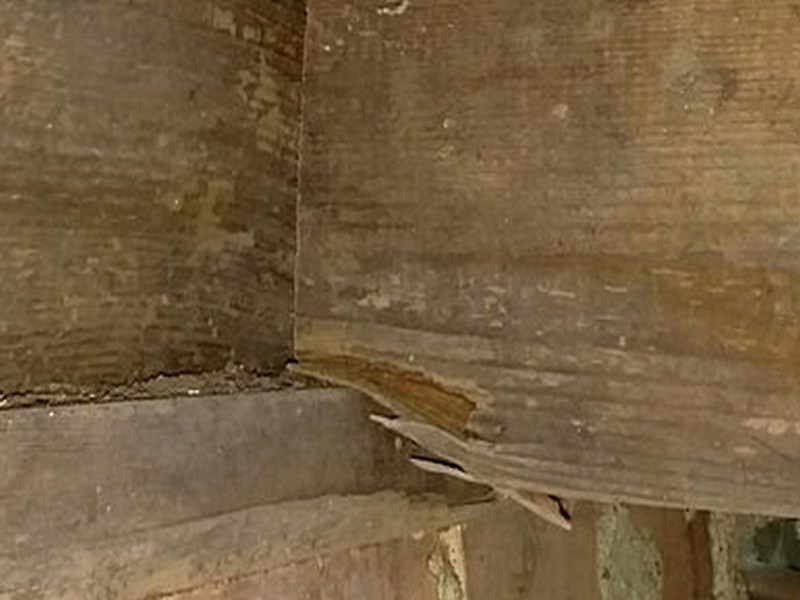
The joist has inadequate bearing. This affects its overall ability to carry structural loads. Hire a contractor to repair or replace the joist.

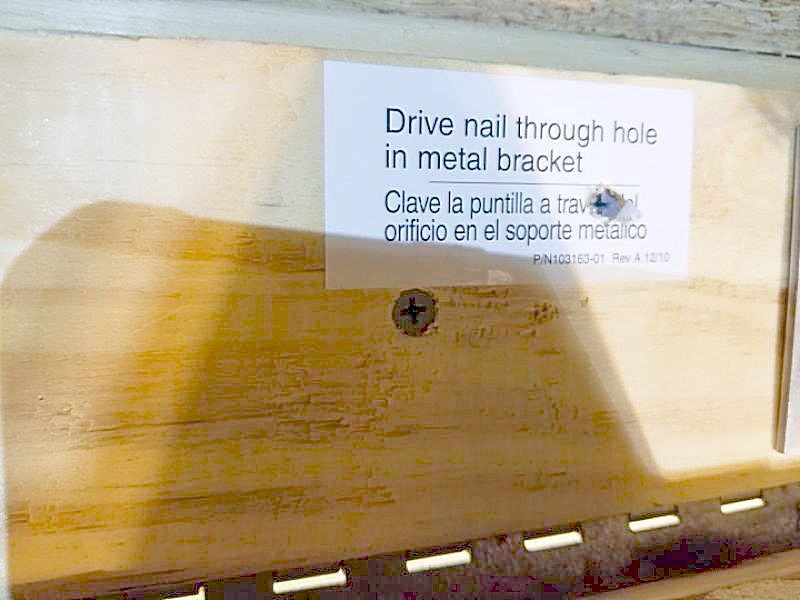
The joist has inadequate bearing. End nailing is not sufficient; properly-installed hanger hardware is needed. This affects its overall ability to carry structural loads. Hire a contractor to repair or replace the joist.
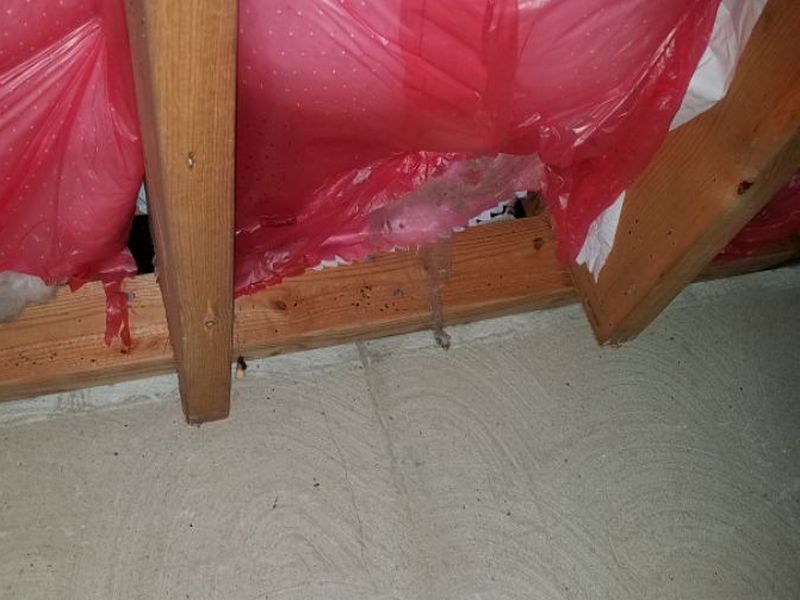

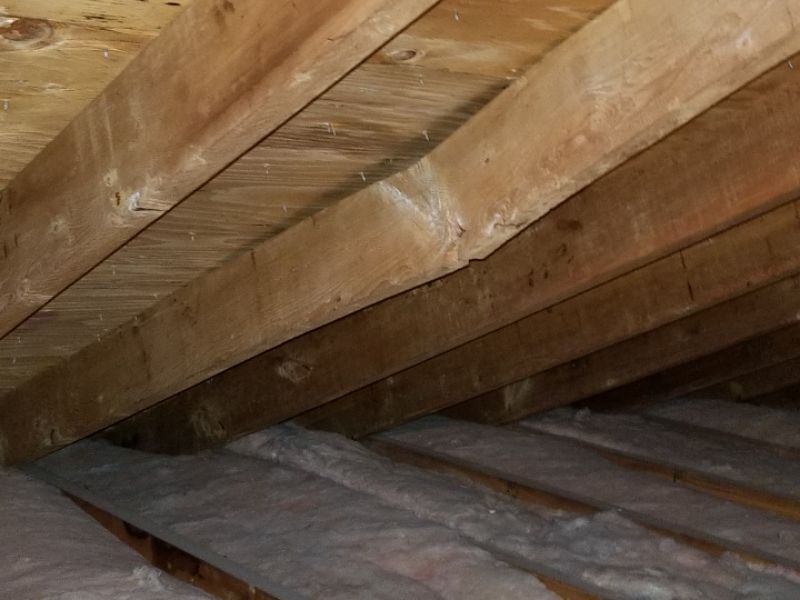
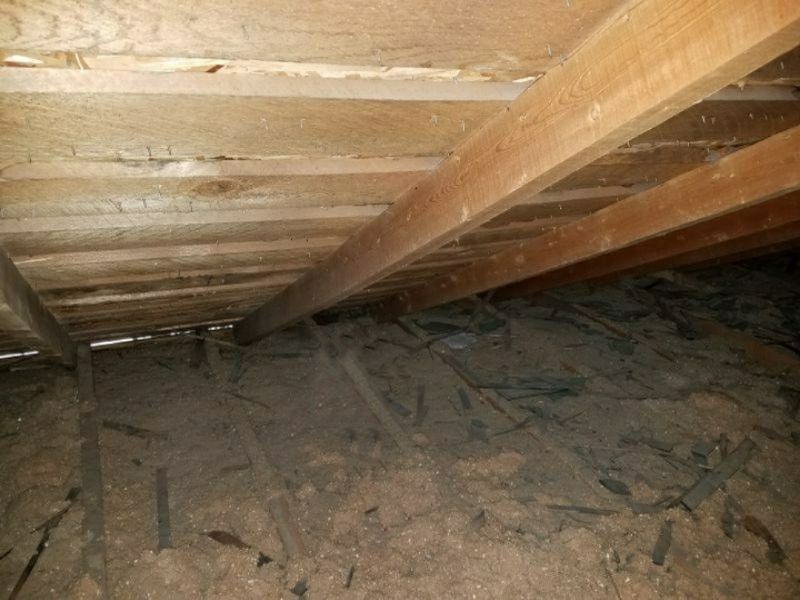
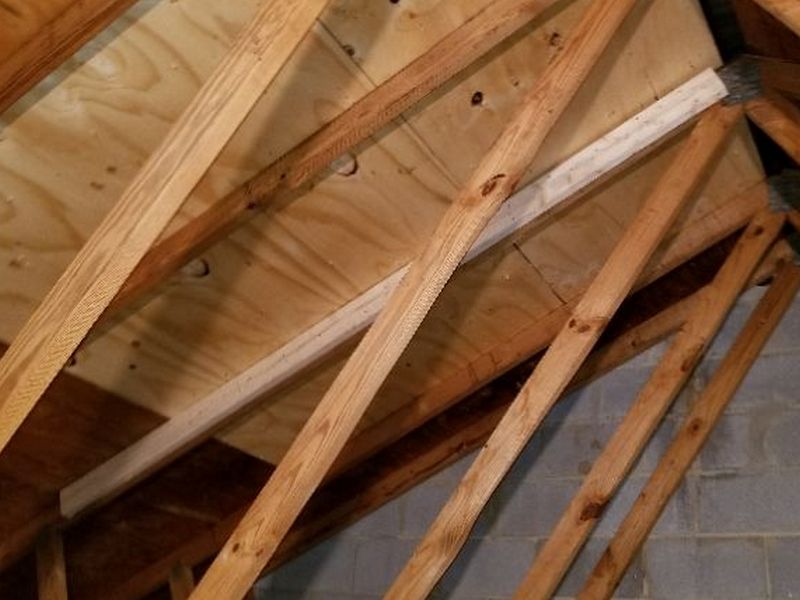
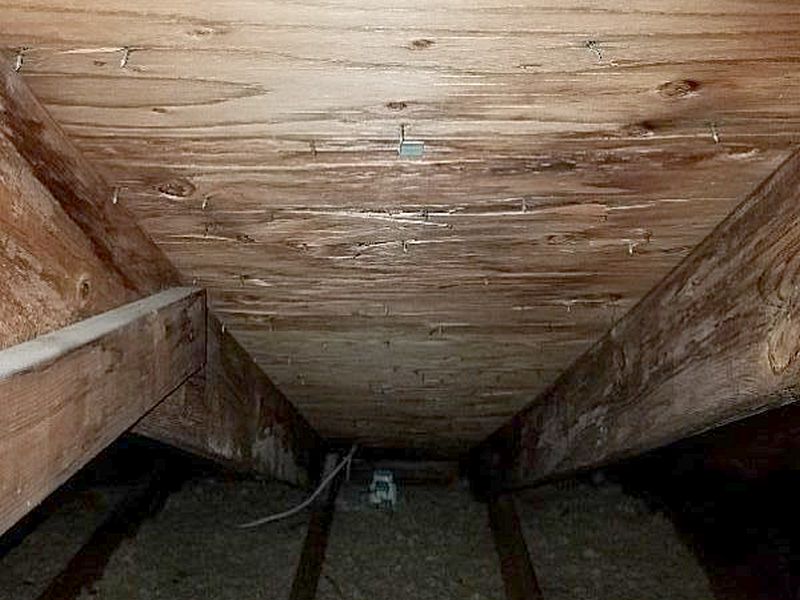
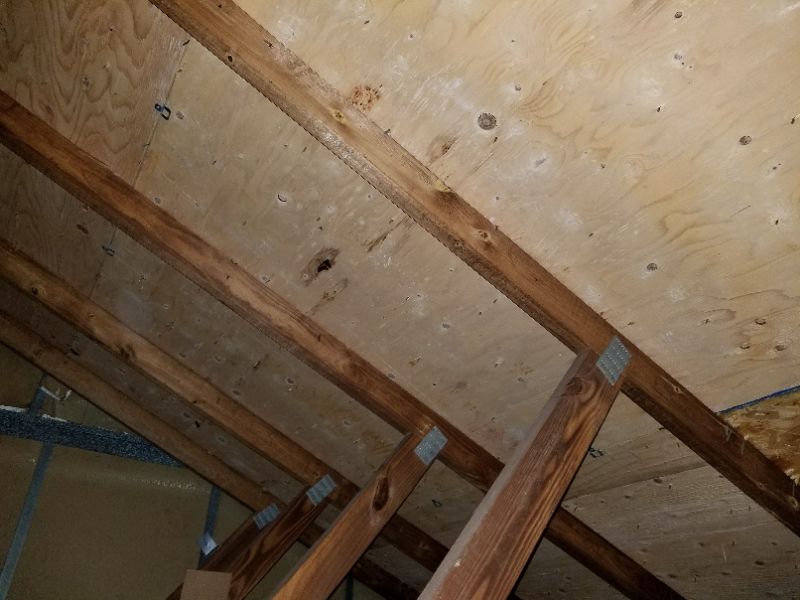
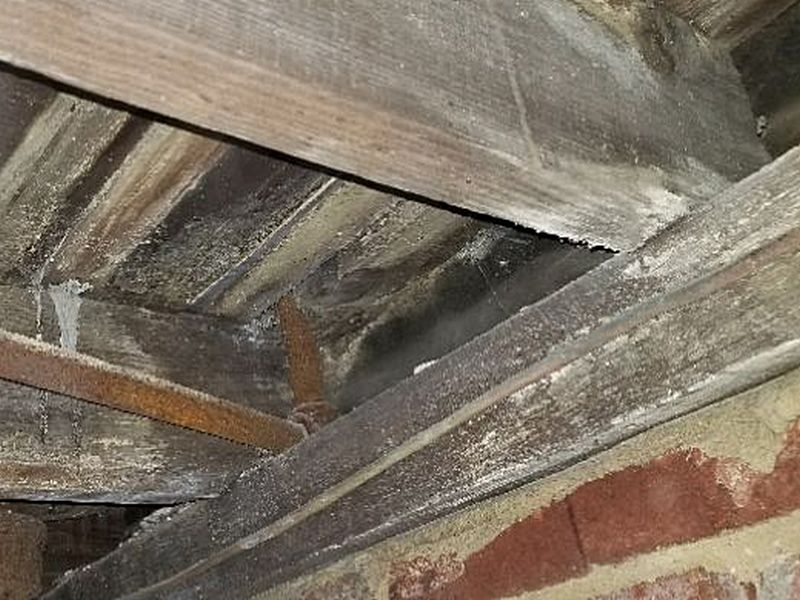
There is missing bridging between the floor joists. Bridging helps to prevent the joists from twisting. Hire a contractor to add bridging between the joists.

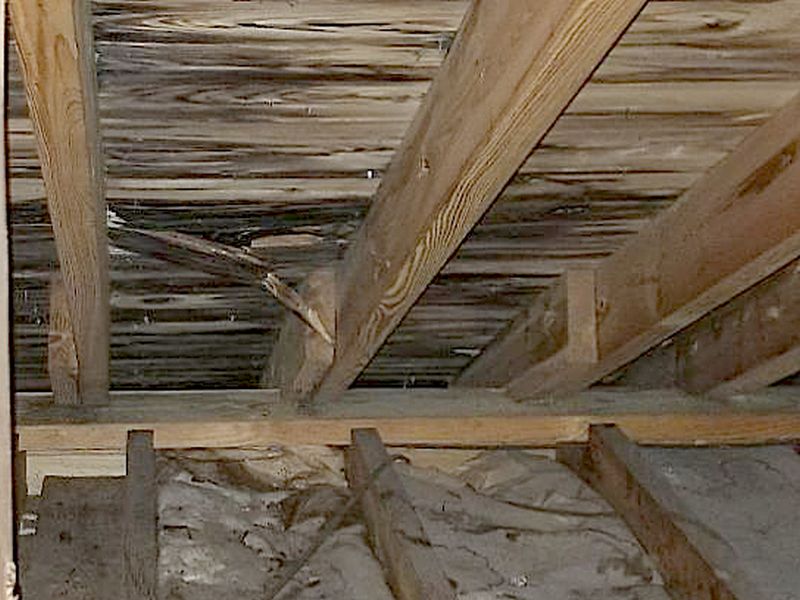
The joist is twisted or rotated. This can affect its load-bearing capacity. Hire a contractor to repair or replace the joist.
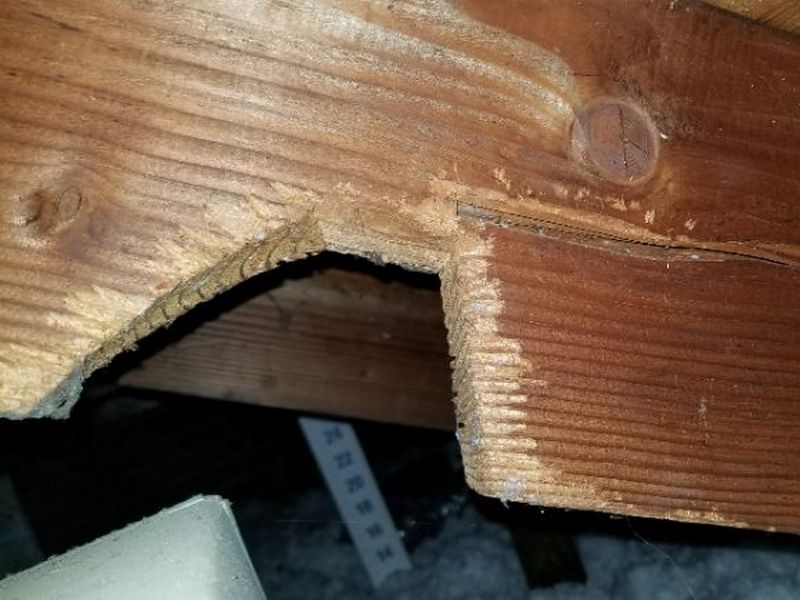
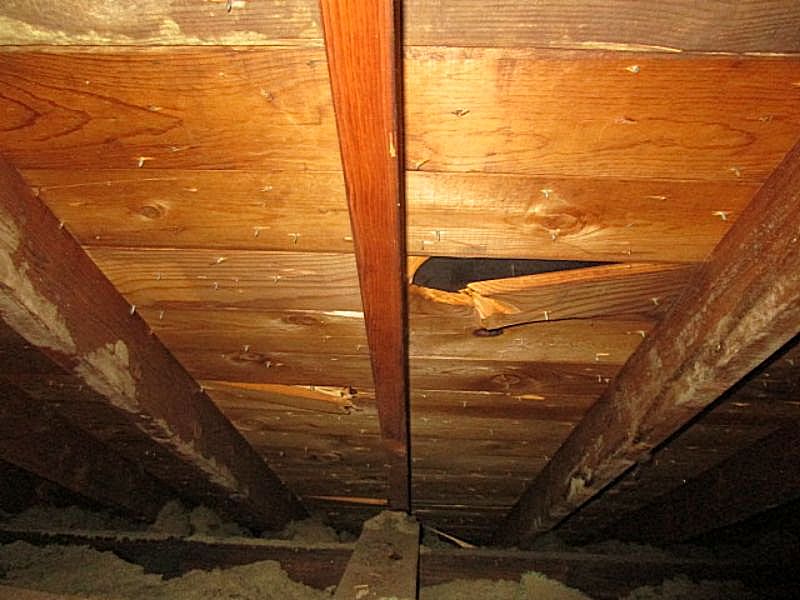
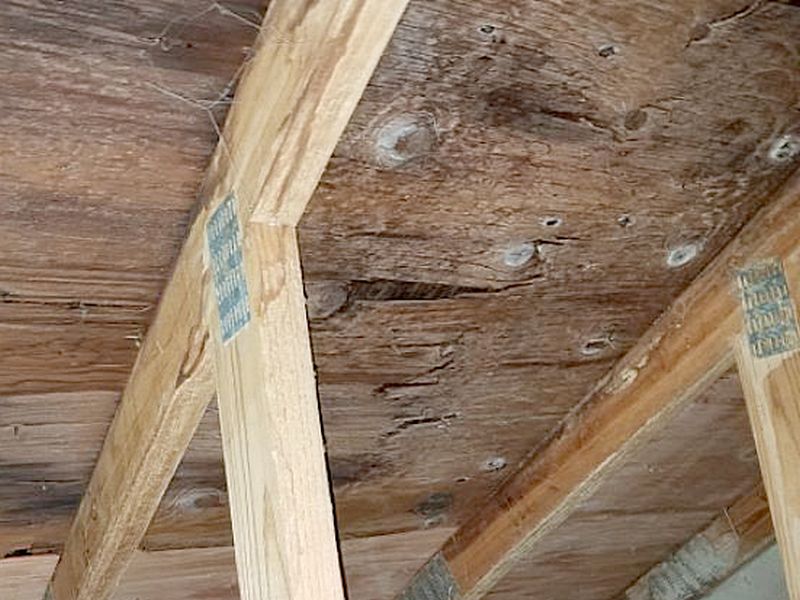
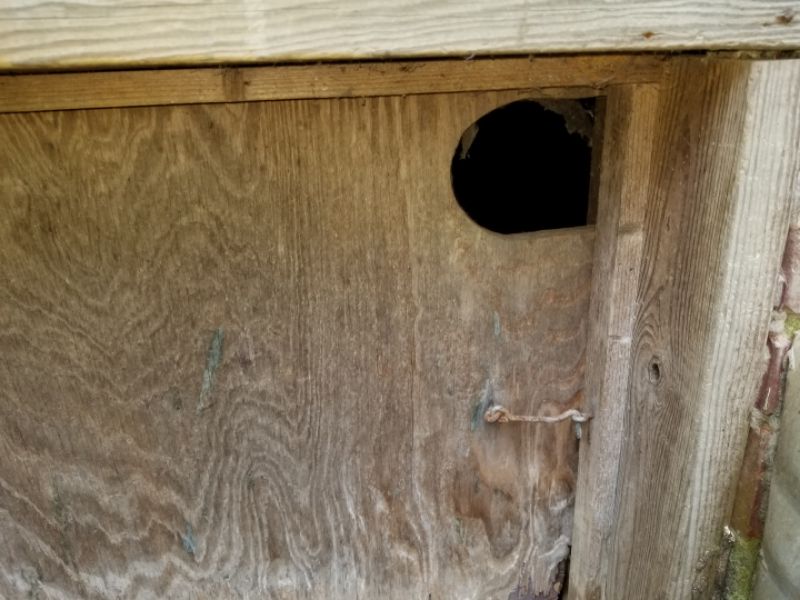
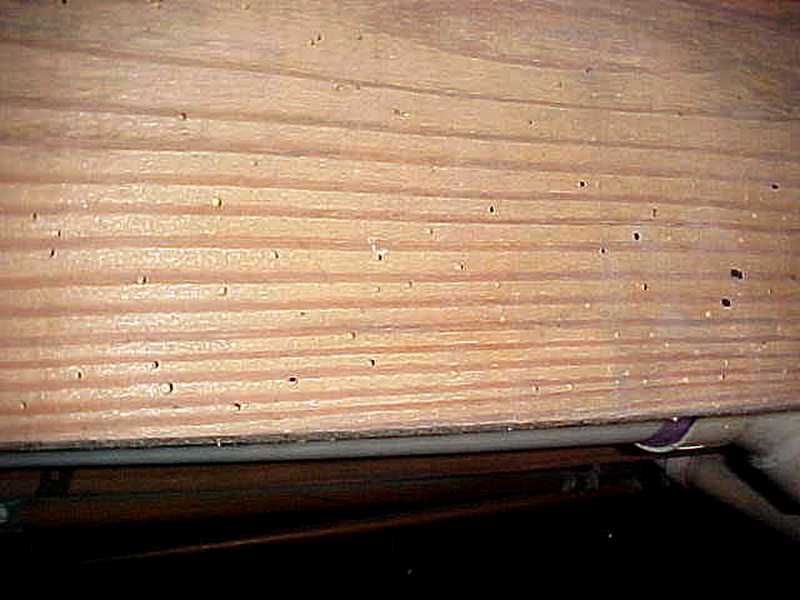
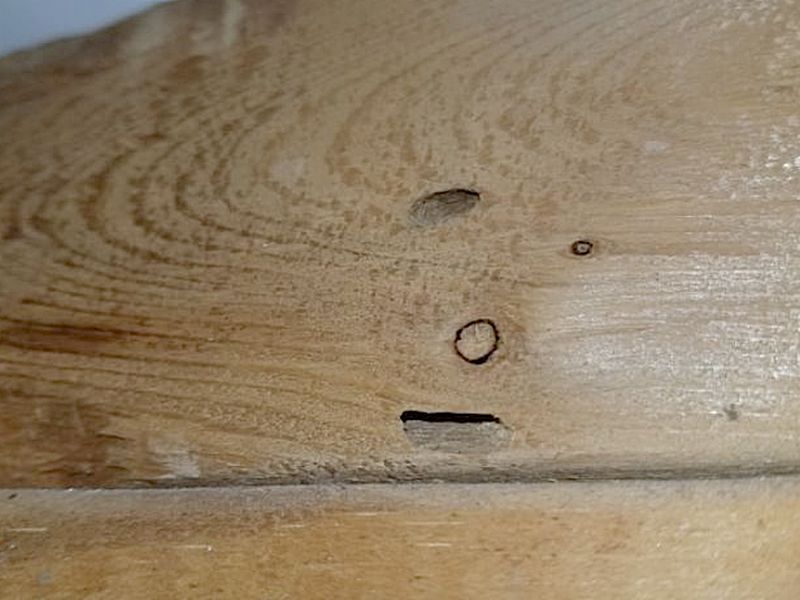
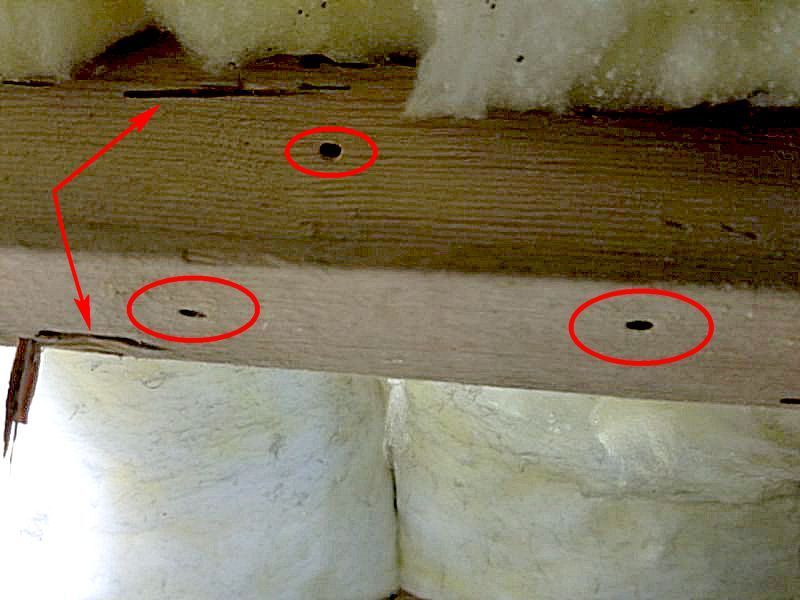
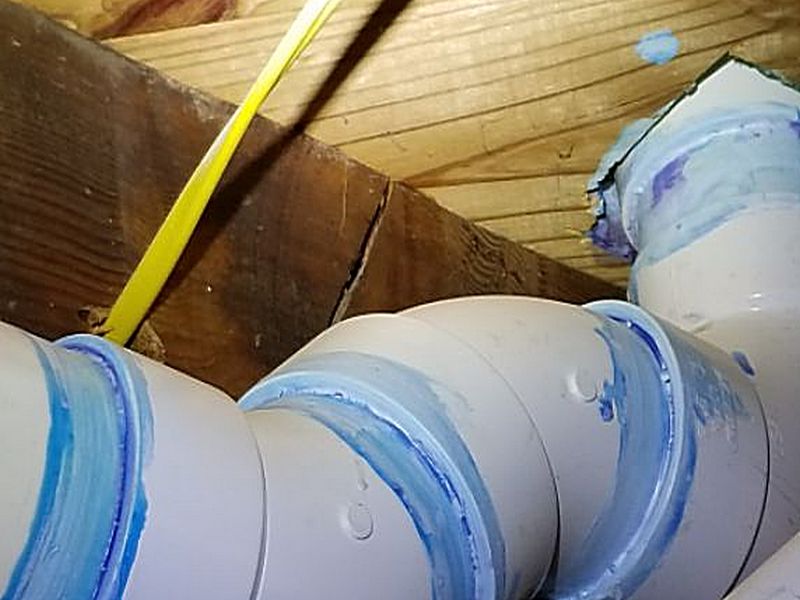
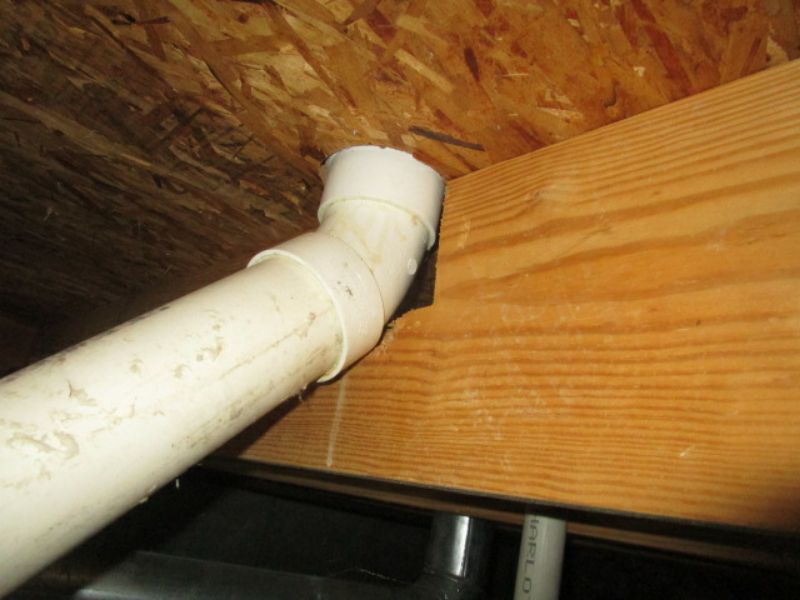
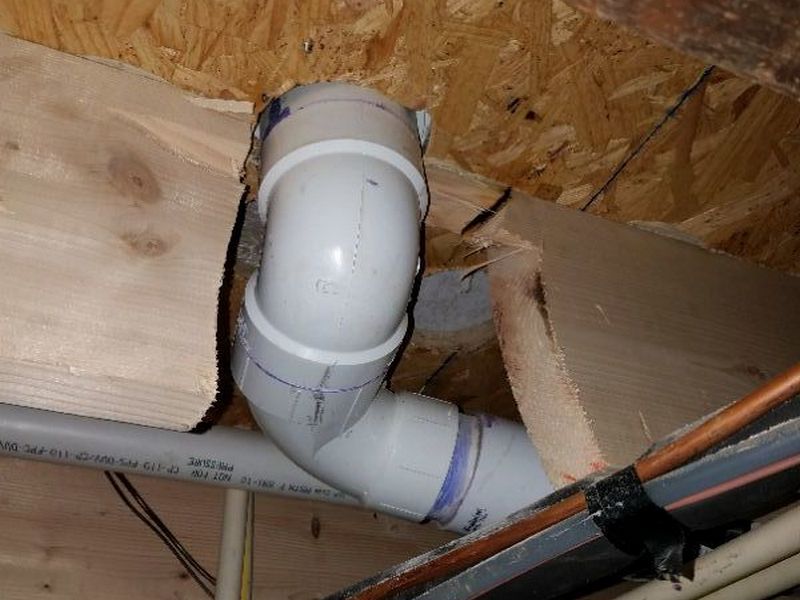
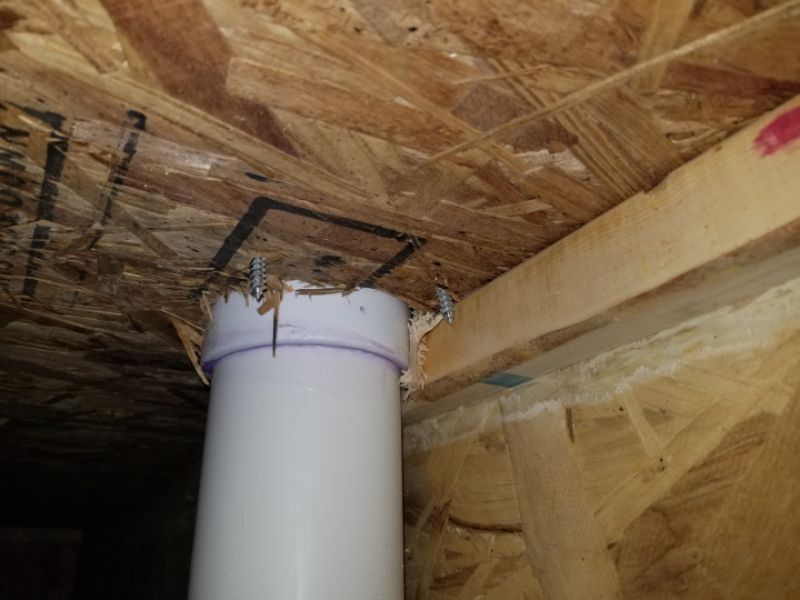
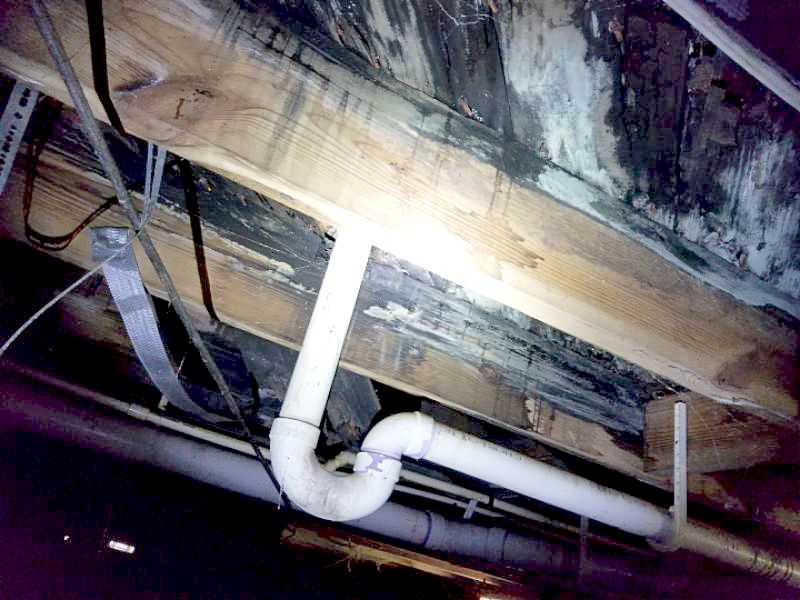
The joist is notched or has holes drilled that are beyond acceptable limits. This reduces the joist’s load-bearing capacity. Hire a contractor to repair or replace the joist.
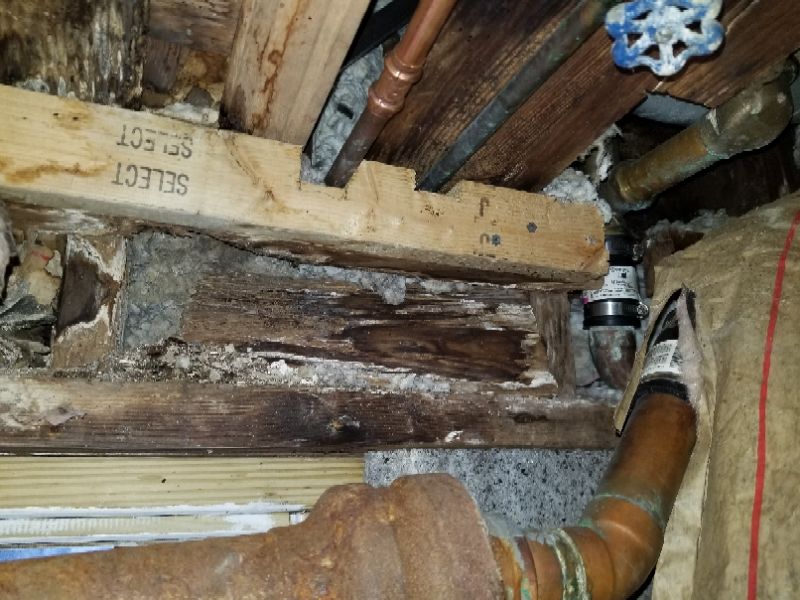
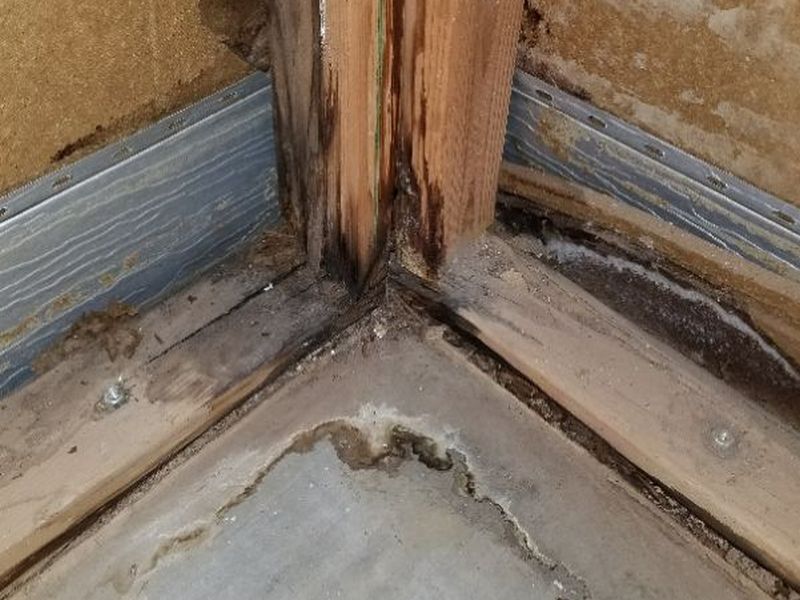
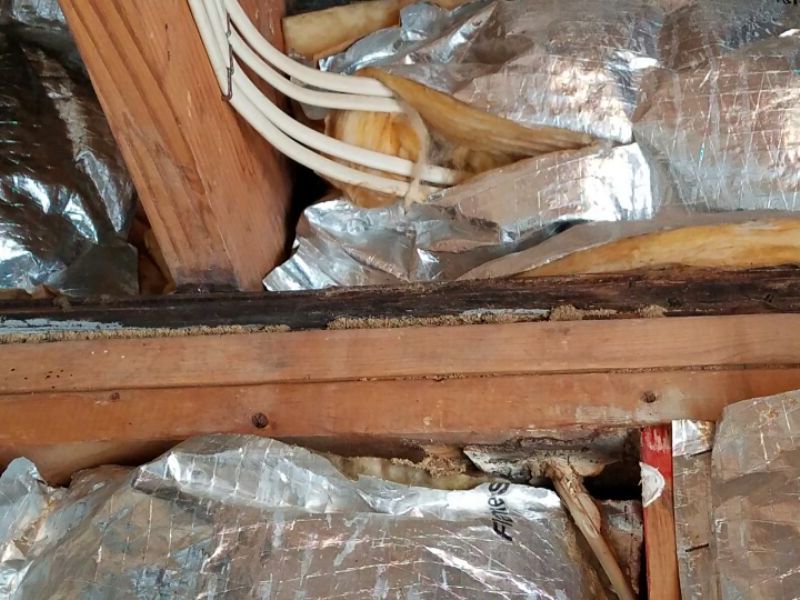
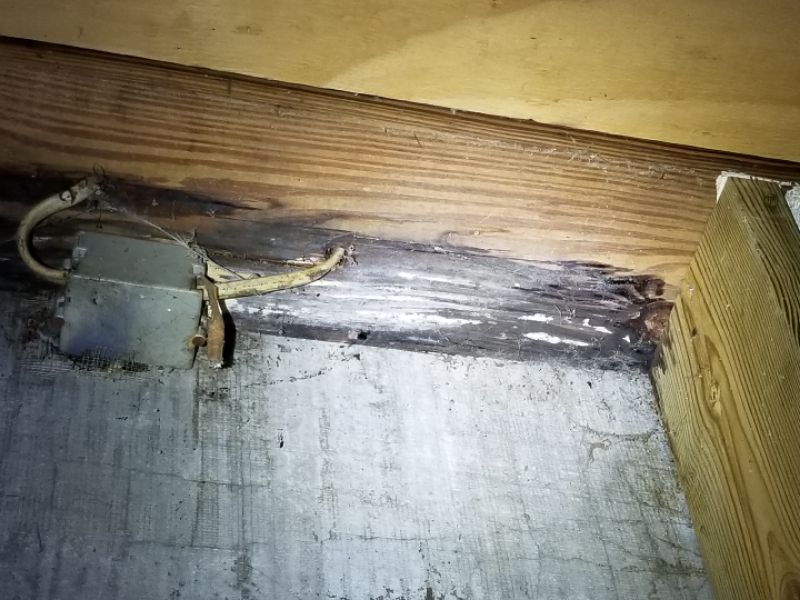
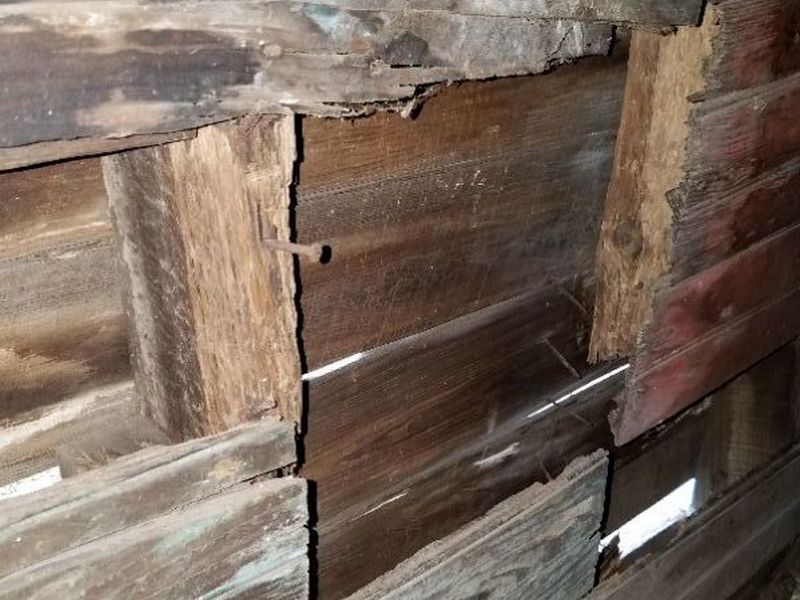
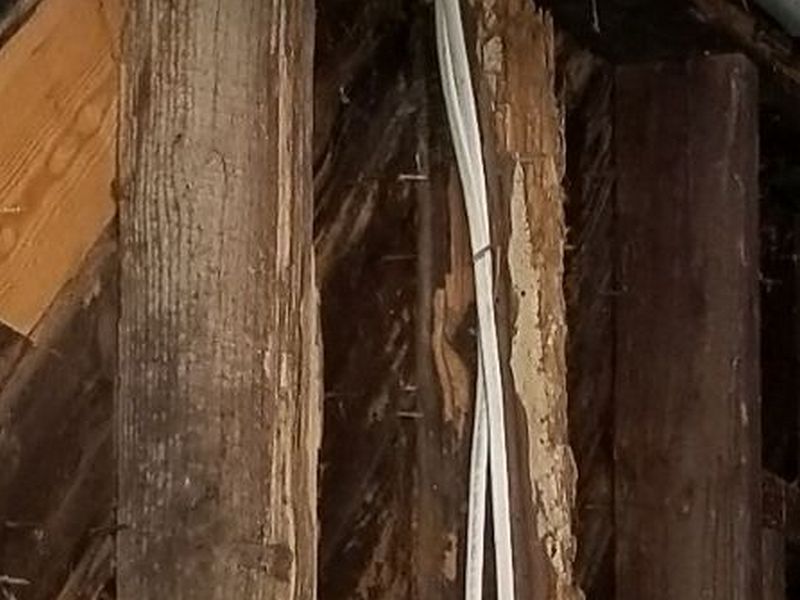
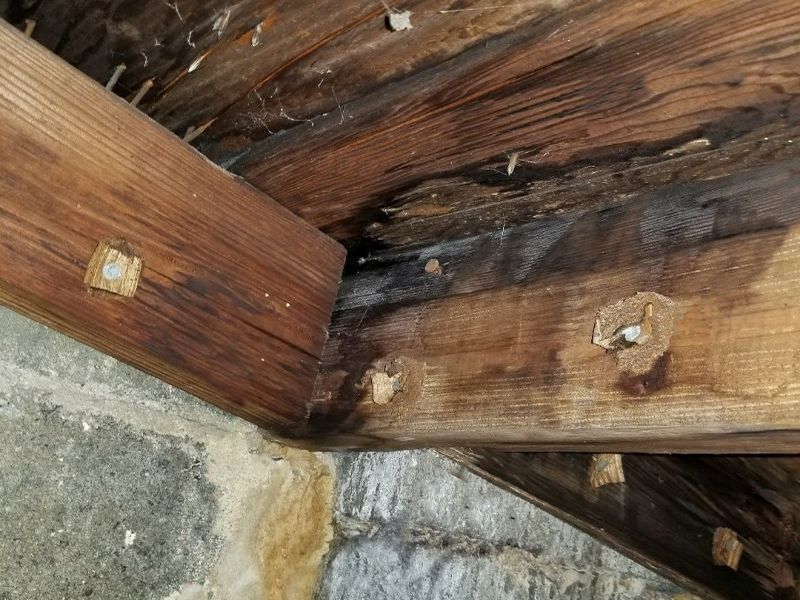
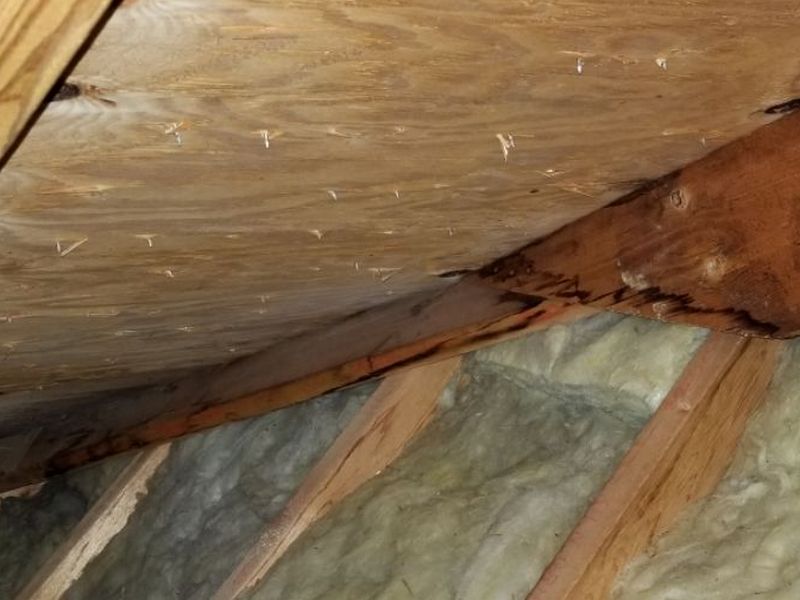
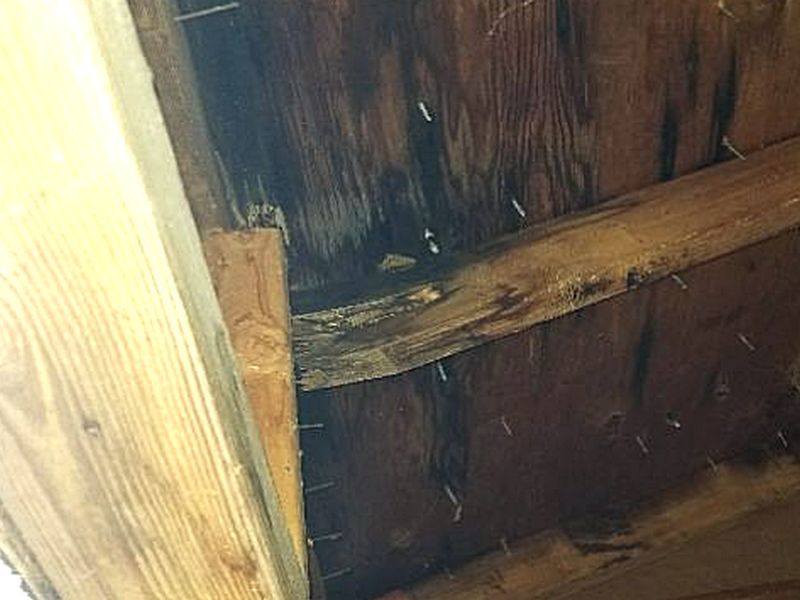
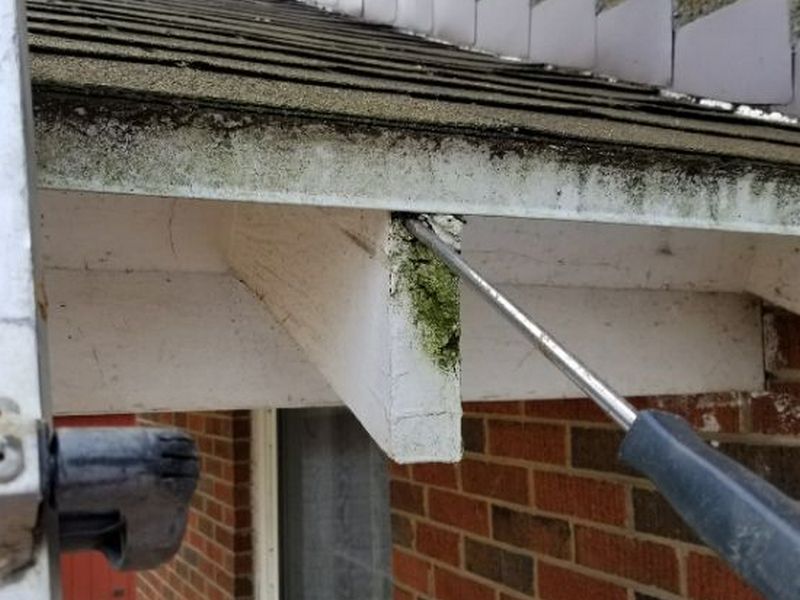
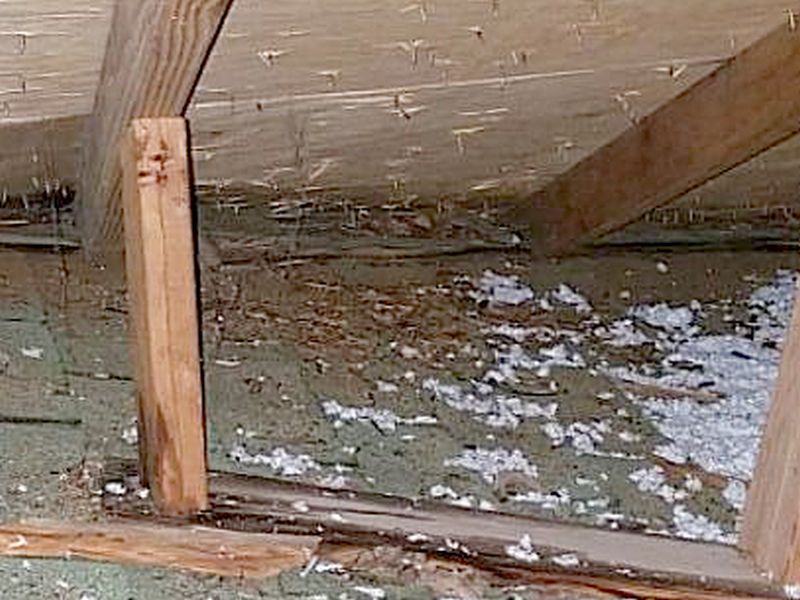
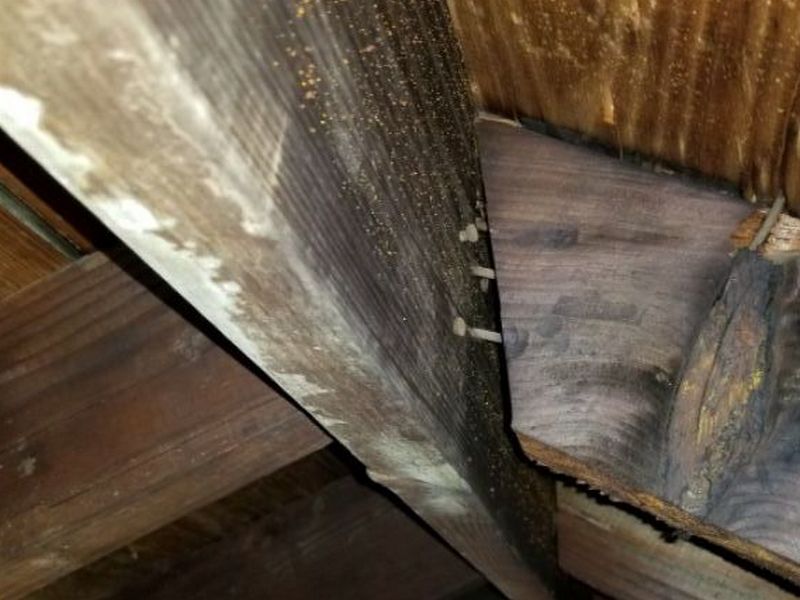
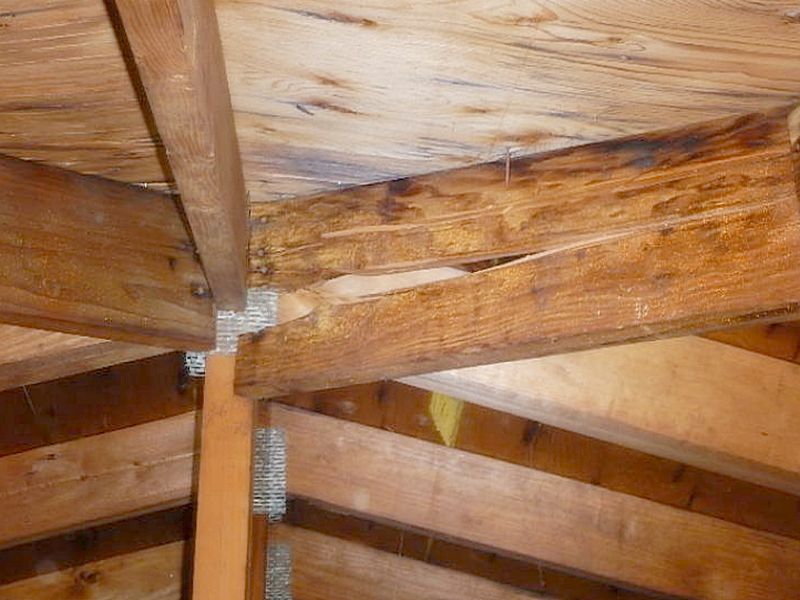
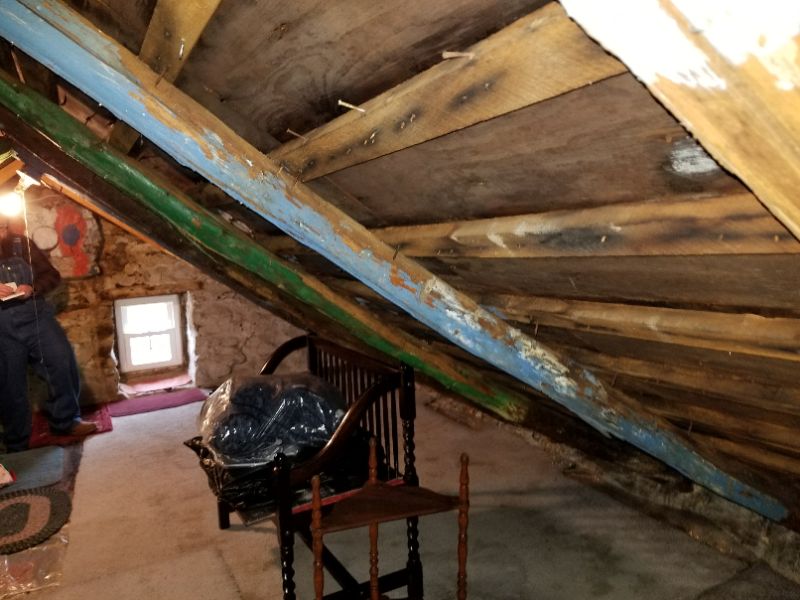
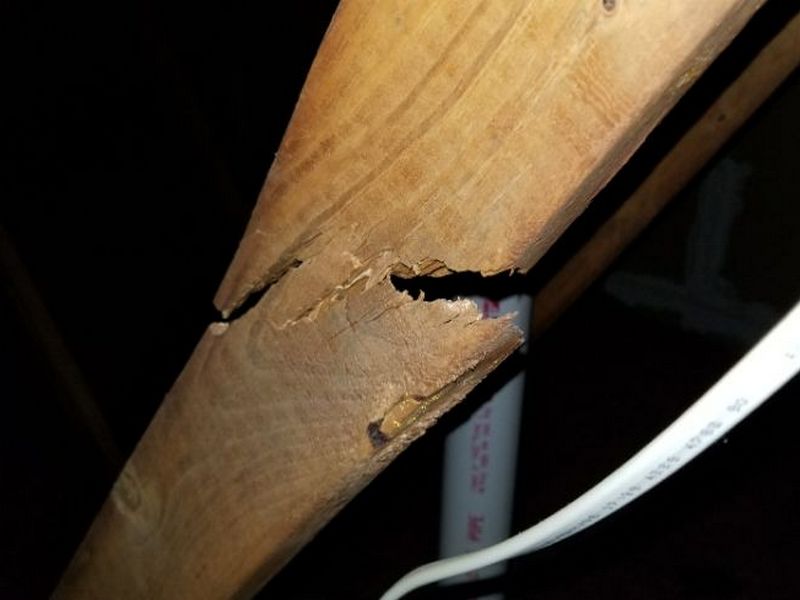
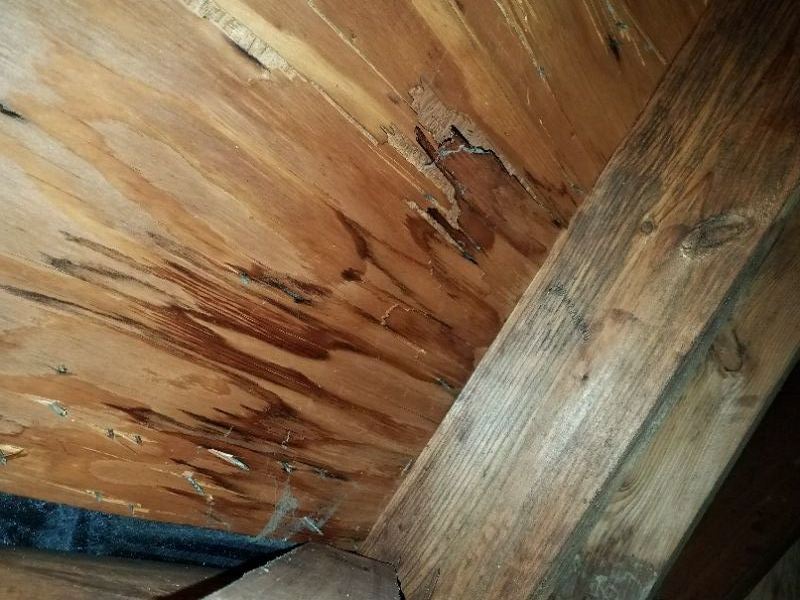
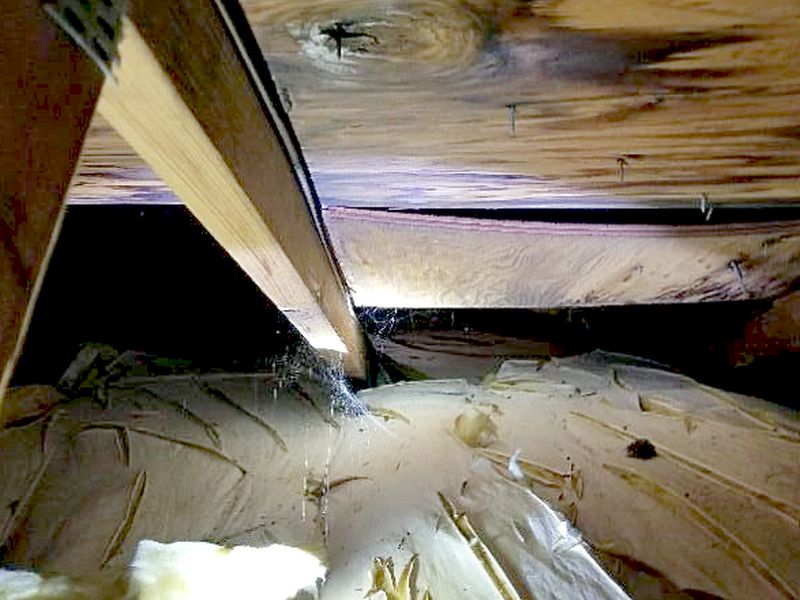
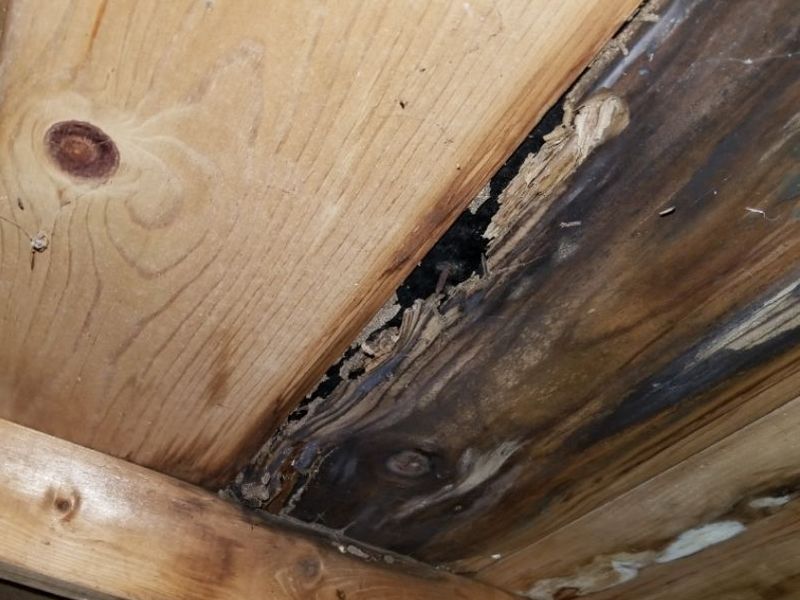
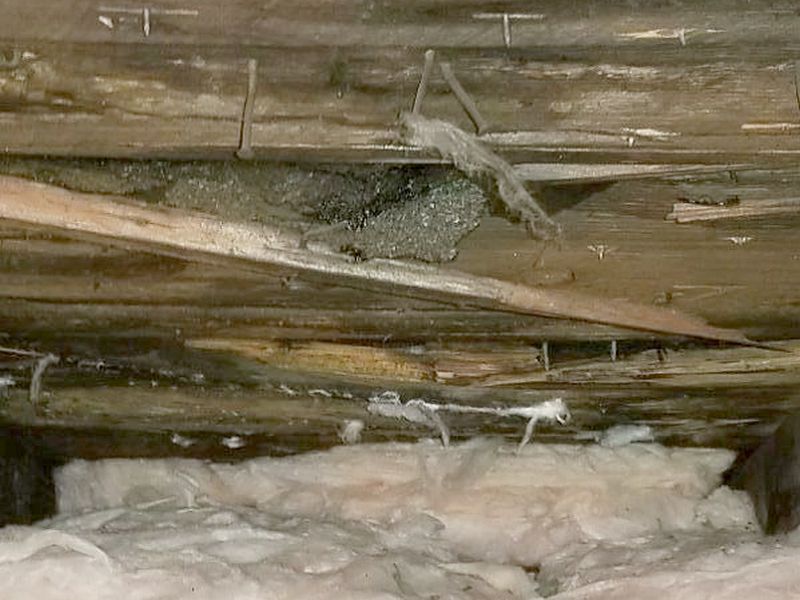
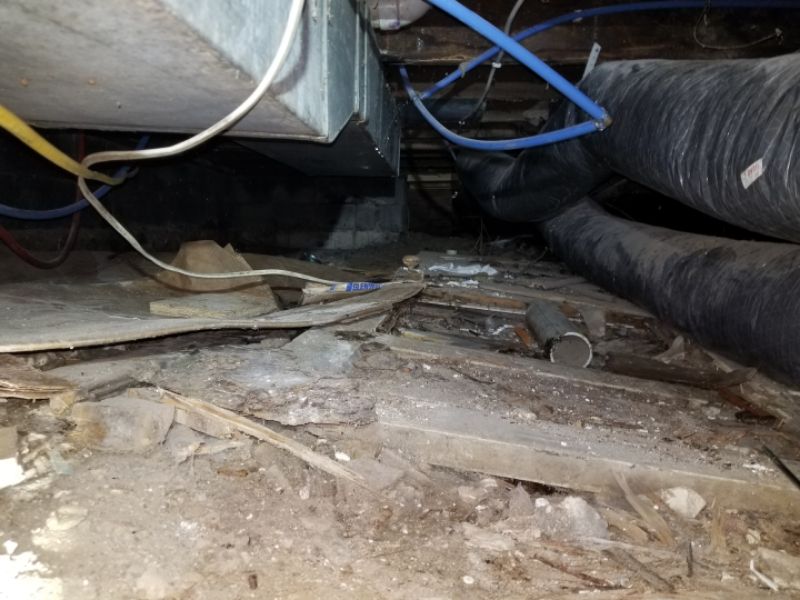
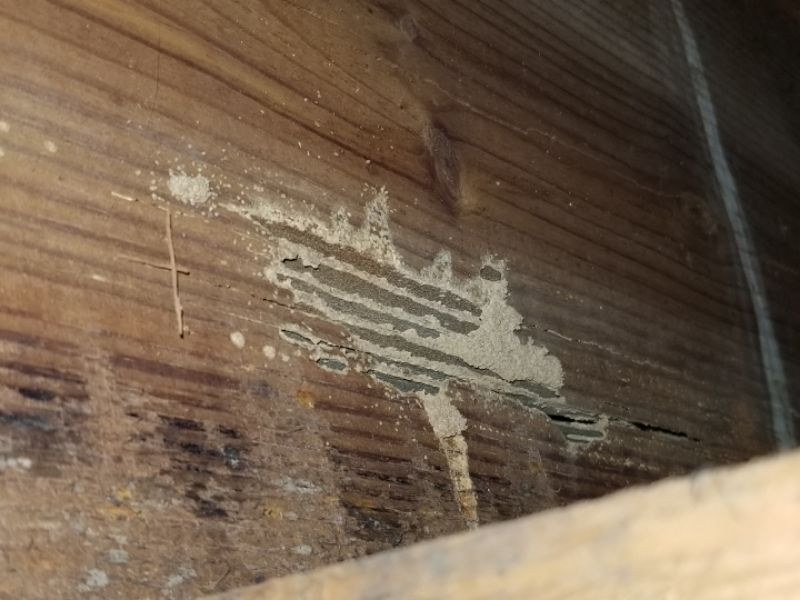
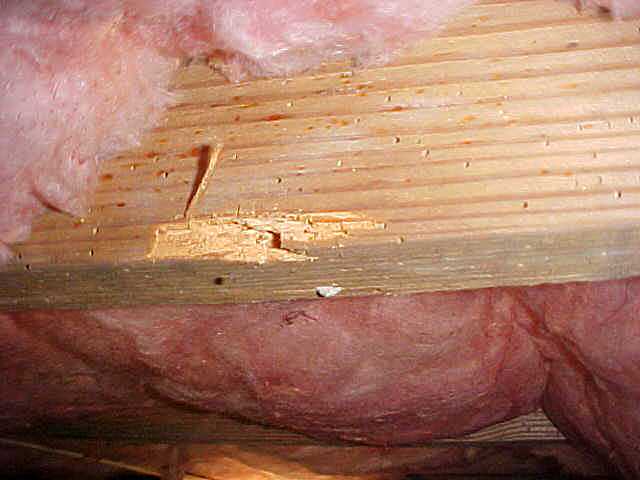
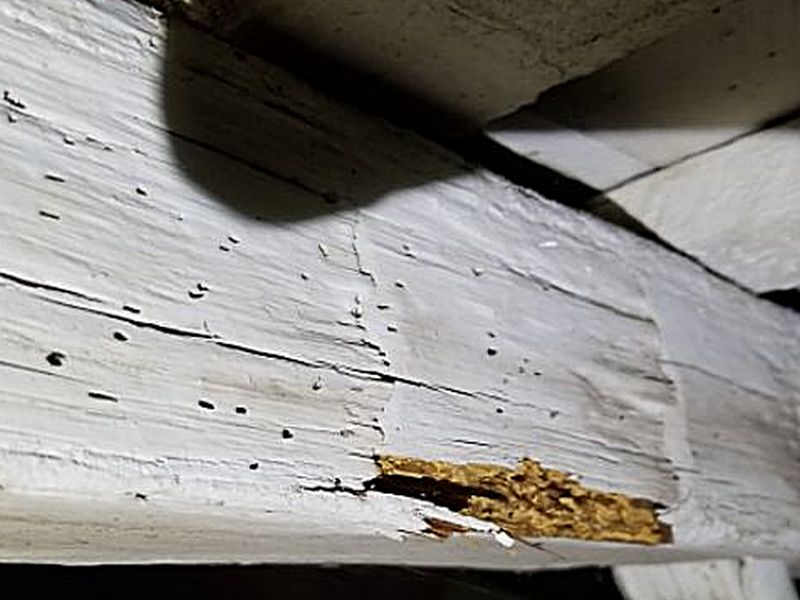
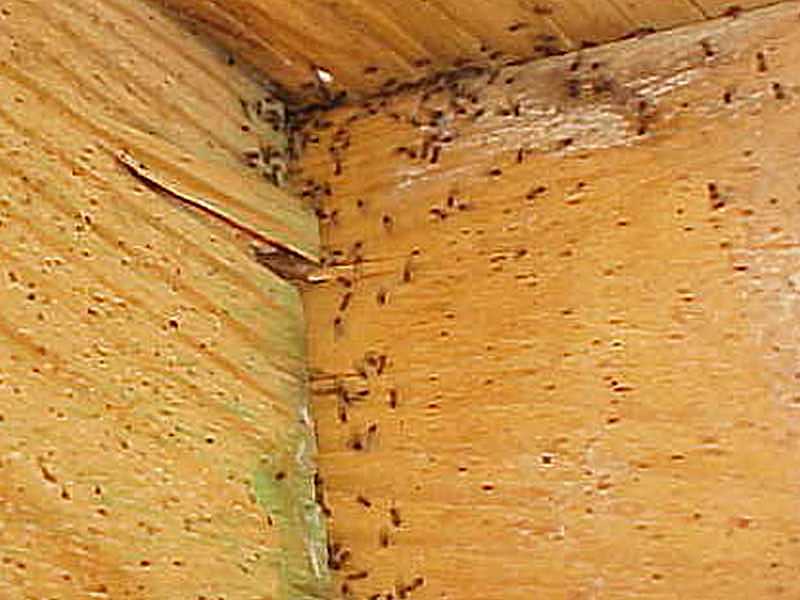
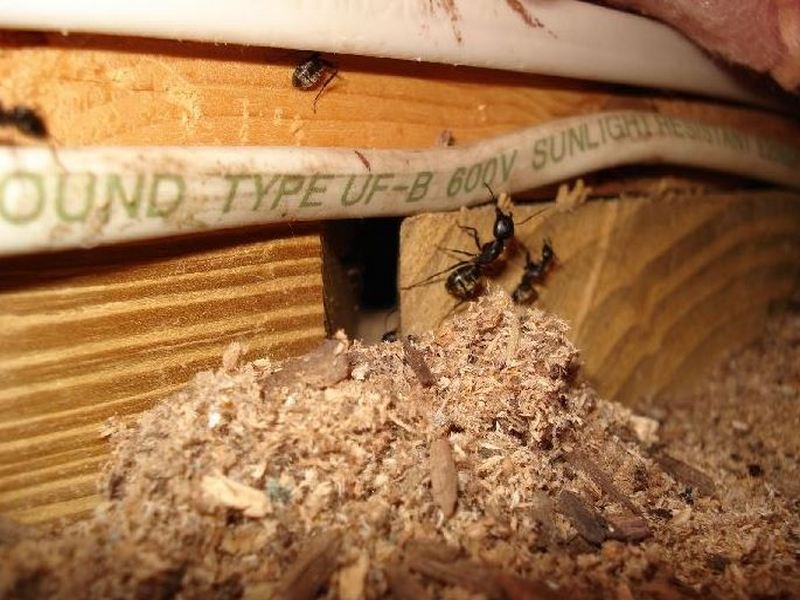
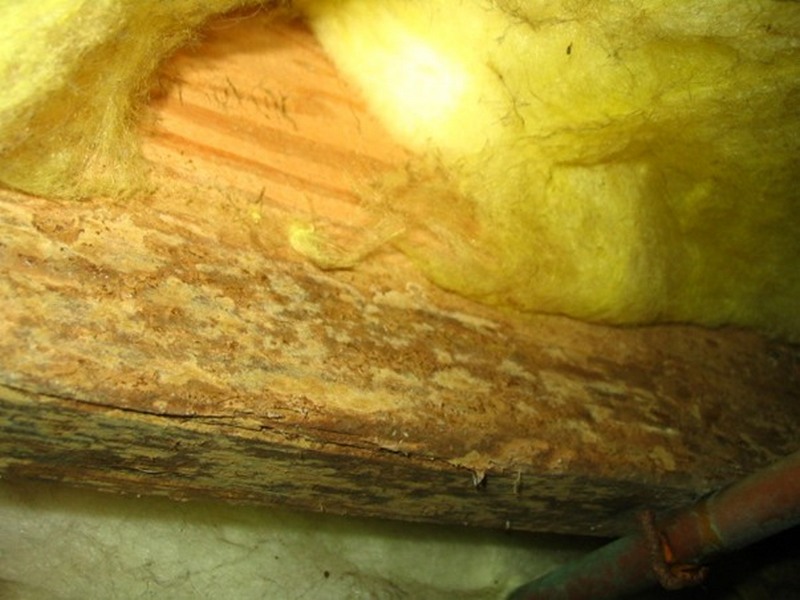
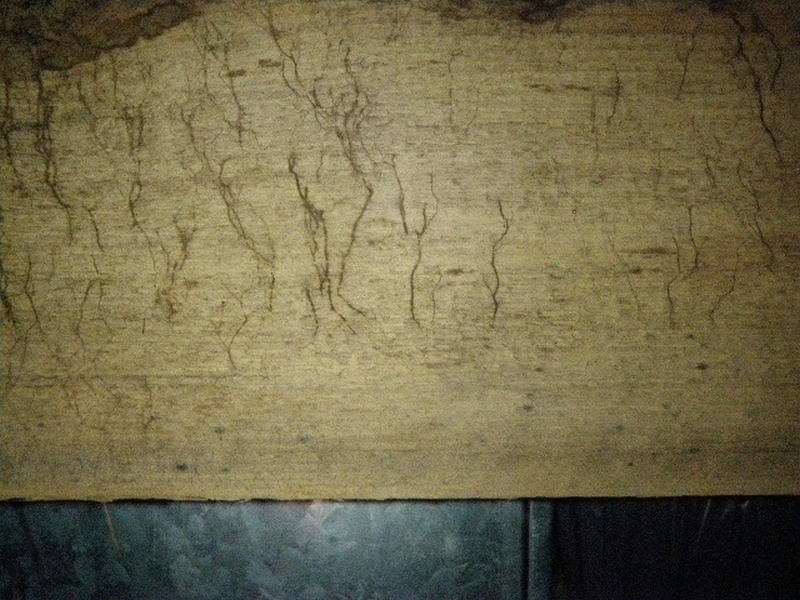
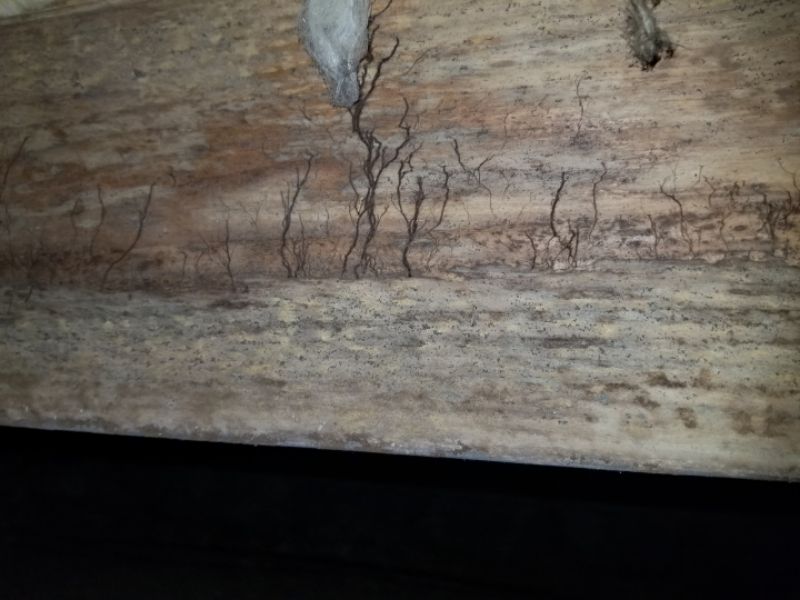
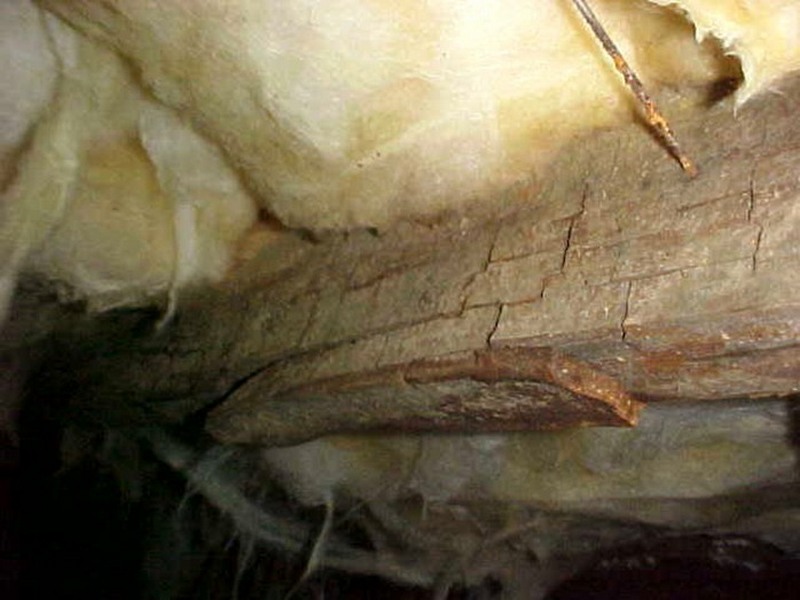
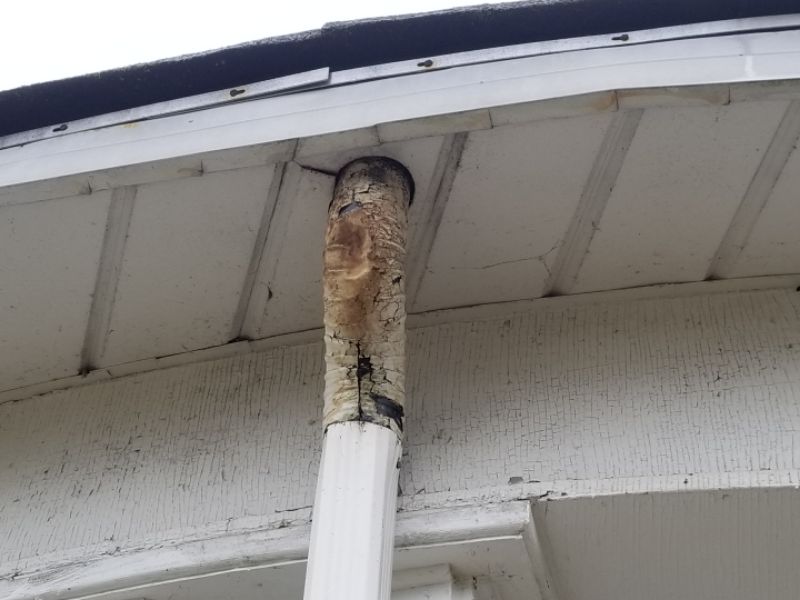
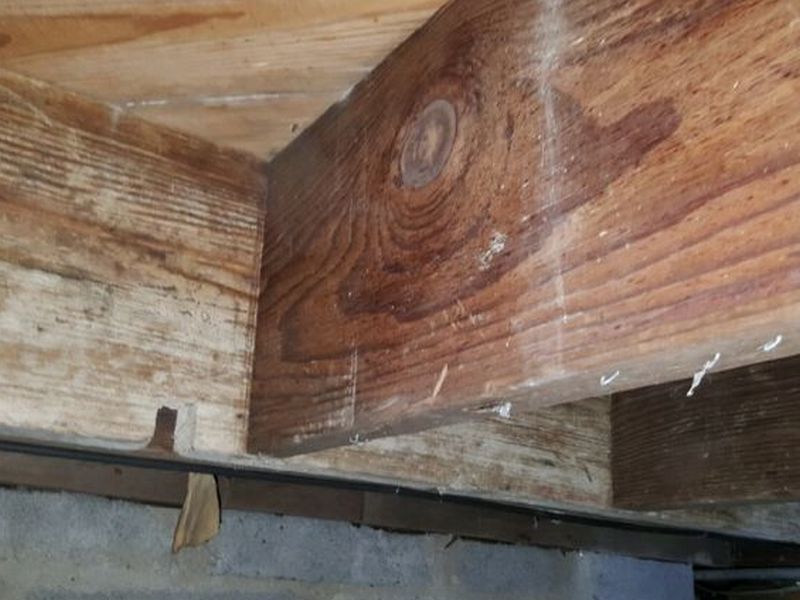
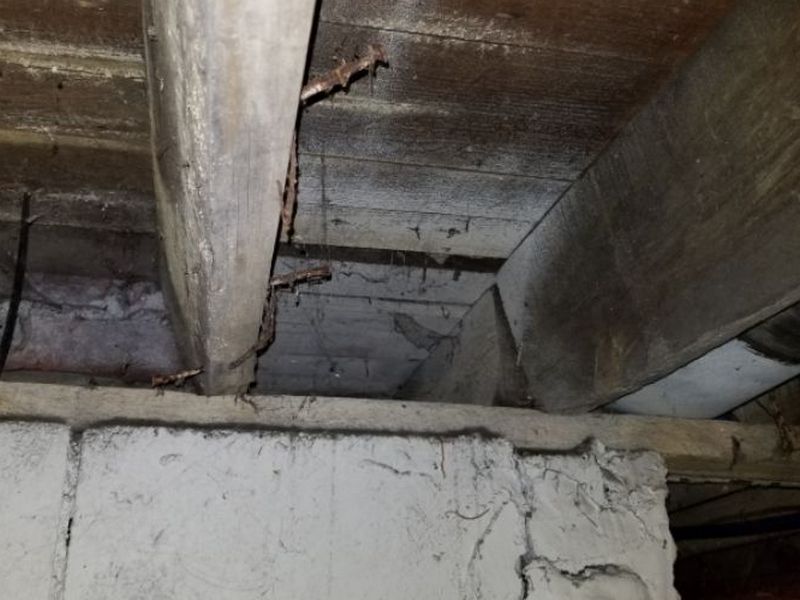
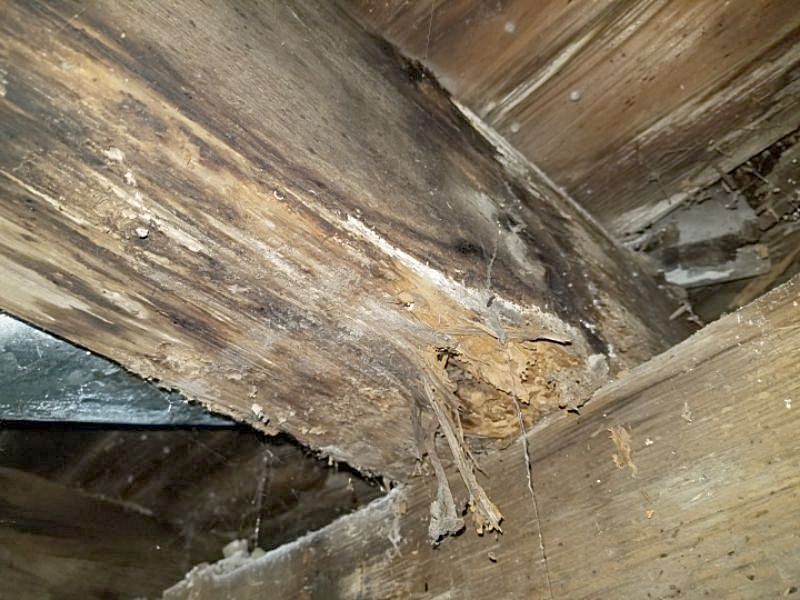
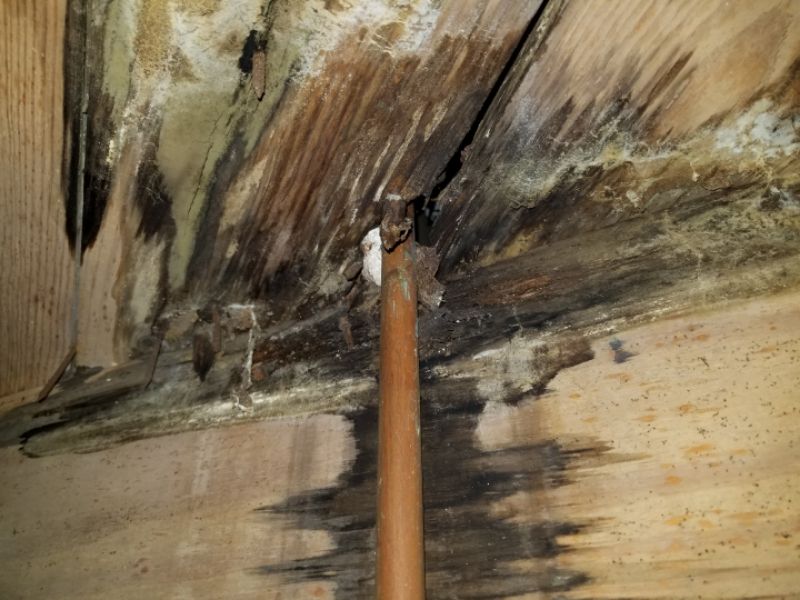
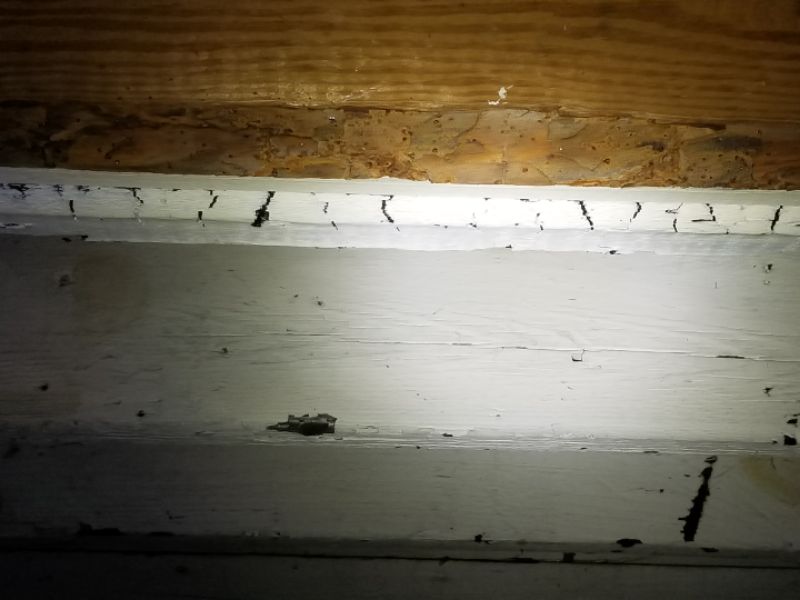
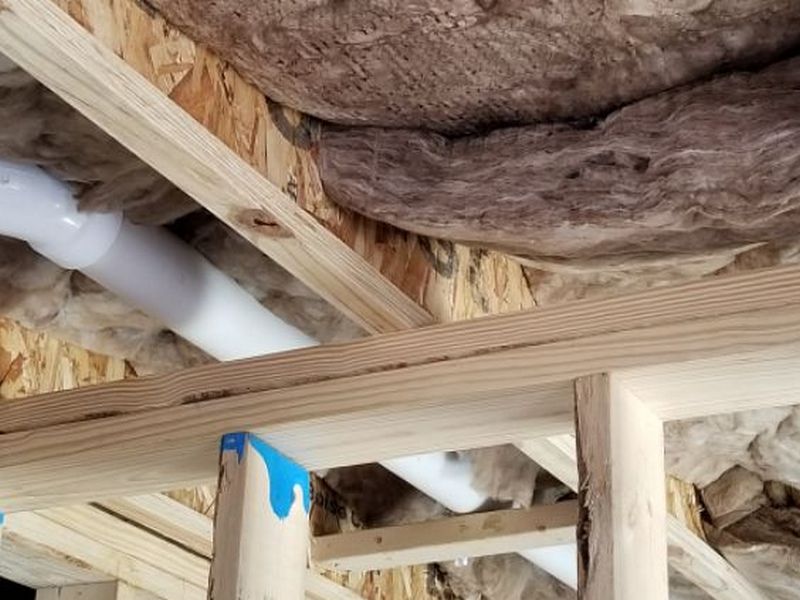
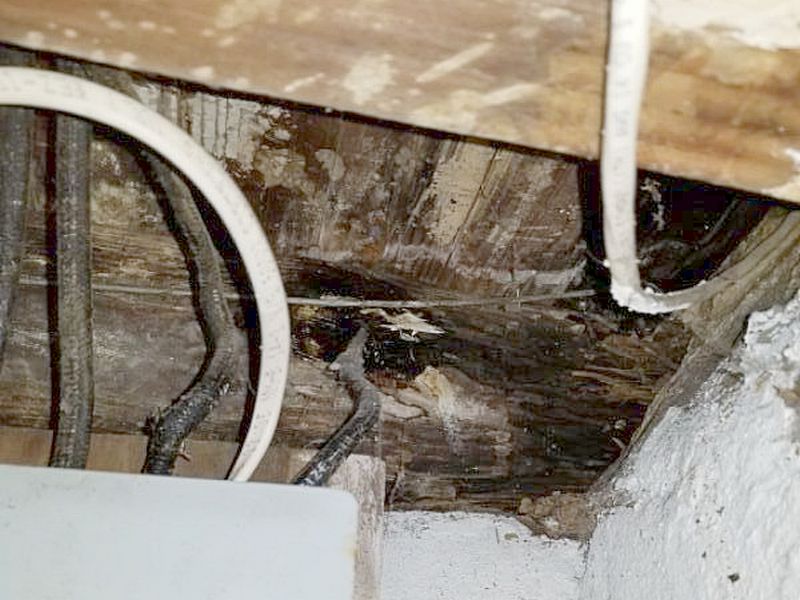
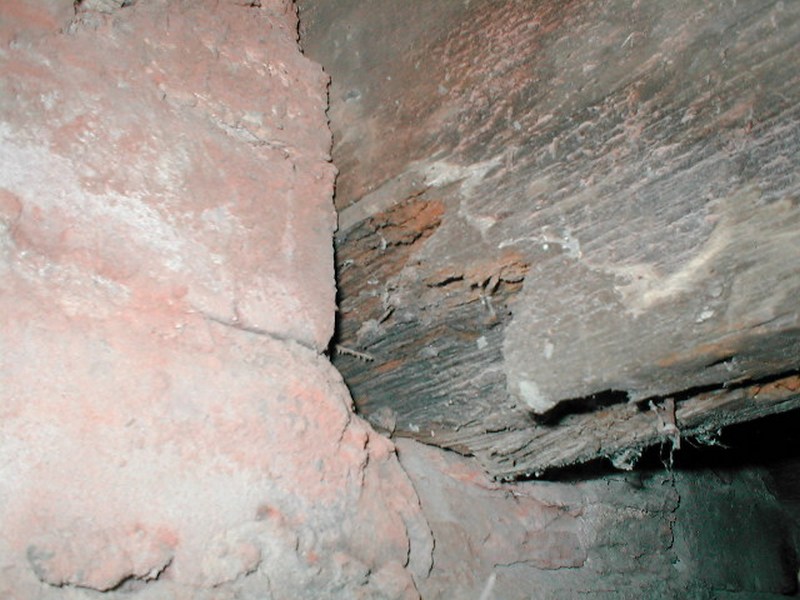
The joist is deteriorated. This can affect its load-bearing capacity. The cause of the deterioration should be identified. Hire a contractor to repair or replace the joist.
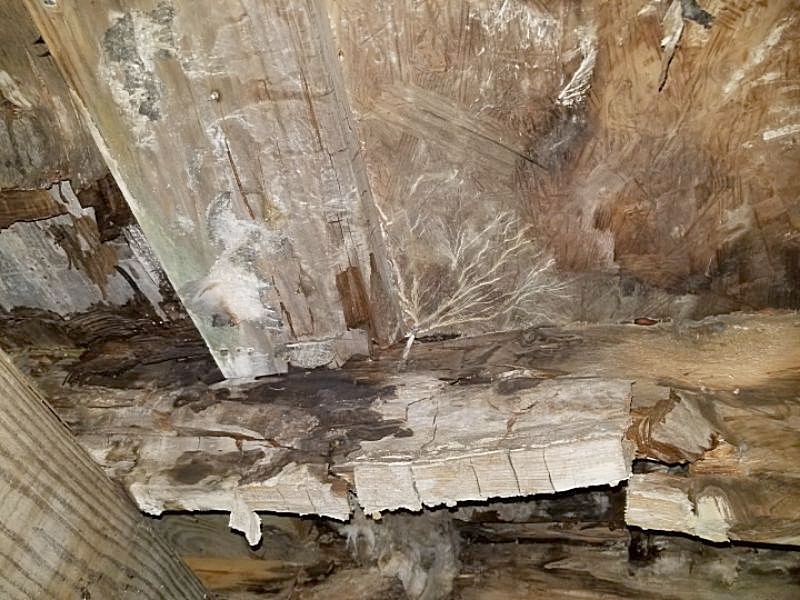
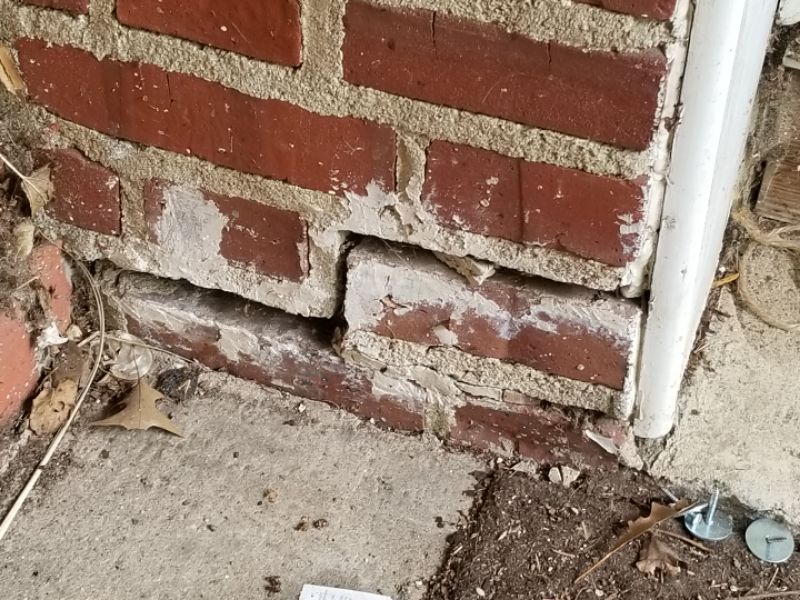
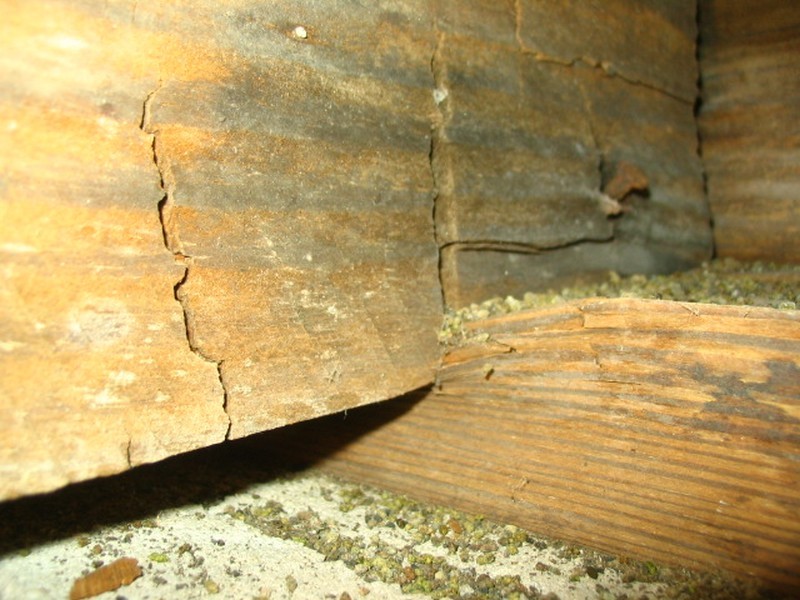
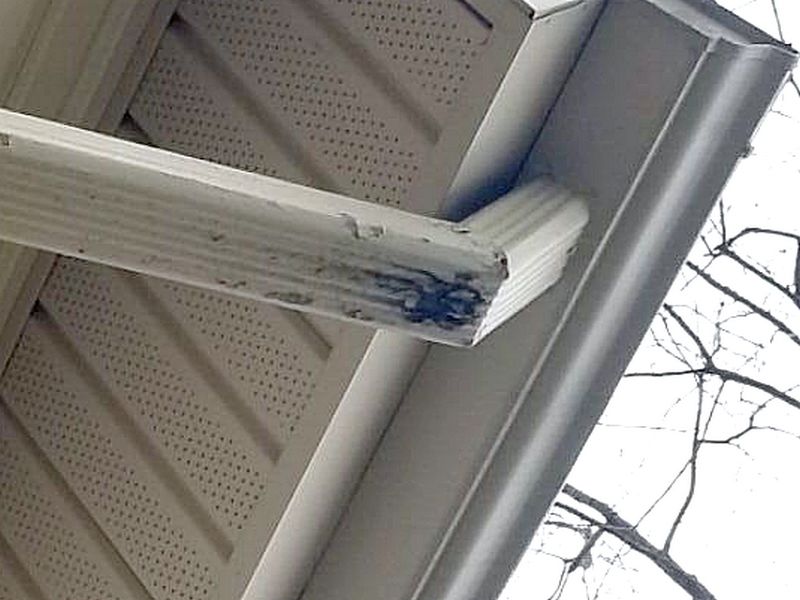
The joist is crushed. This indicates that deterioration is present and/or excessive loads are being applied. Hire a contractor for an evaluation and to provide repairs as needed.
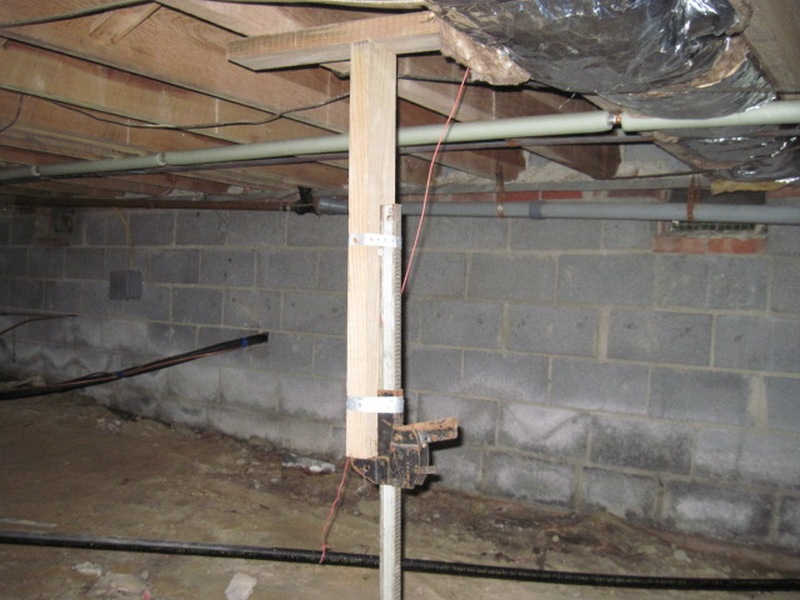
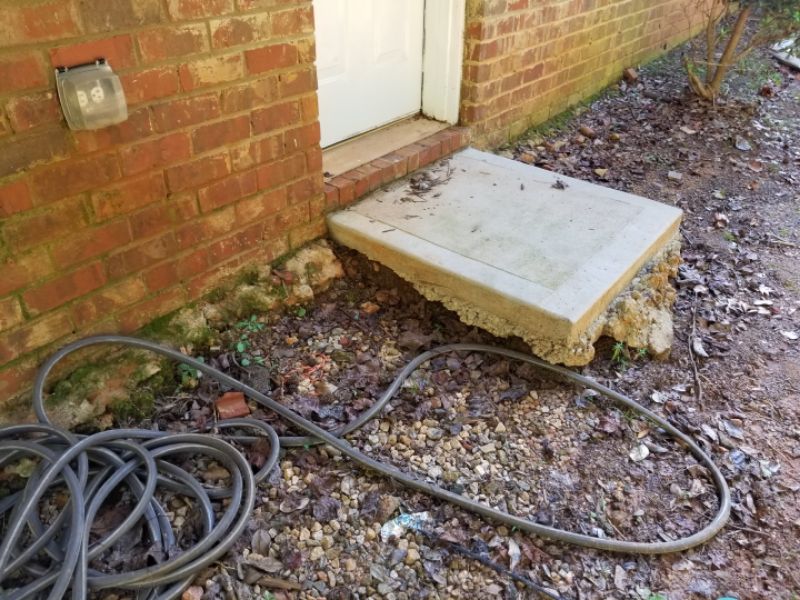
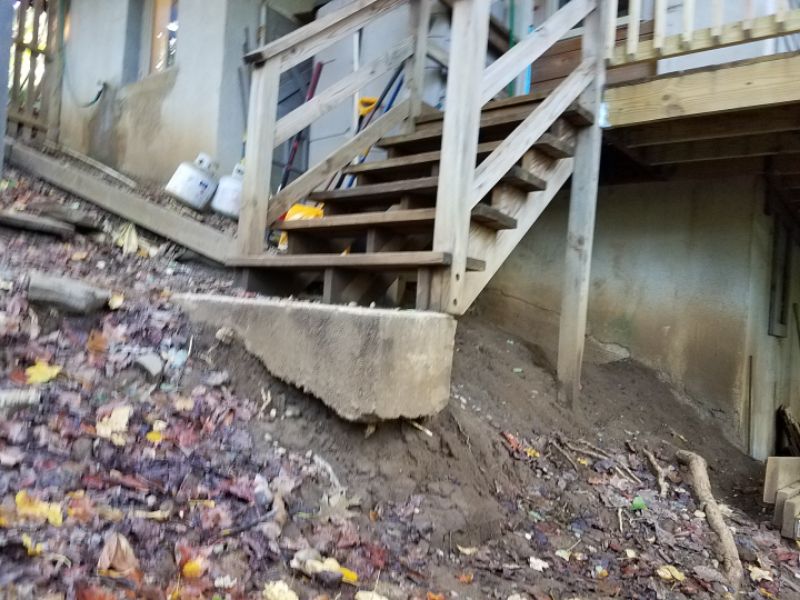
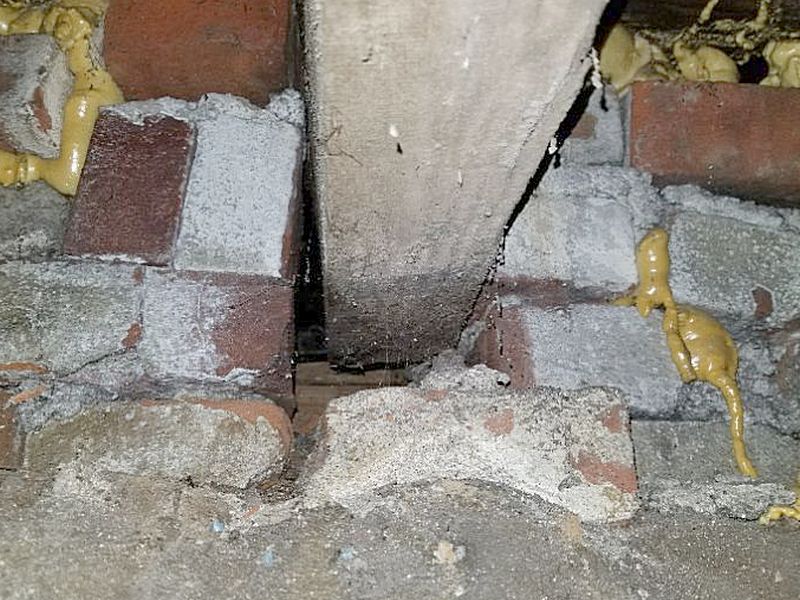
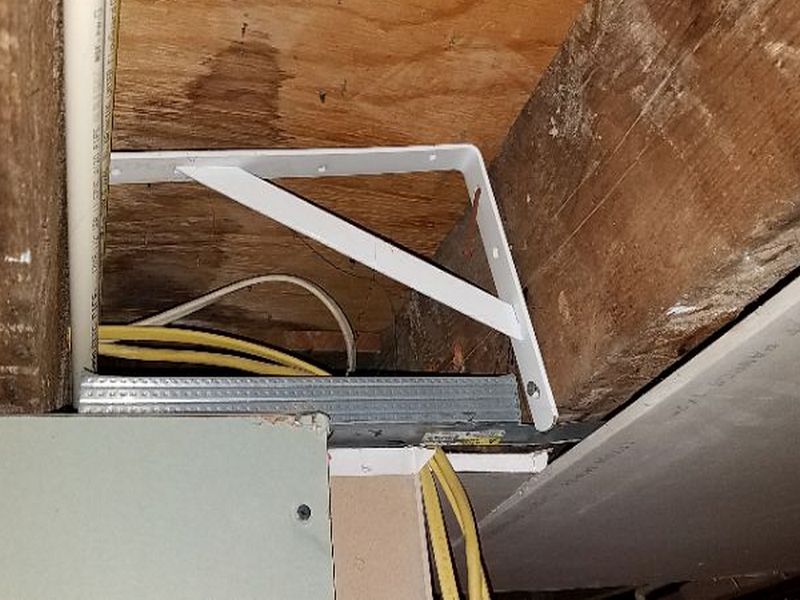
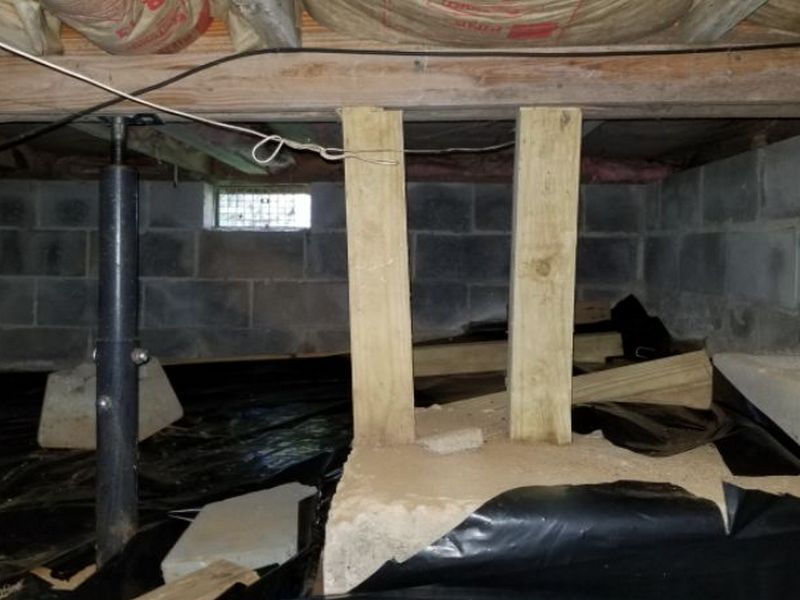
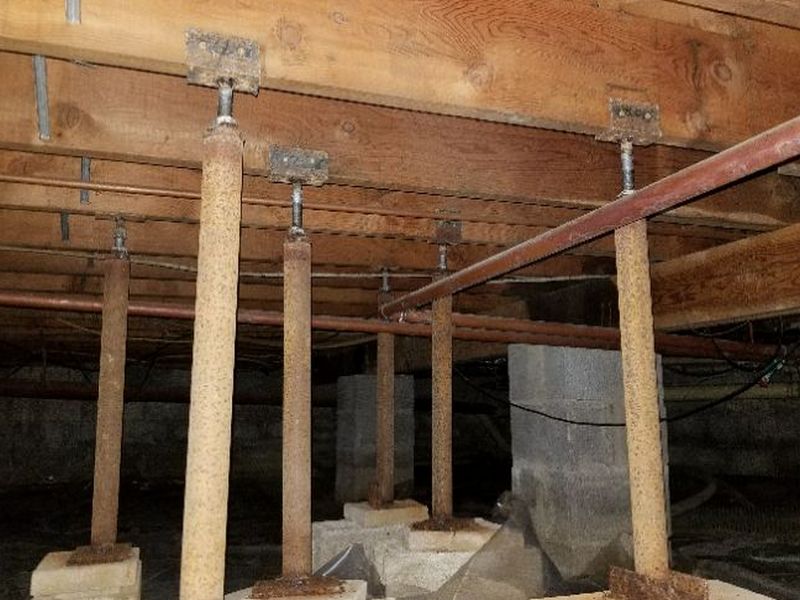
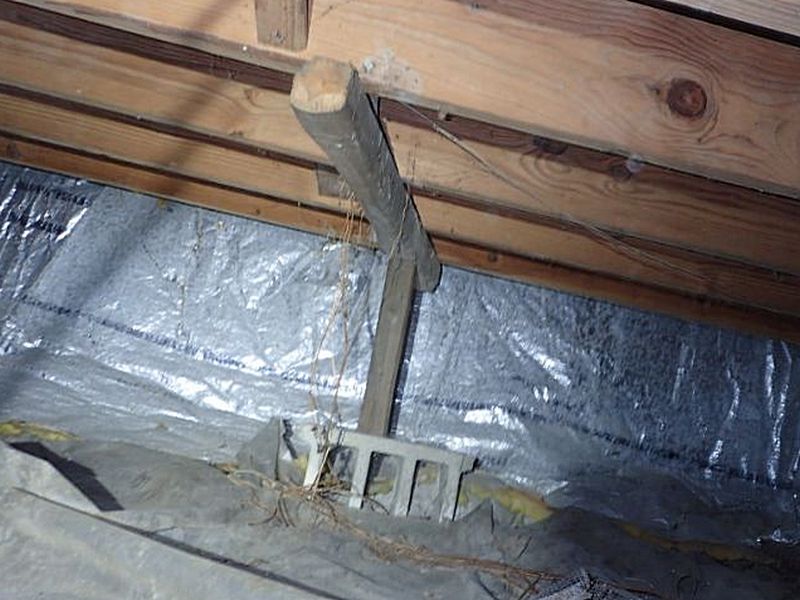
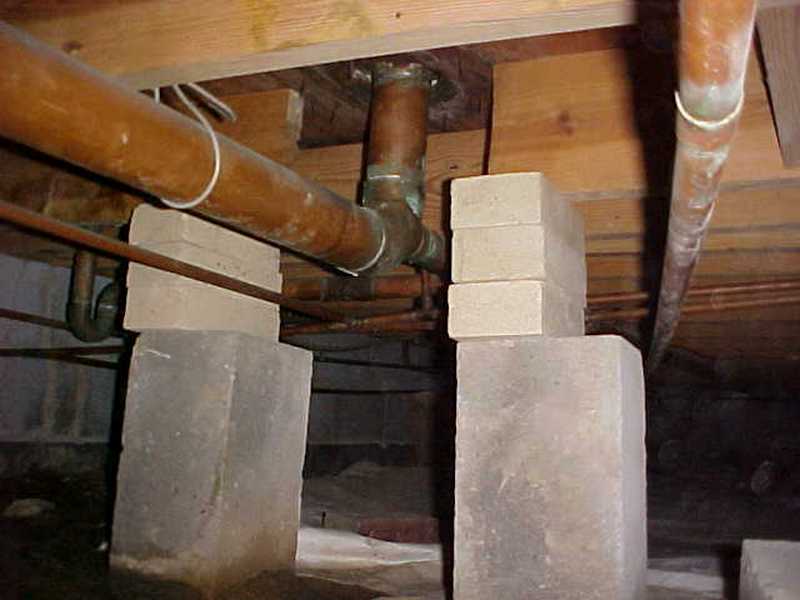
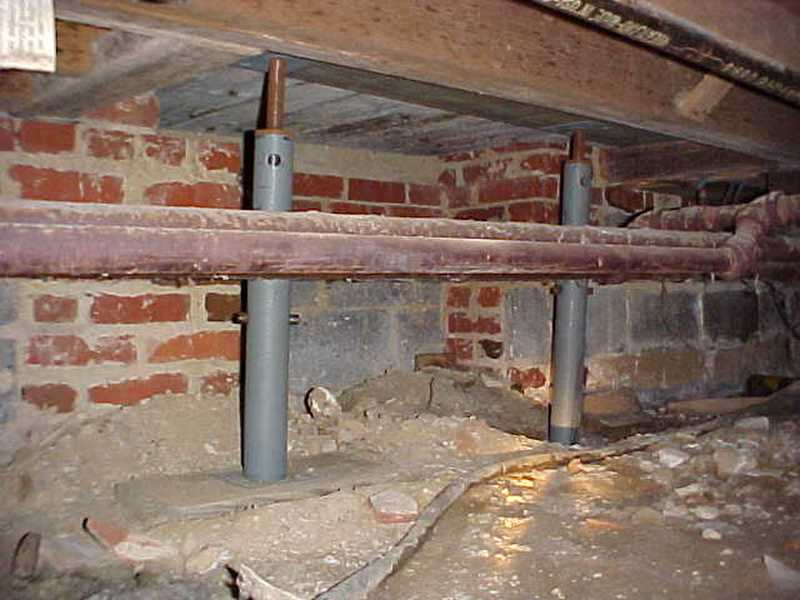
The repairs to the floor frame are unworkmanlike. Repairs should adhere to accepted building practices. Surface blocks and posts cannot be used instead of foundation supports. Screw jacks are temporary devices. Hire a contractor to properly repair the floor frame.
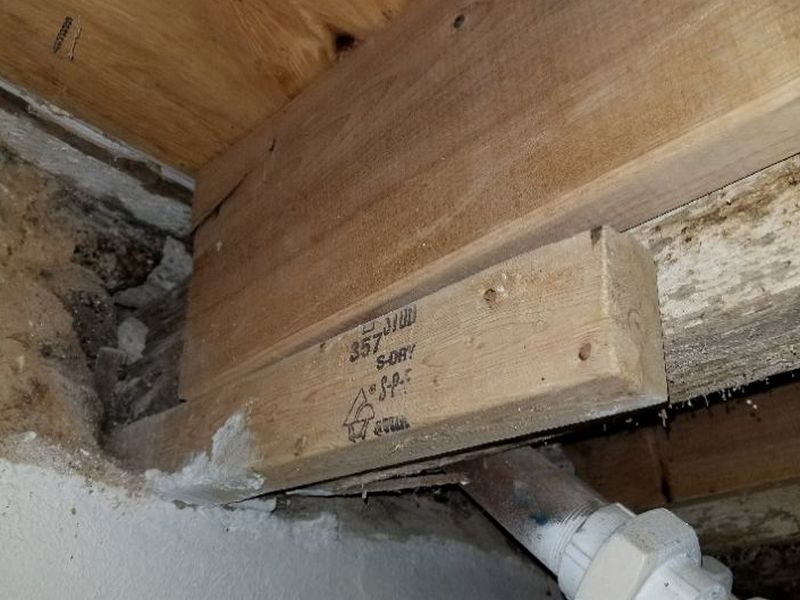
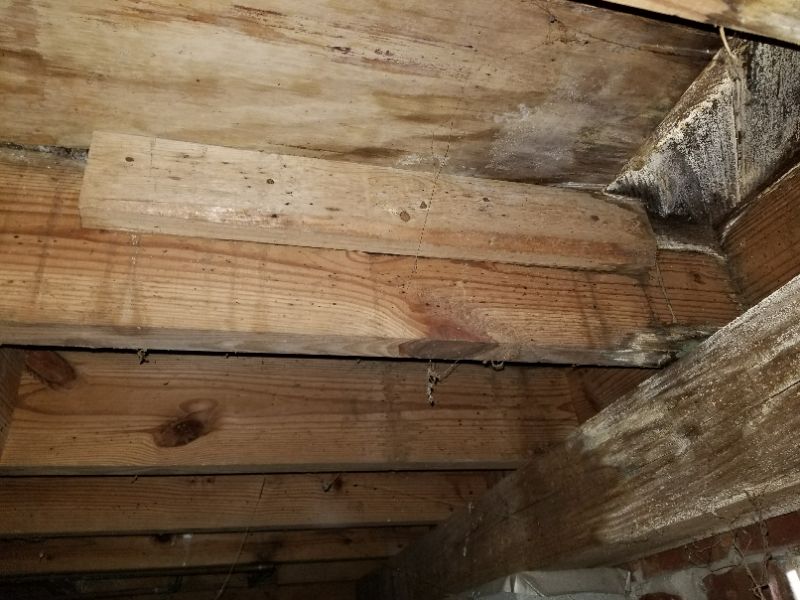
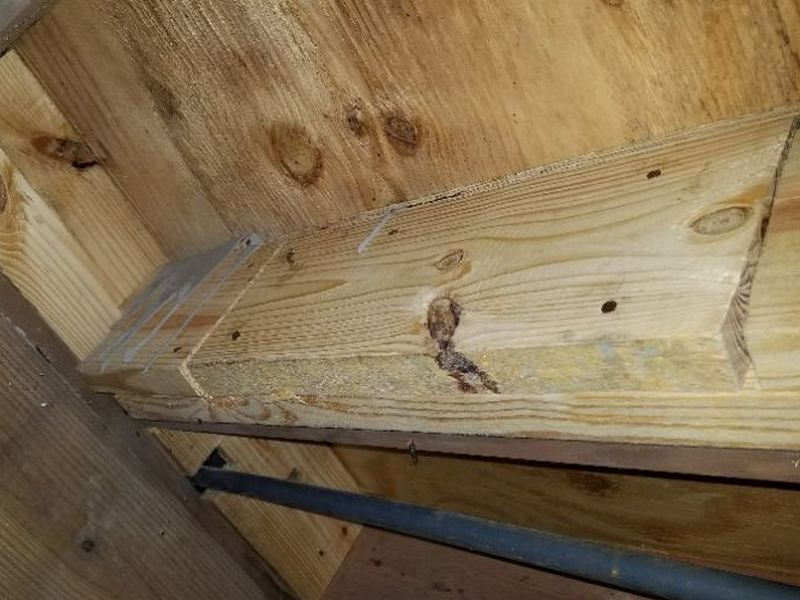
The repairs to the floor frame are unworkmanlike. Repairs should adhere to accepted building practices. “Sister” repairs must use full-sized lumber, tightly adhered, and extending at least 1/3 the joist’s length past the damage. A sister must have one end on a bearing surface. Hire a contractor to properly repair the floor frame.
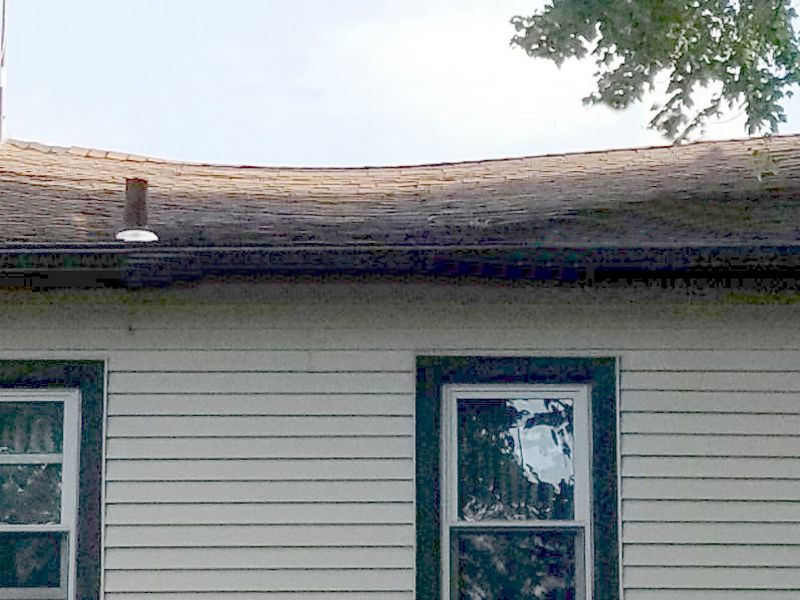
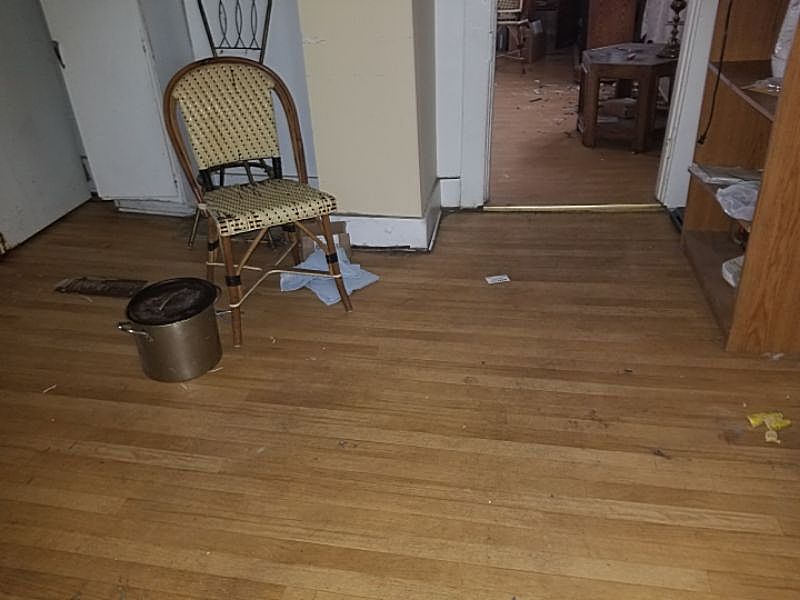
The floor framing sags excessively. This implies failure of the floor frame or other structural elements. Hire a contractor for an evaluation and to provide repairs as needed.
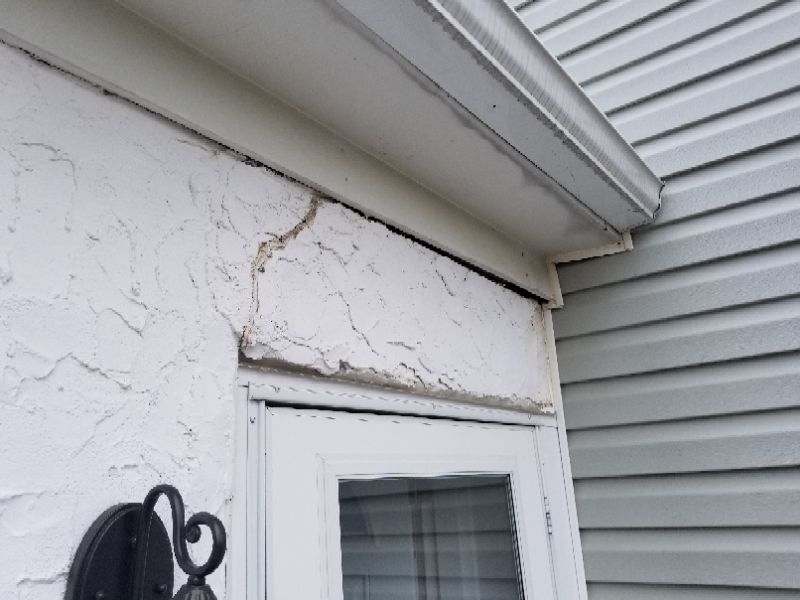
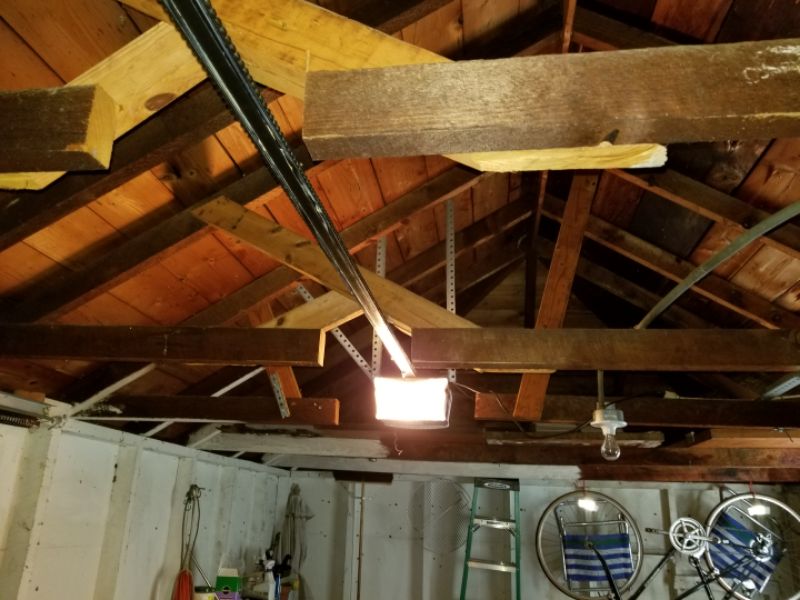
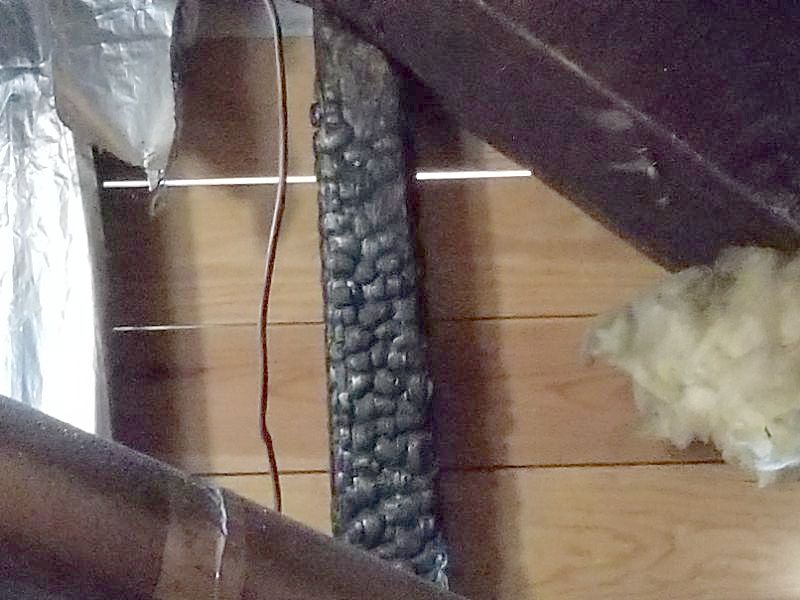
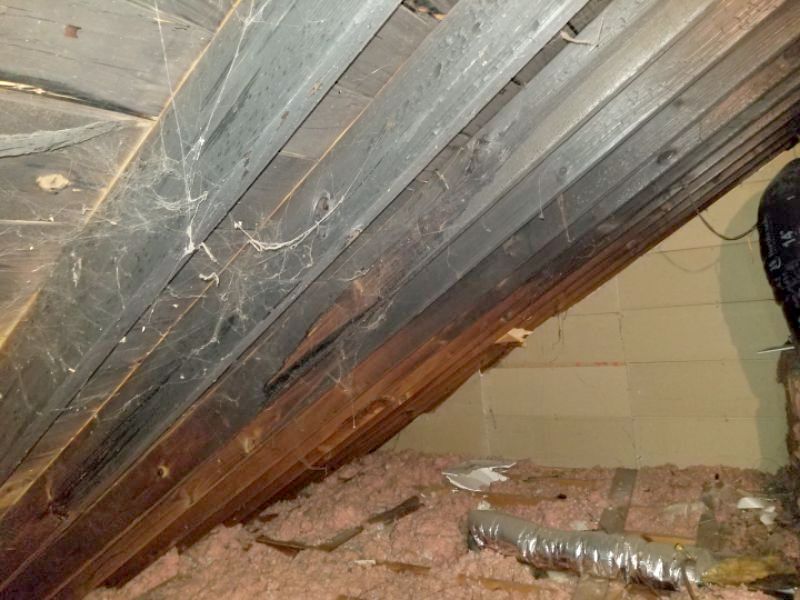
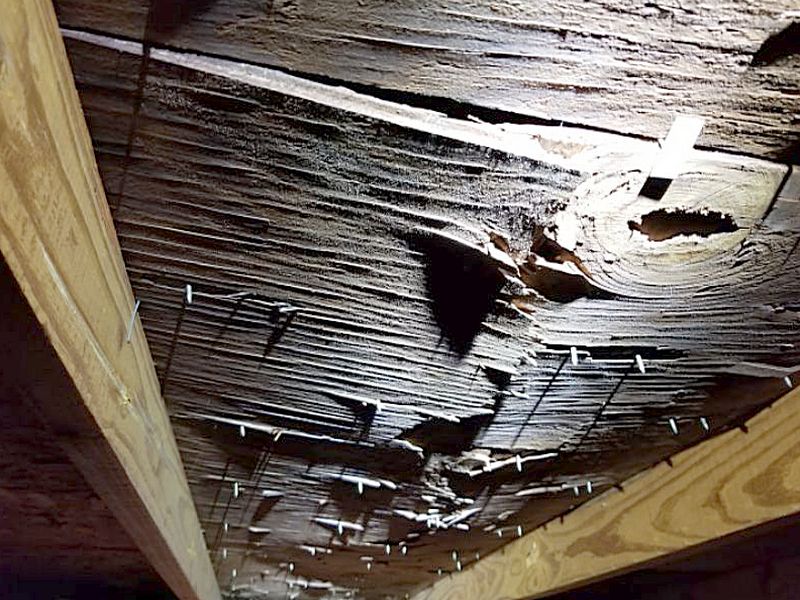
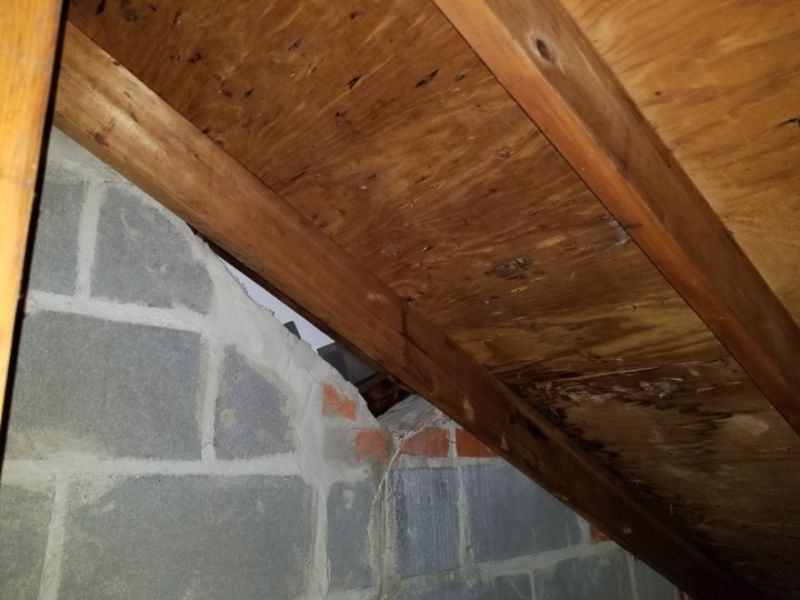
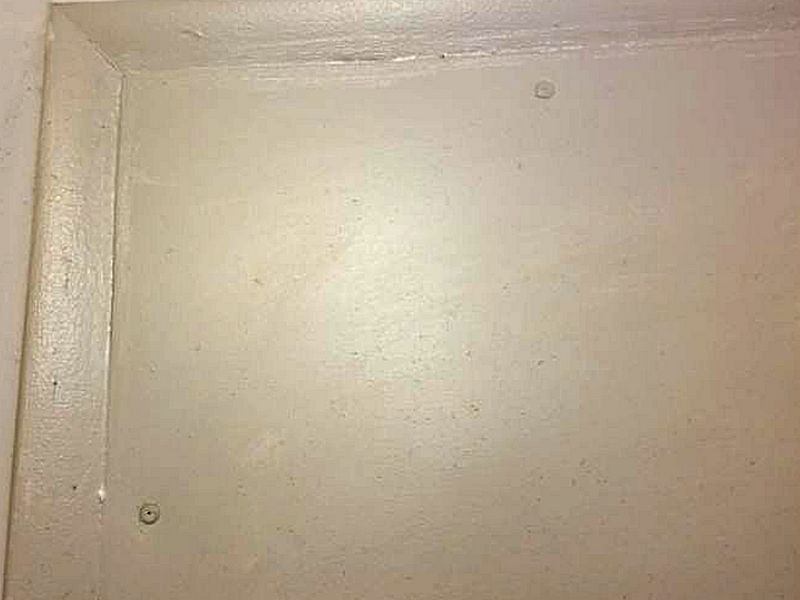
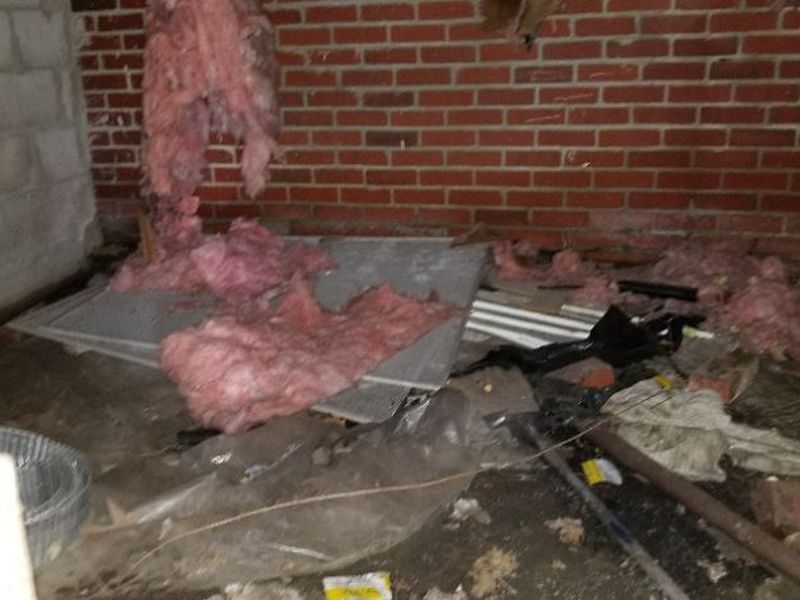
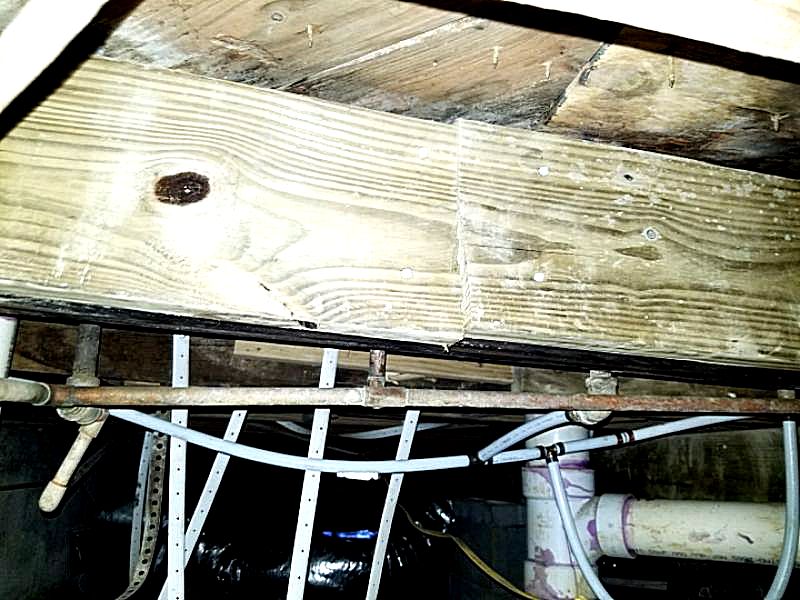
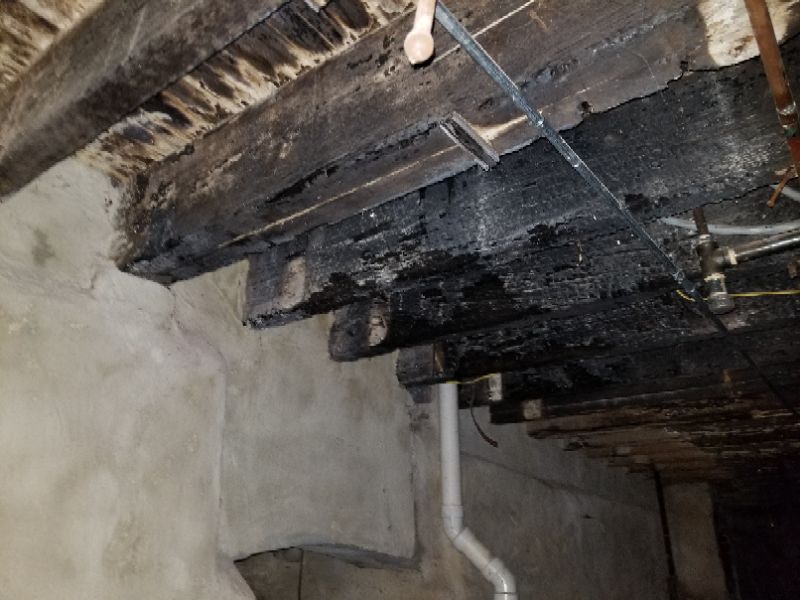
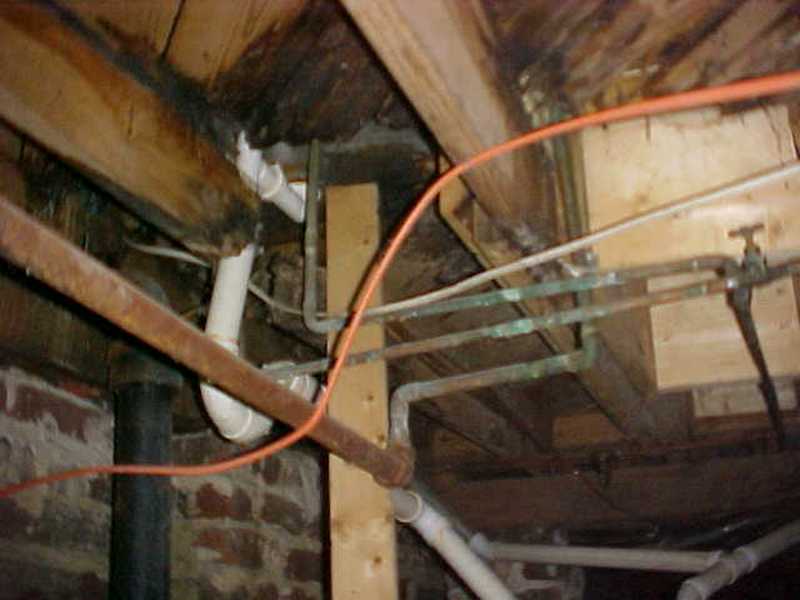
 There is evidence of fire damage. The inspector cannot determine the extent of the damage or the repairs. Ask the homeowner about the fire damage; records of the damage can usually be obtained through the local fire department, and a record of repairs, along with any applicable municipal permits and approvals, can usually be obtained through the municipal building department.
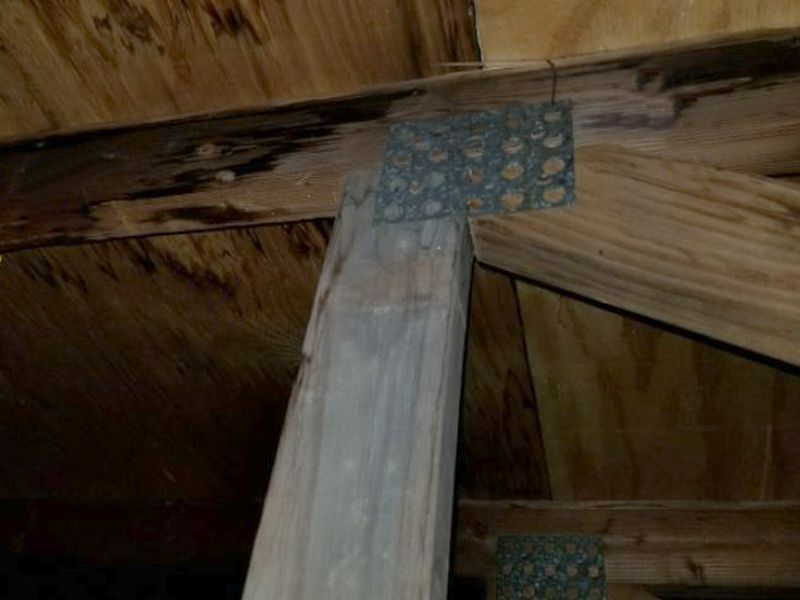
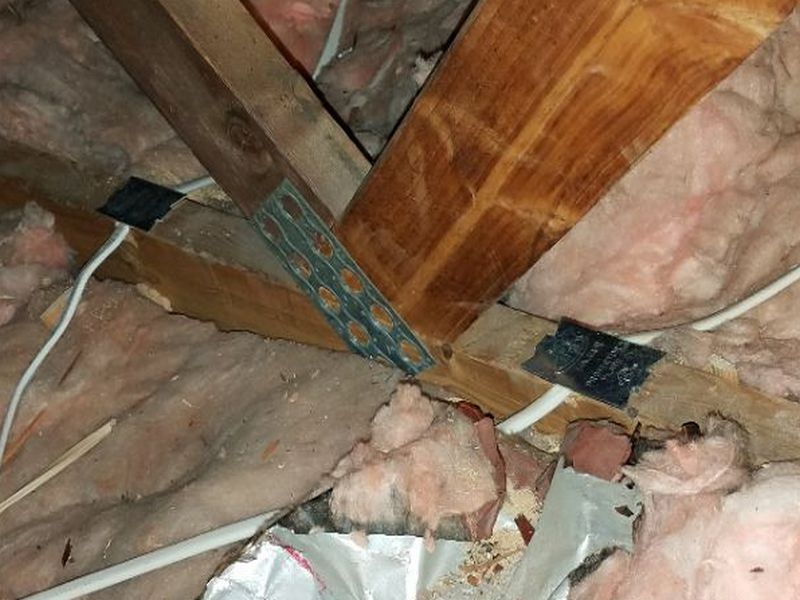
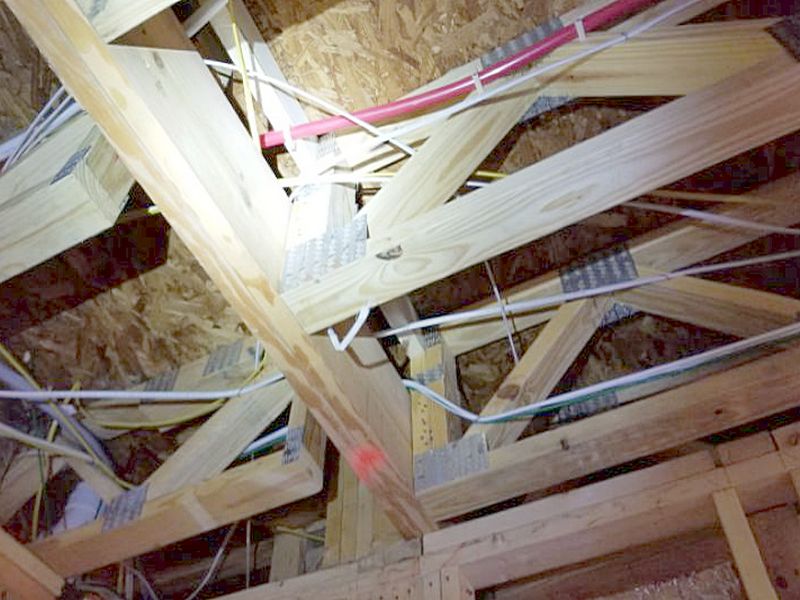
There is a cut truss. A truss is part of an engineered system and should be altered or repaired only with the approval of the manufacturer or a structural engineer. Hire a contractor to repair or replace the truss under the guidance of a truss or structural engineer.
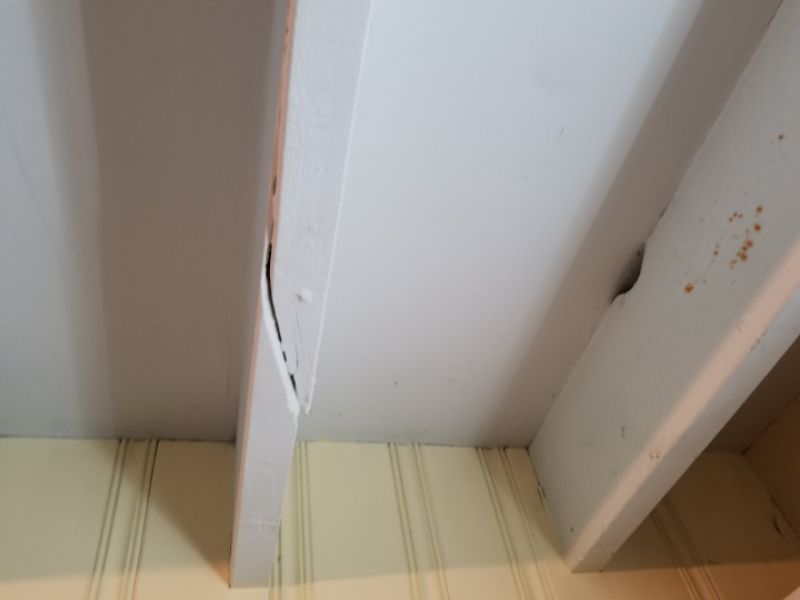
The flange of an I-Joist has been notched. Notches are not allowed in the top or bottom flange. Hire a contractor to repair or replace the I-joist under the guidance of a truss or structural engineer.
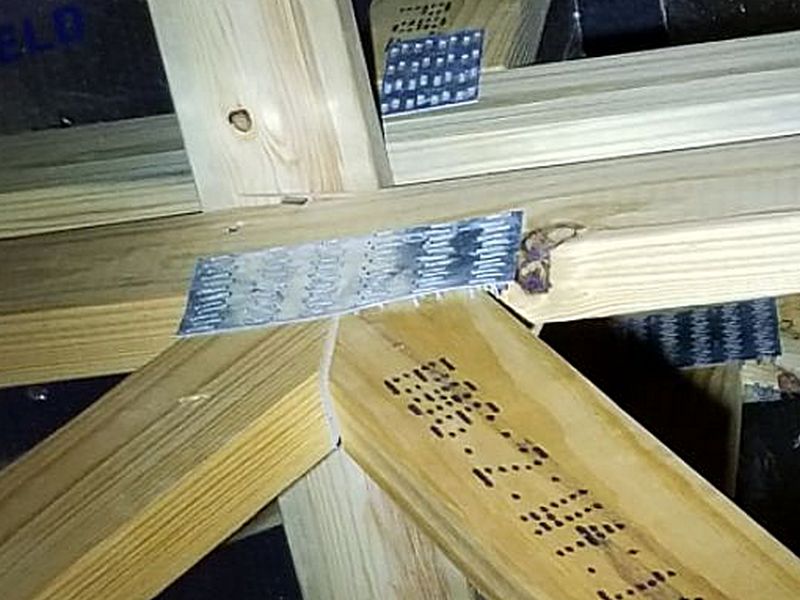
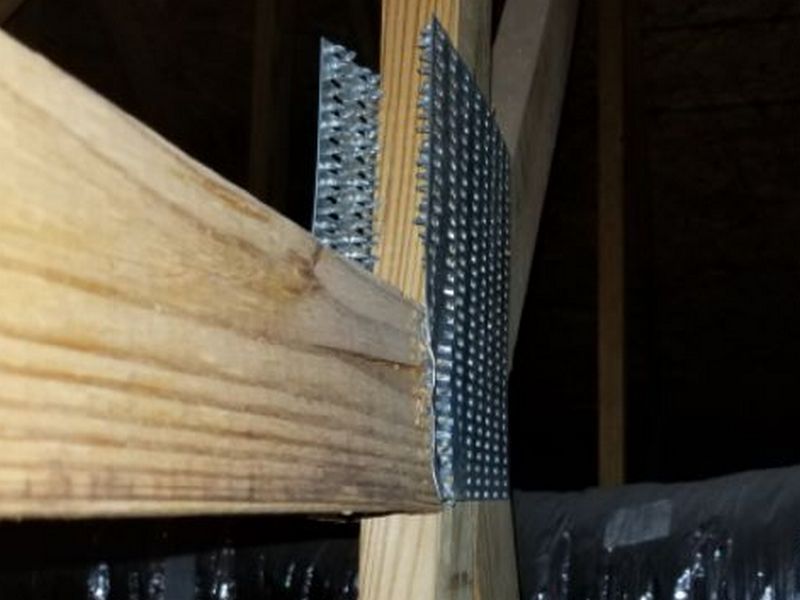
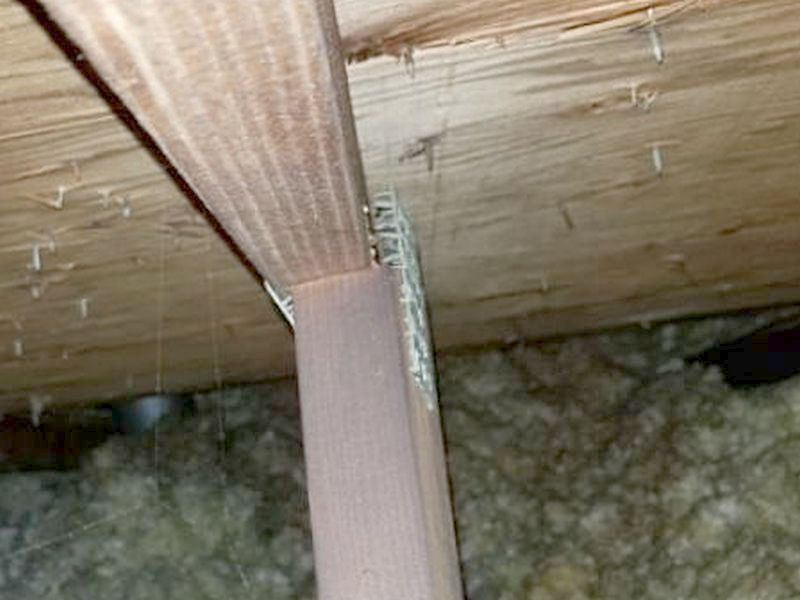
The truss has inadequate bearing. End nailing is not sufficient; properly-installed hanger hardware is needed. This affects its overall ability to carry structural loads. Hire a contractor to repair or replace the truss under the guidance of a truss or structural engineer.
There are missing “squash blocks.” These are load-transferring uprights that strengthen engineered joist installations where point loads are being transferred to the foundation. Hire a contractor to install squash blocks under the guidance of a truss or structural engineer.
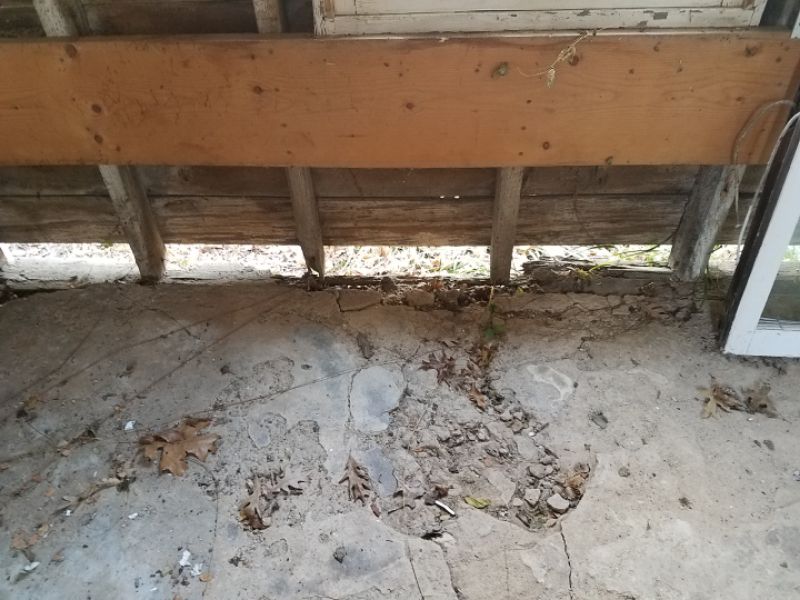
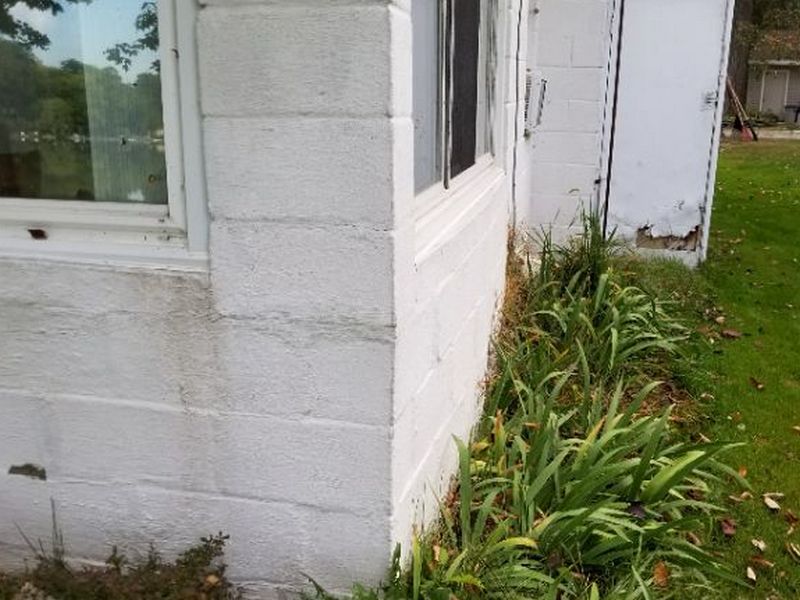
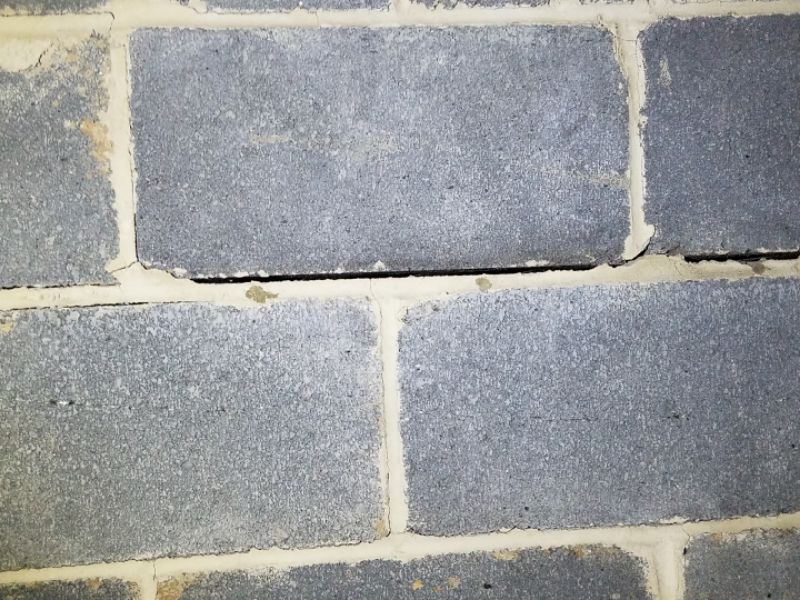
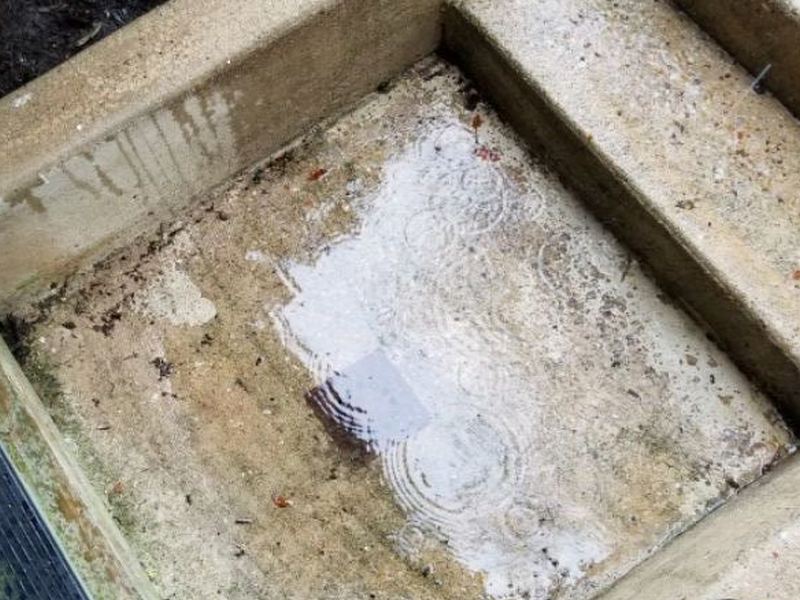
There are minor cracks in the floor slab. Repair and seal the cracks.
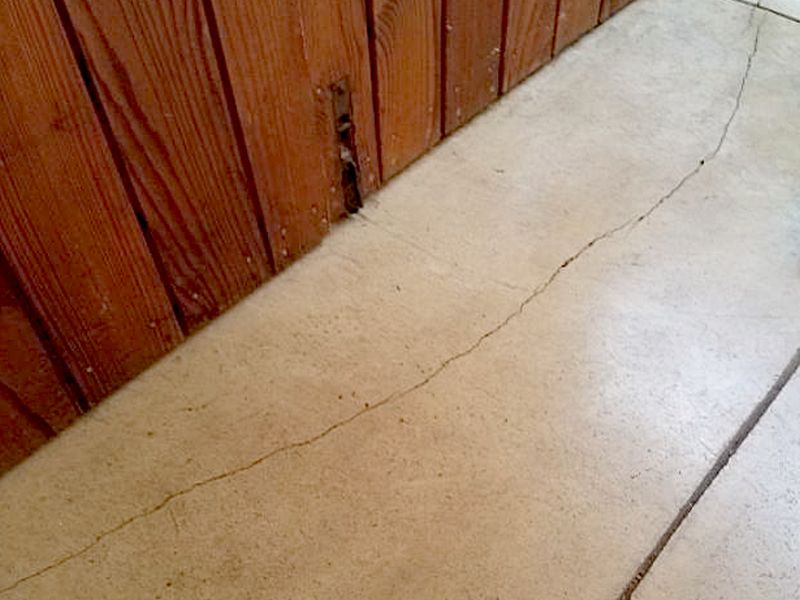

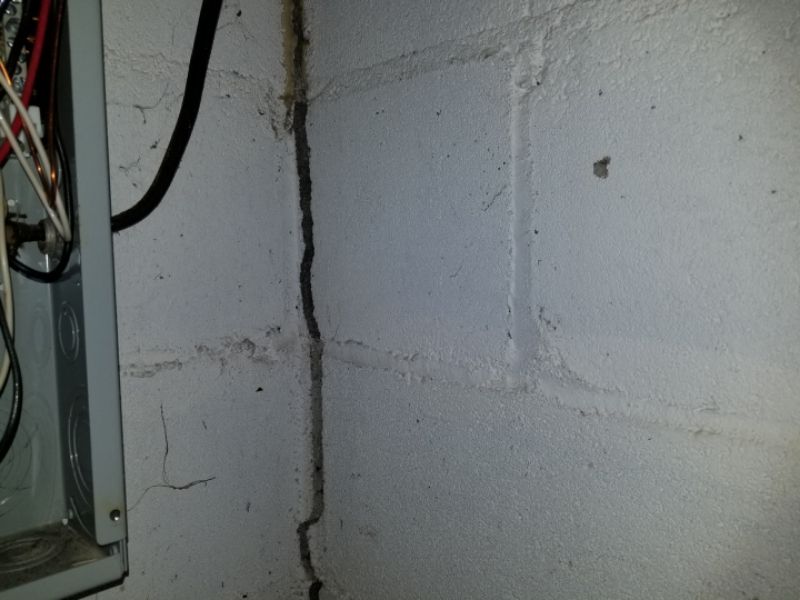
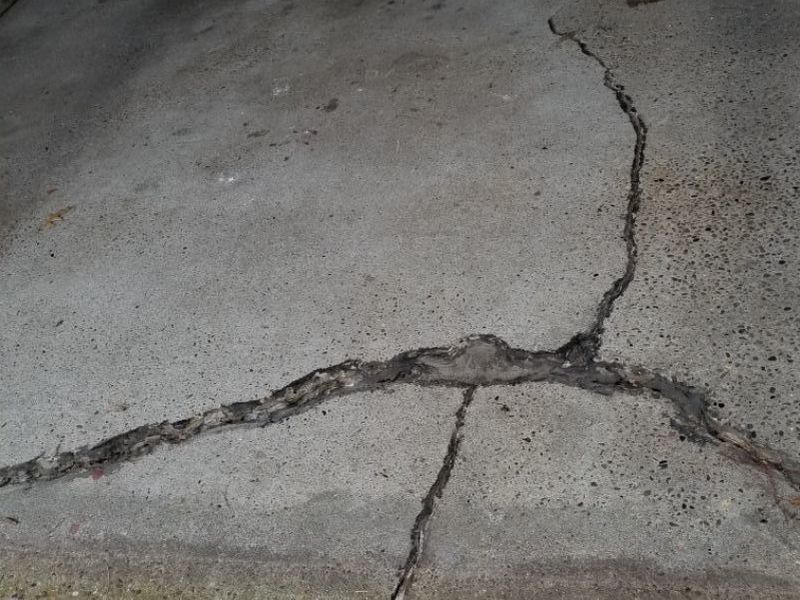
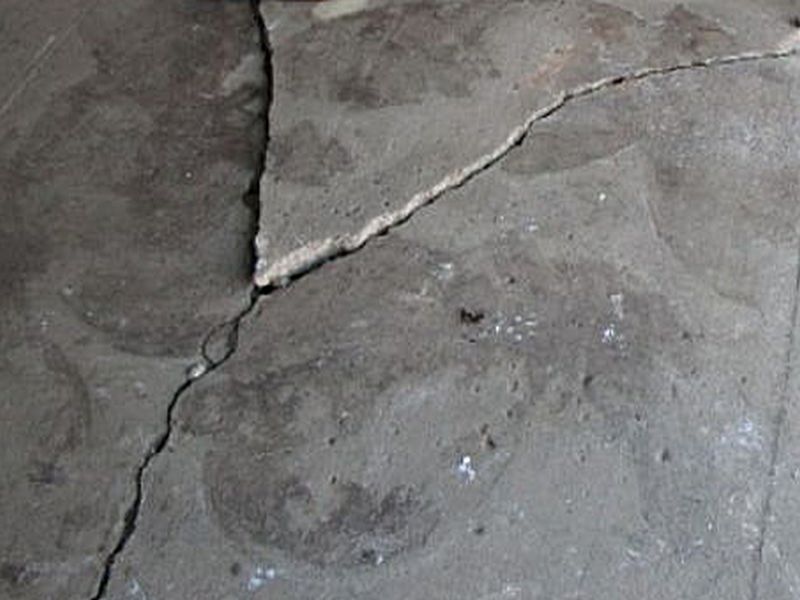
There are cracks in the floor slab that are wider than 1/4″. The cause for this should be identified. Hire a contractor for an evaluation and to provide repairs as needed.
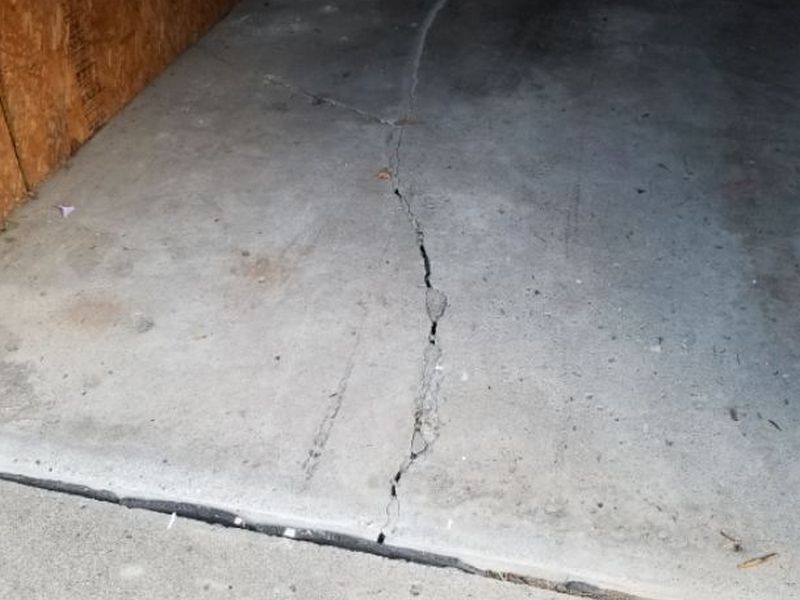
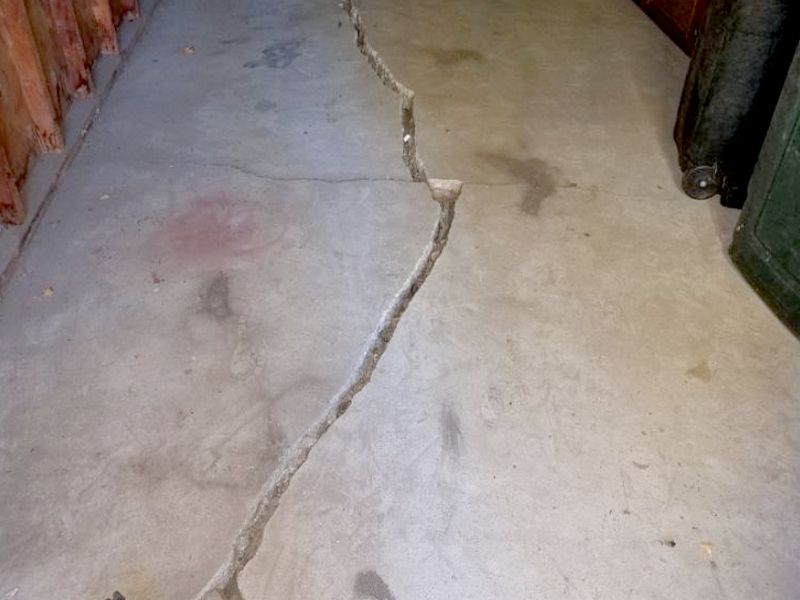
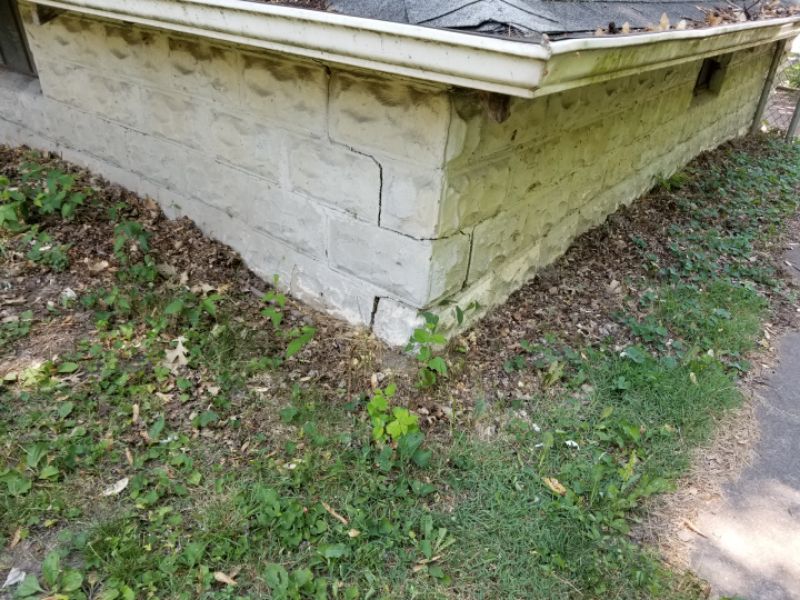
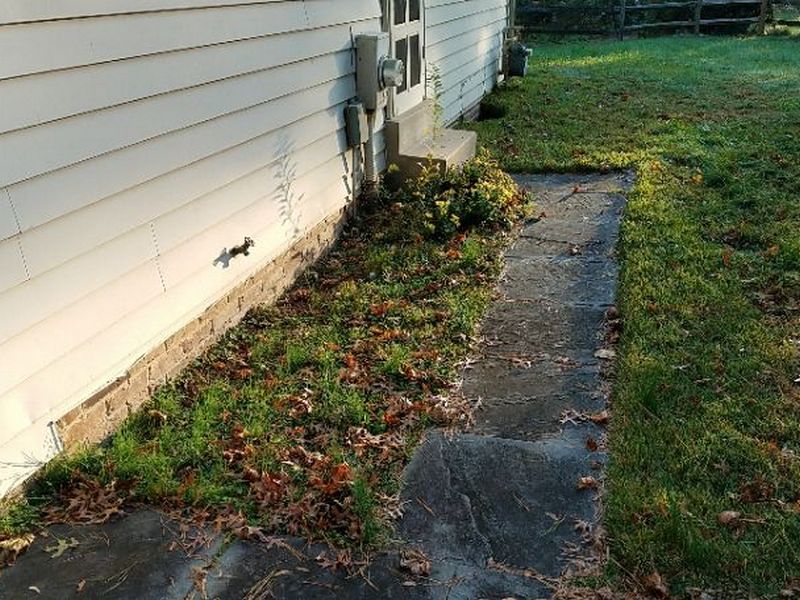
There are cracks and differential settlement greater than 1″ in the floor slab. The cause of the settlement should be identified. Hire a contractor for an evaluation and to provide repairs as needed.

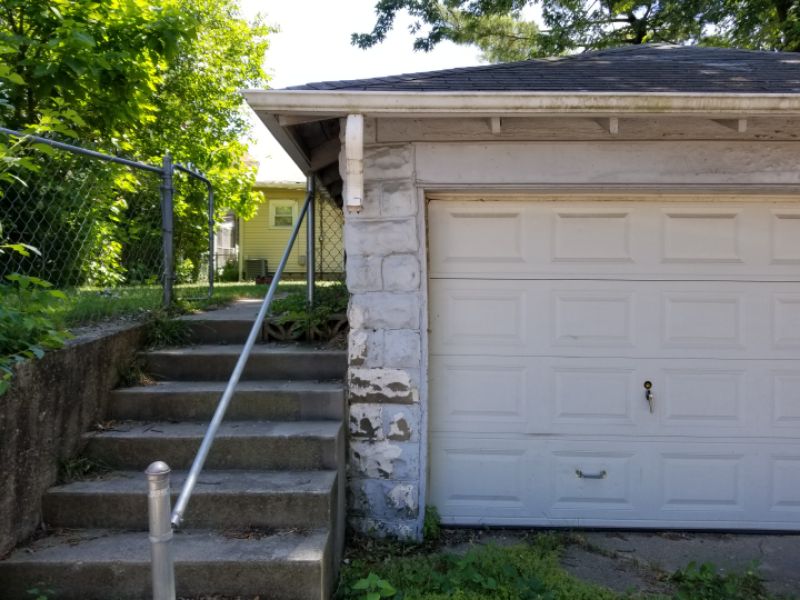
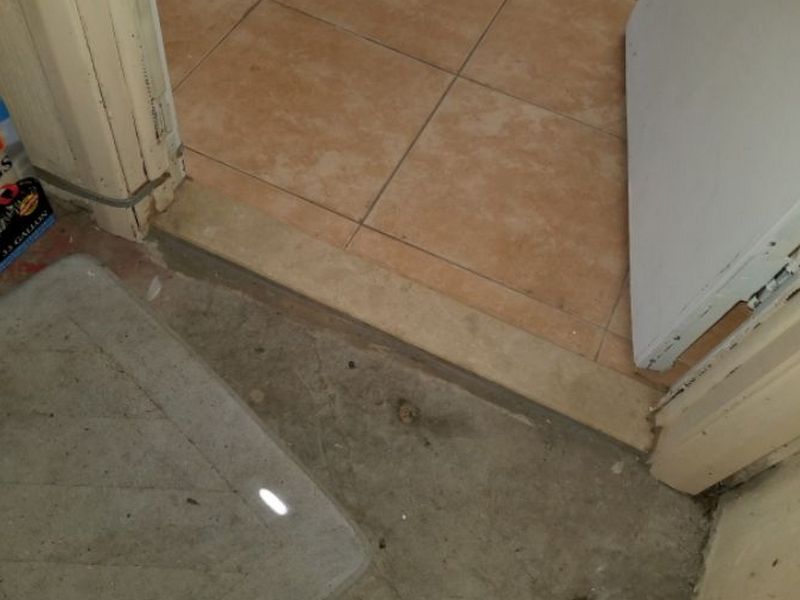
The garage floor and the living space floor are at the same height. Current standards require the living space to be installed no less than one step up from the garage to protect the living space from fumes. Hire a contractor for an evaluation and to provide repairs as needed.
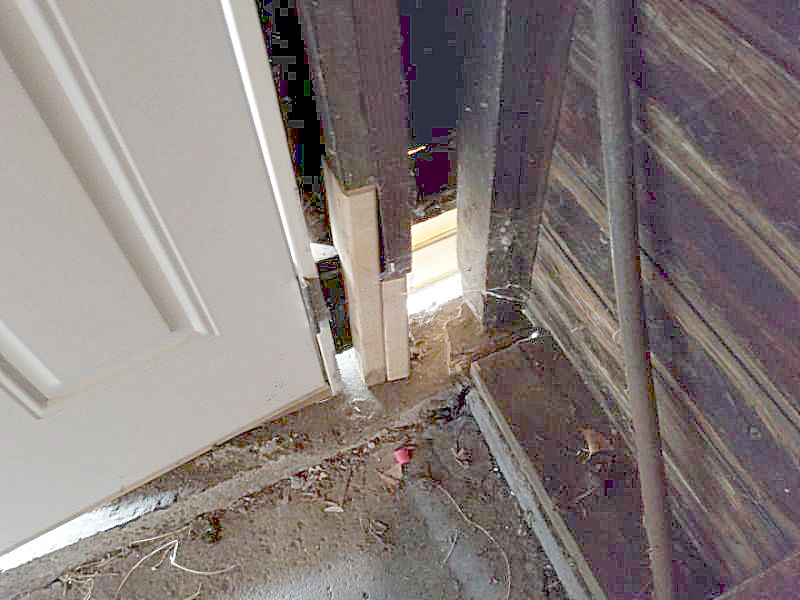
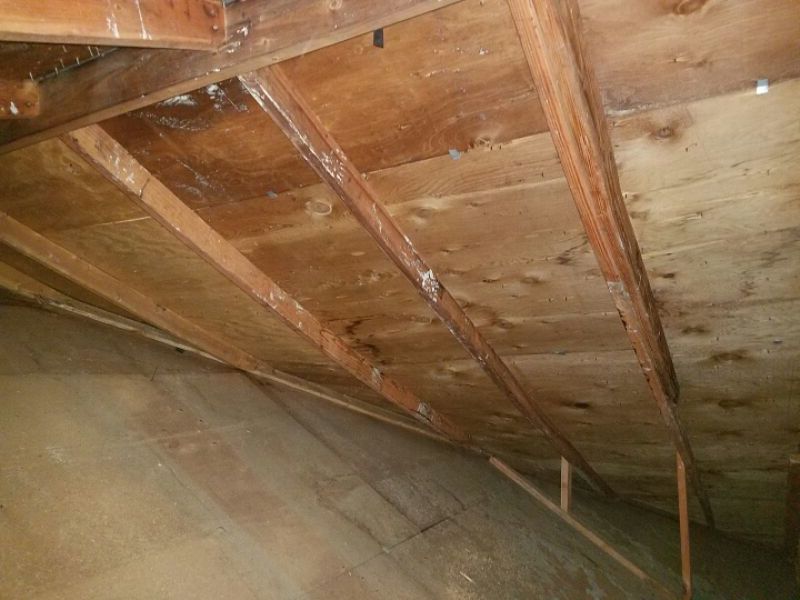
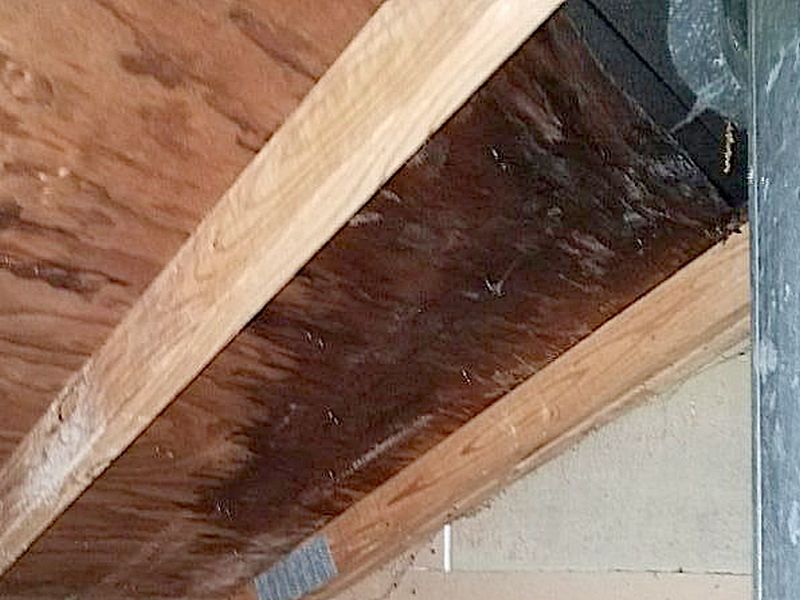
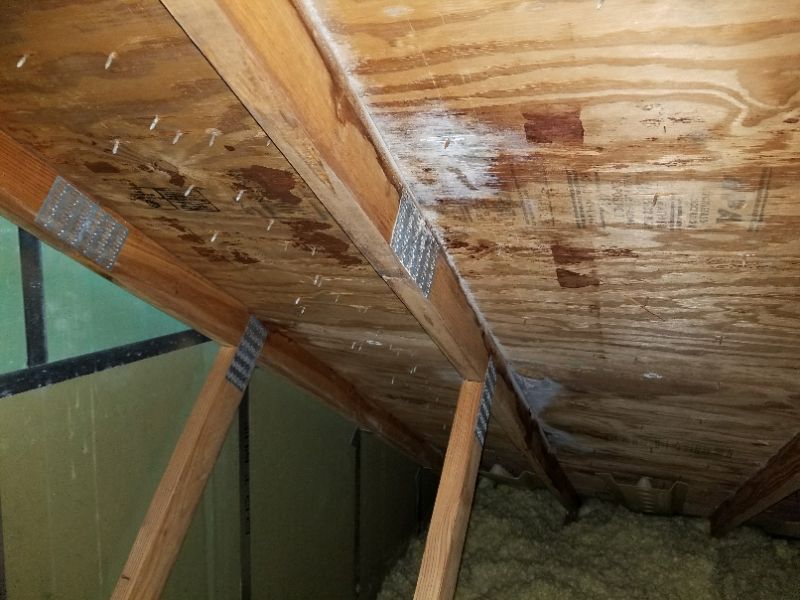
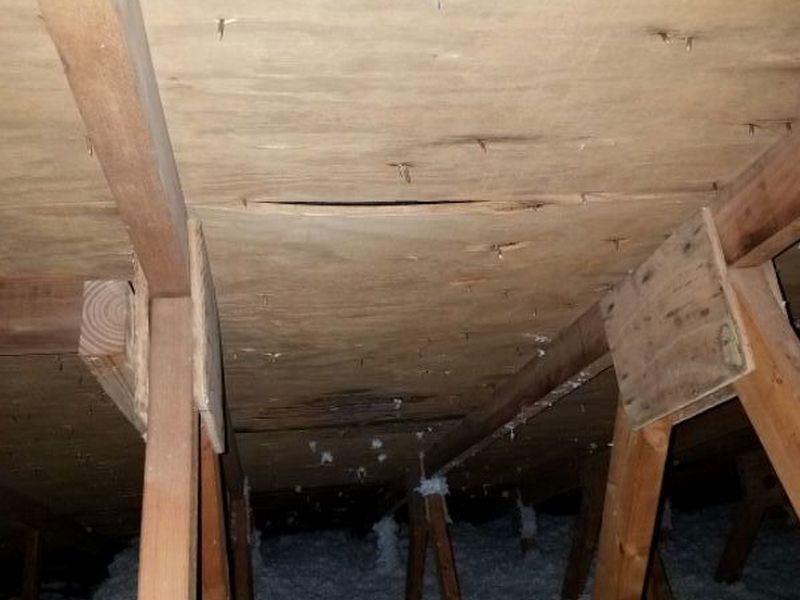
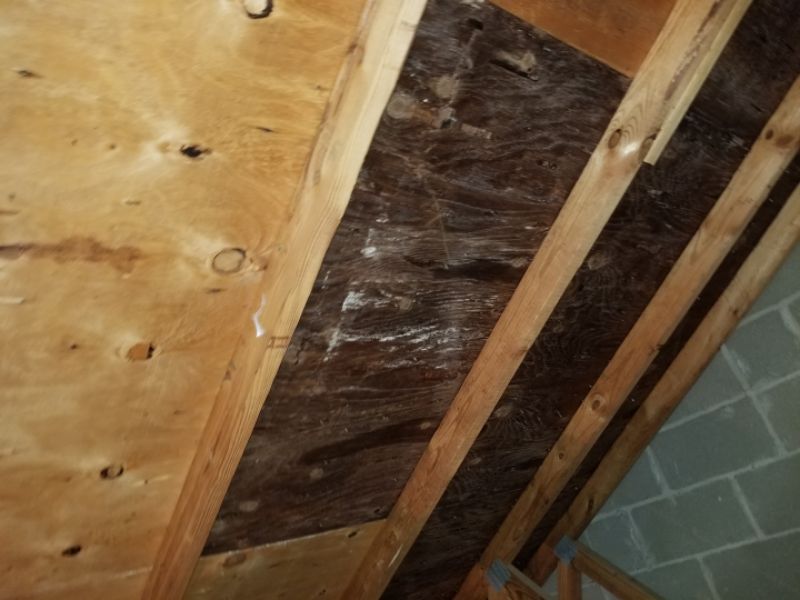
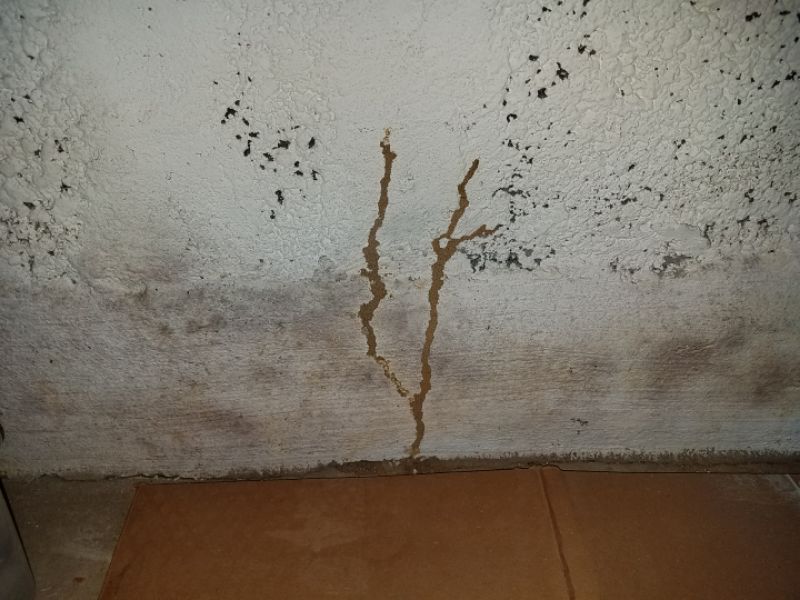
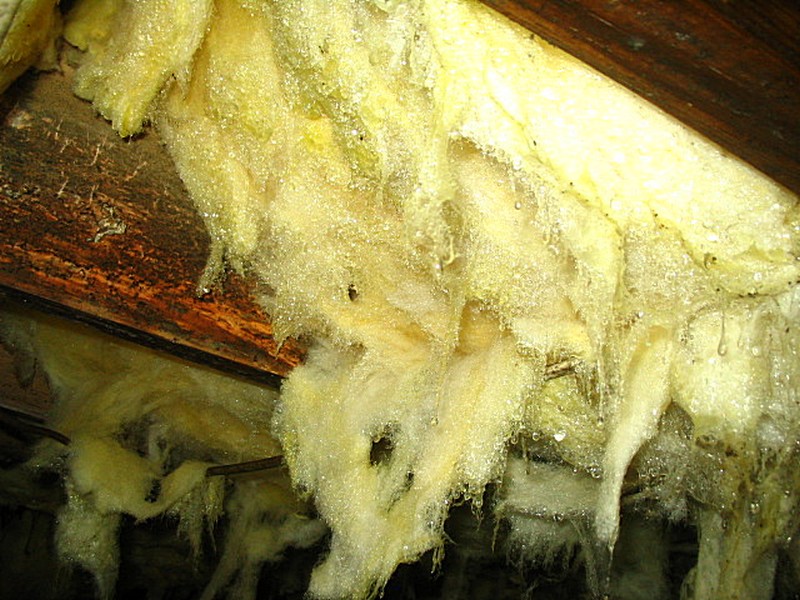
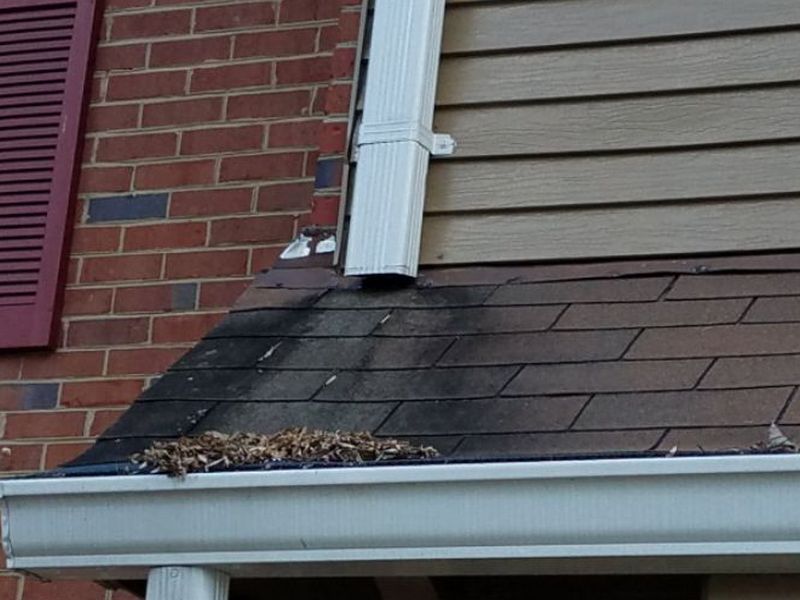
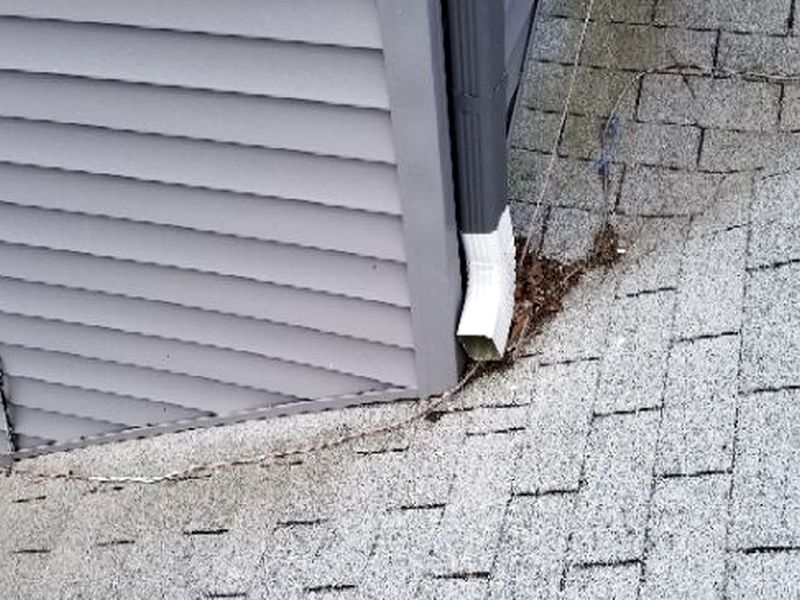
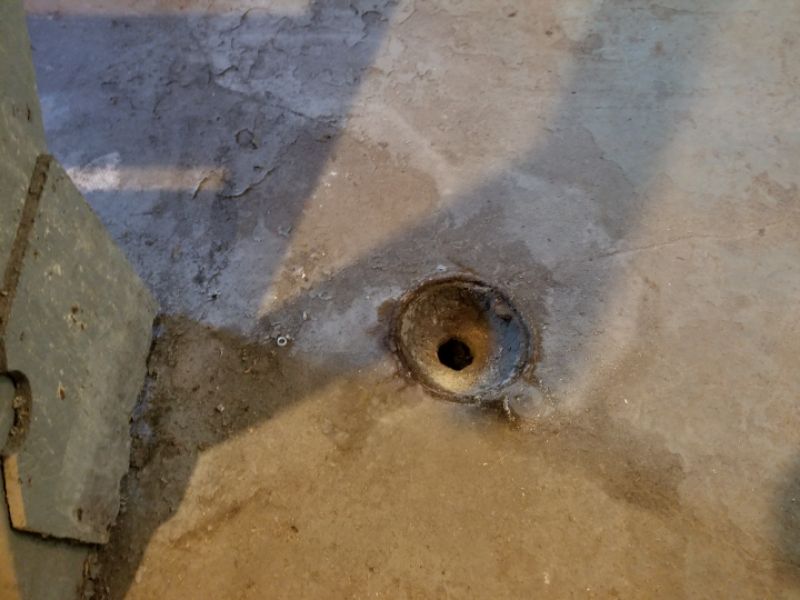
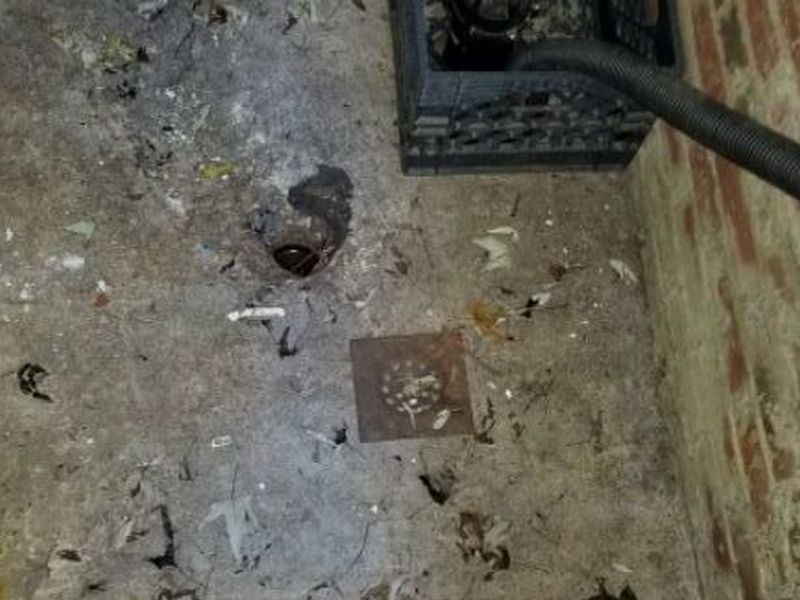
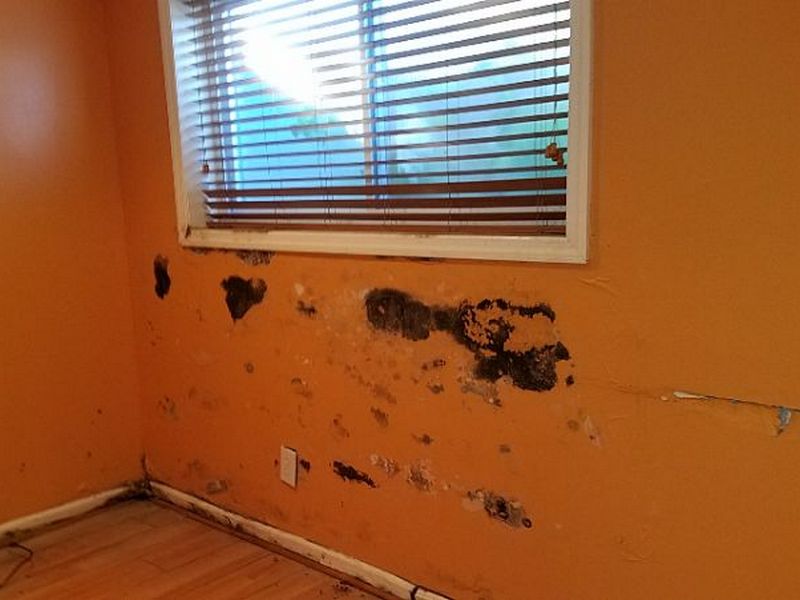
The sub-floor is stained, indicating a leak. The cause for the stains should be identified. Hire a contractor for an evaluation and to provide repairs as needed.
The sub-floor is deteriorated. This weakens the floor structure. Hire a contractor to provide repairs as needed.

The repairs to the sub-floor are unworkmanlike. Repairs should adhere to accepted building practices. Hire a contractor to properly repair the sub-floor.
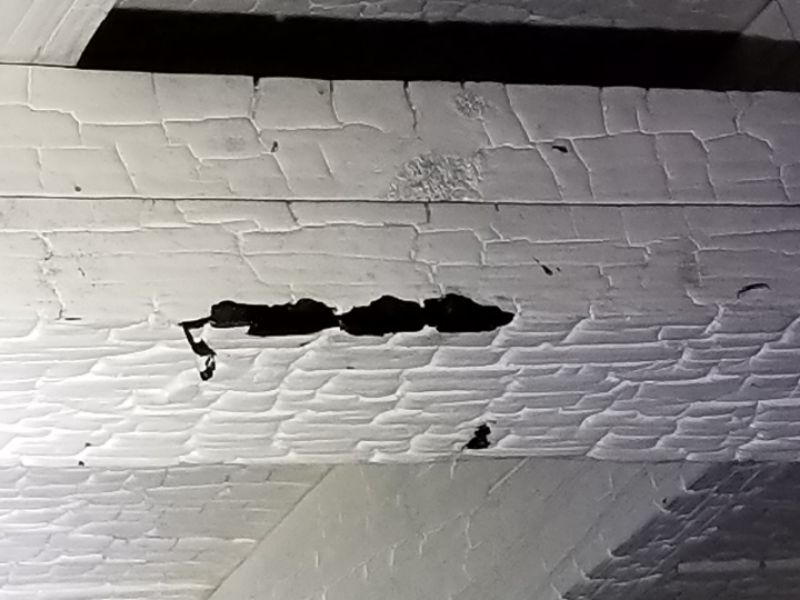
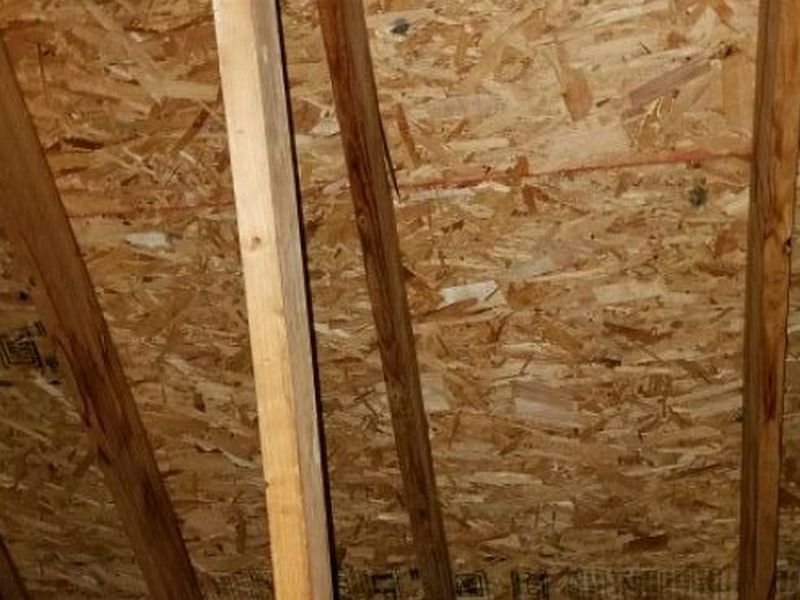
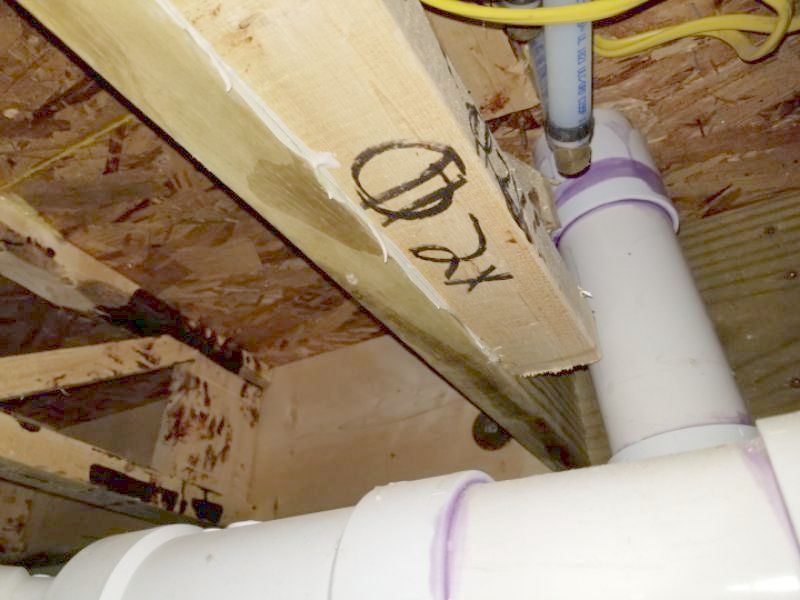
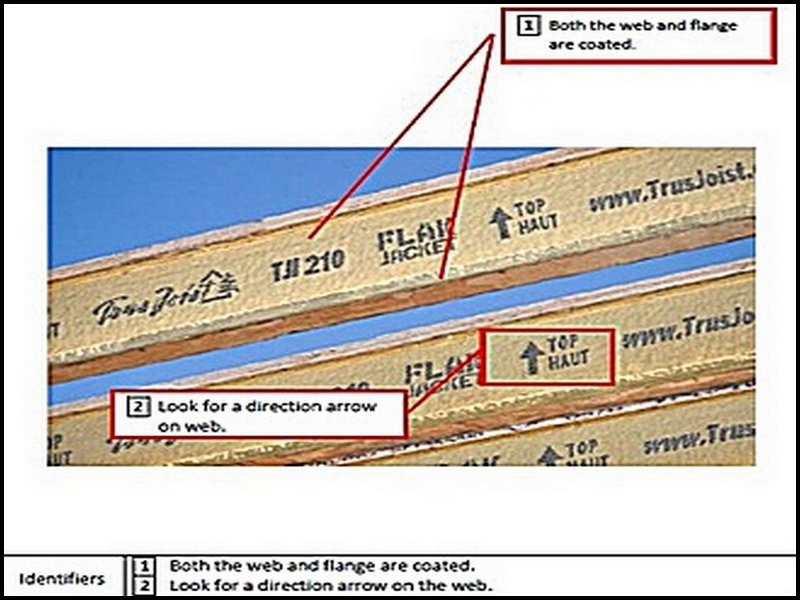
Weyerhaeuser “Flak Jacket” TJI Truss Joists are engineered I-joists manufactured with a fire-resistant coating. In products manufactured after 12.1.2016 the coating included formaldehyde-based resin. Weyerhaeuser acknowledged this after customer feedback noting odors in the homes. In higher concentrations formaldehyde can cause eye, nose, and throat irritation. In very high concentrations it can cause headaches, dizziness, and nausea. Not surprisingly, Class Action lawsuits are being filed.
Scope of the Issue:
As noted above, this only affects product manufactured after 12.1.2016. The company said it has halted all production, sales, and shipments of the product, and is collecting unused product from customers. Weyerhaeuser considers it highly unlikely that the floor structure above crawlspaces are involved. They estimate that <2,500 basement structures are affected. The locations include New Jersey, Colorado, Delaware, Minnesota, New York, and Pennsylvania.
Inspecting:
This will be a rare discovery, and can be reported with a custom Defect Statement. Clients should be advised to research at the website: https://www.weyerhaeuser.com/builderfj/ and further educate themselves.
Identifying TJI joists that ARE affected:

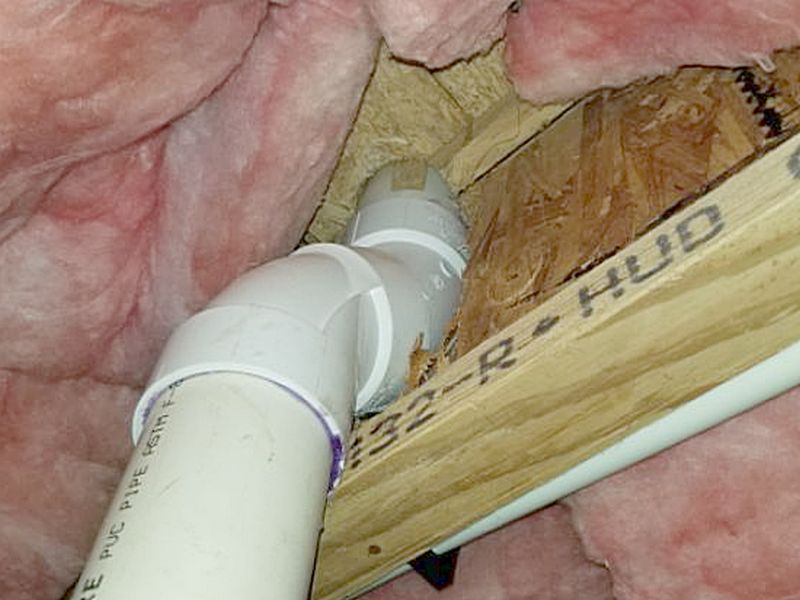
Identifying TJI joists that are NOT affected:
Floor joist deterioration is probably the most common structural defect. Improper joist repairs are at the top of the list for for unacceptable remediations. The correct term for a substandard job is “unworkmanlike.” This is a legally-recognized designation that has court precedence, and is preferred over “amateur” or similar words. A strict reading of current model Code calls for repairs that “shall conform to the requirements for a new structure”, i.e. complete joist replacement. That said, most models as adopted and administered allow for “sister” and post and beam repairs. Doing them right is where many contractors fall short.
The most important quality of a joist repair is re-establishing support onto a foundation-level base. Regardless of the method used, it must have a proper footing that extends below the local frost line. Surface block supports are unacceptable. Let’s look at this and at the other qualities needed. Note that, while often not enforced, most code departments require a permit for even a single joist repair. You must be familiar with what is and is not allowed in your jurisdiction.
Total Joist Replacement
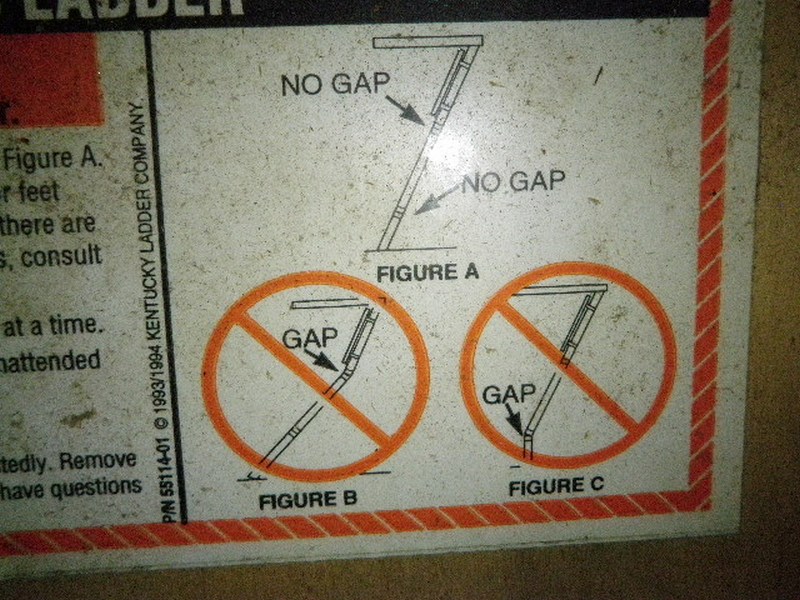
This is a premium method. The replacement joist must be the same size as the original, have proper bearing on the foundation or beam at both ends (1.5″ on wood and 3″ on masonry), and be in full supporting contact with all load surfaces above.
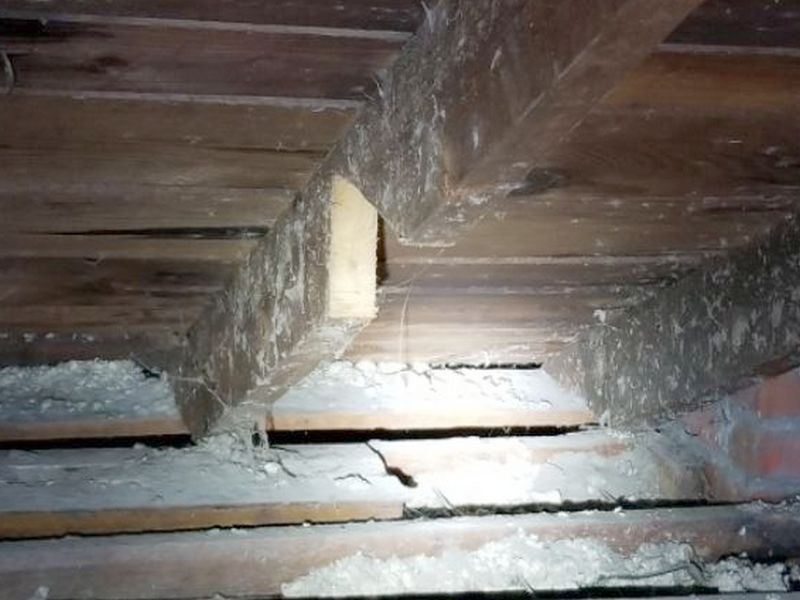
A “pocketed” joist may require a full replacement
Sister Repairs
A “sister” repair attaches a new board to the old one in order to provide solid structure where the original joist is damaged. There are several requirements to doing this properly.
- The sister must be the same size as the original, e.g. a damaged 2×10 uses a 2×10 sister.
- The sister must be tightly attached to the original with multiple, spaced and staggered fasteners. Bolts or structural screws are preferred over nails. Inadequate connections or a loose bond will not transfer the load from the sister to the original.
- The sister must have one end on a foundation-level bearing surface. It can’t be entirely in the middle of the original.
- The sister must extend at least 1/3 of the overall joist’s length past the damaged area.
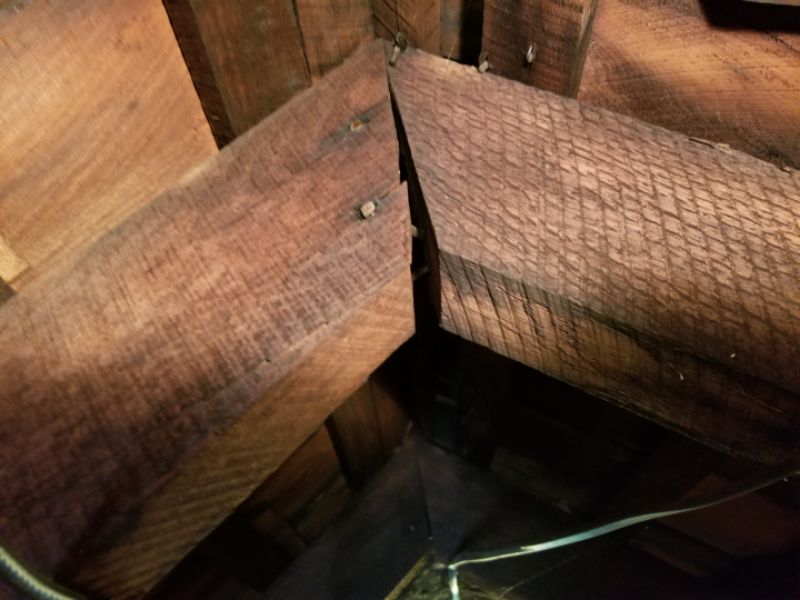
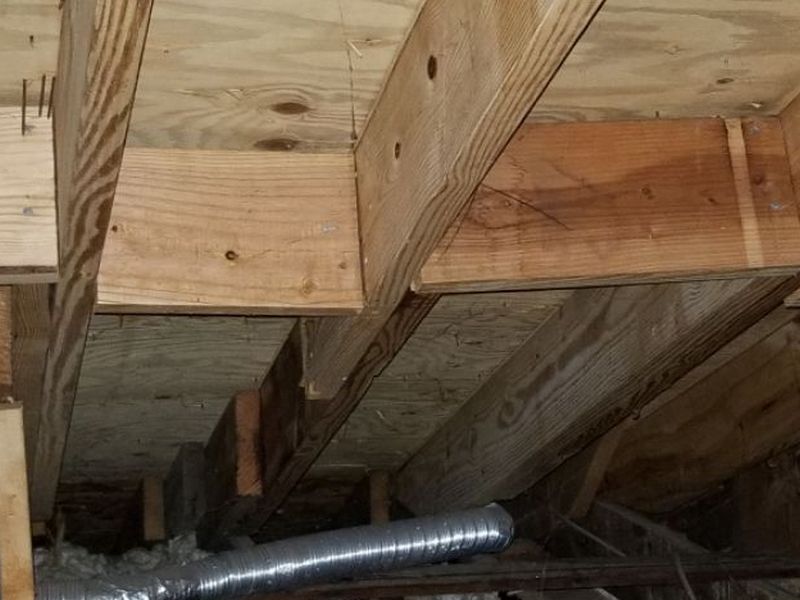
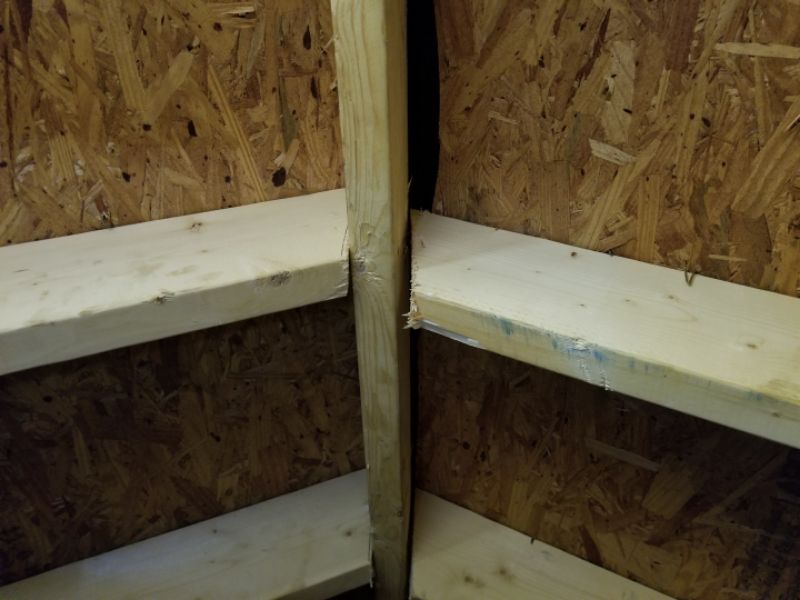
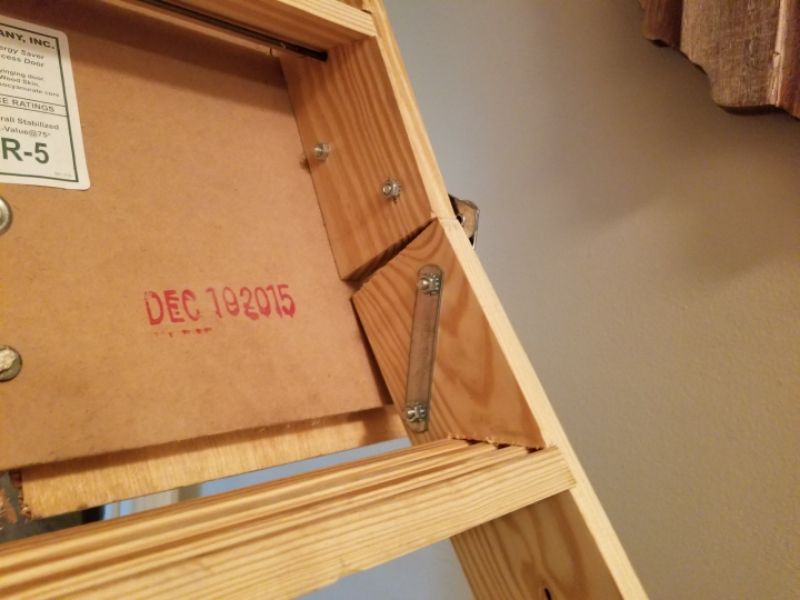
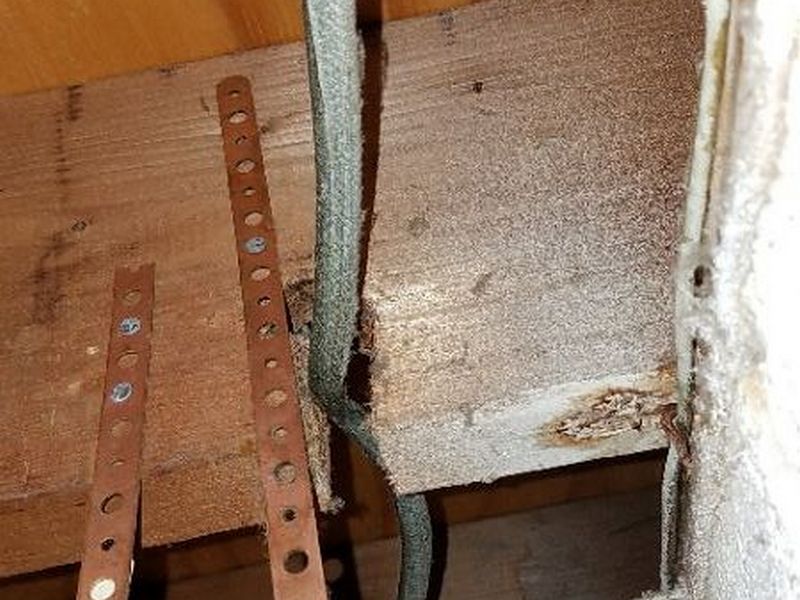
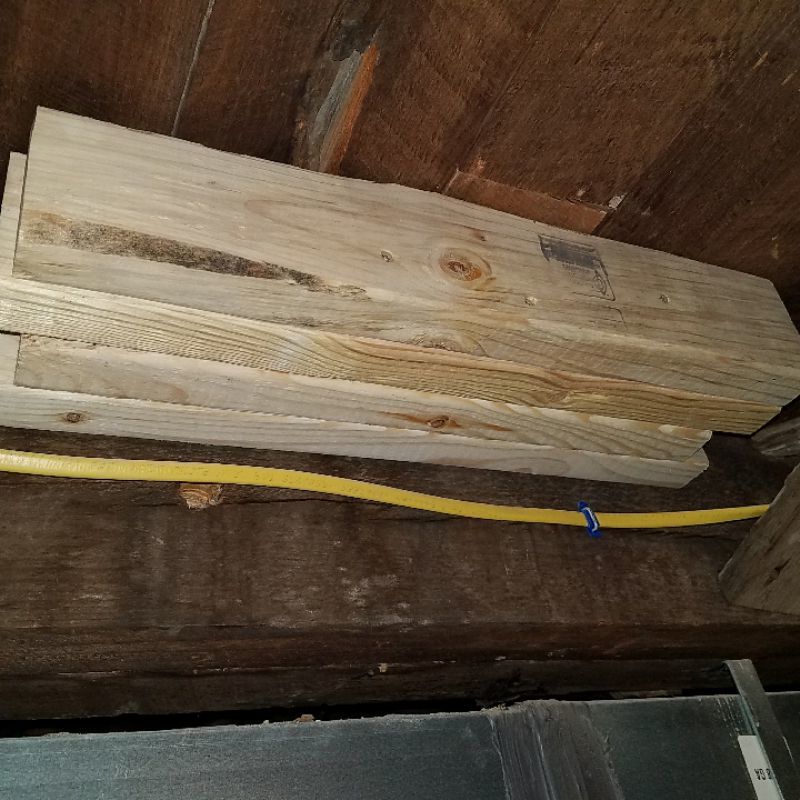
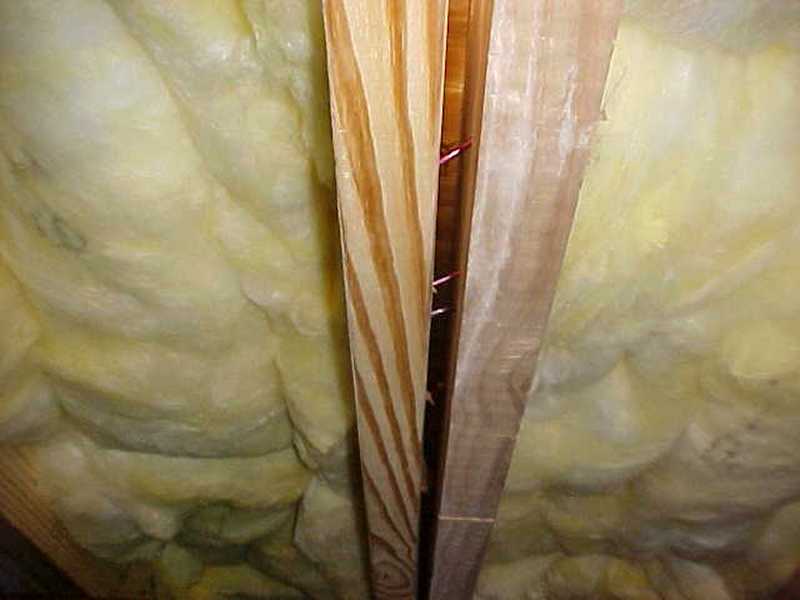
These sisters are completely inadequate
Too loose; it won’t transfer the load
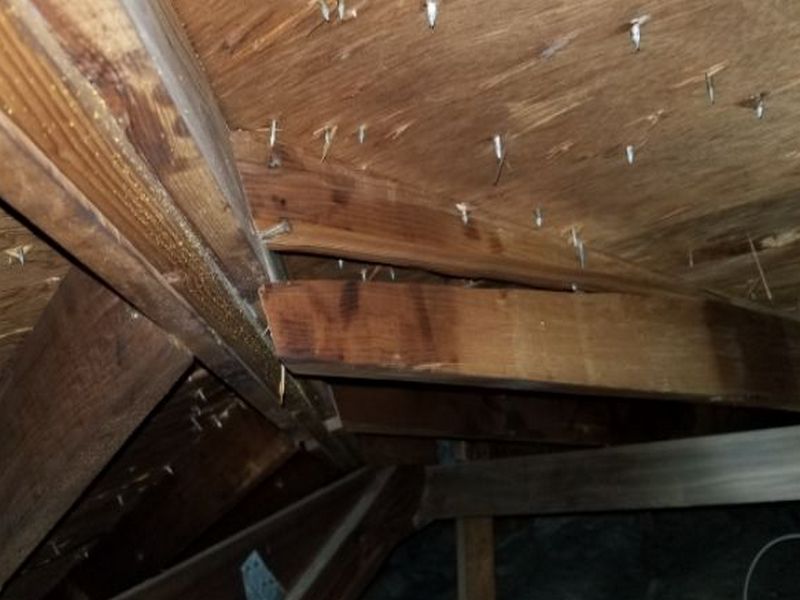
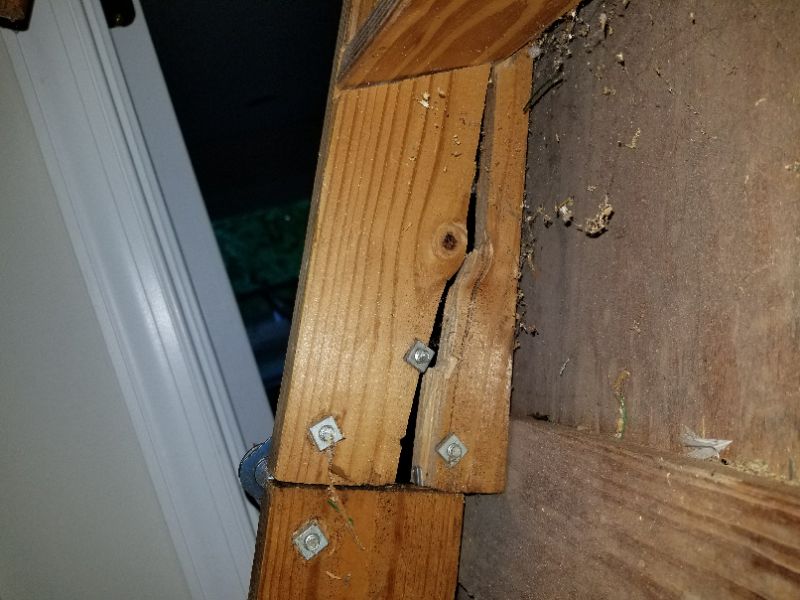
These sisters are too short
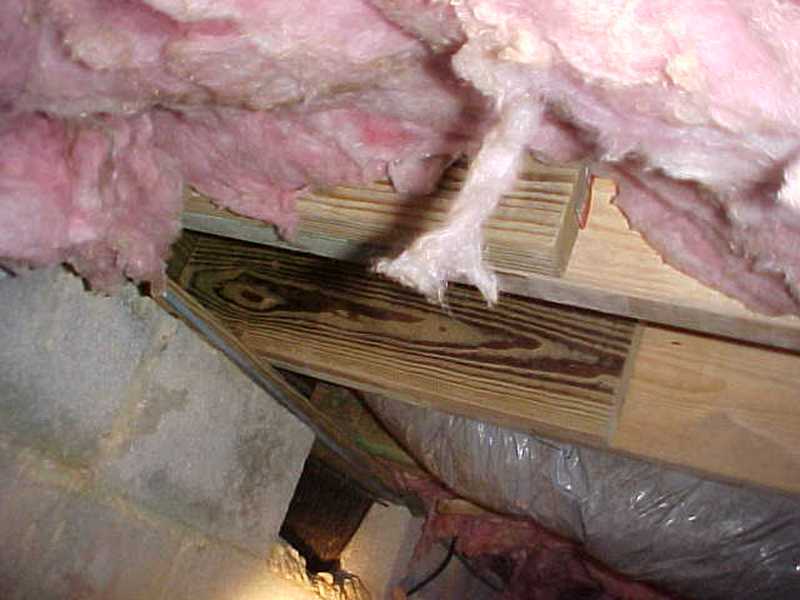
Too short; inadequate fasteners
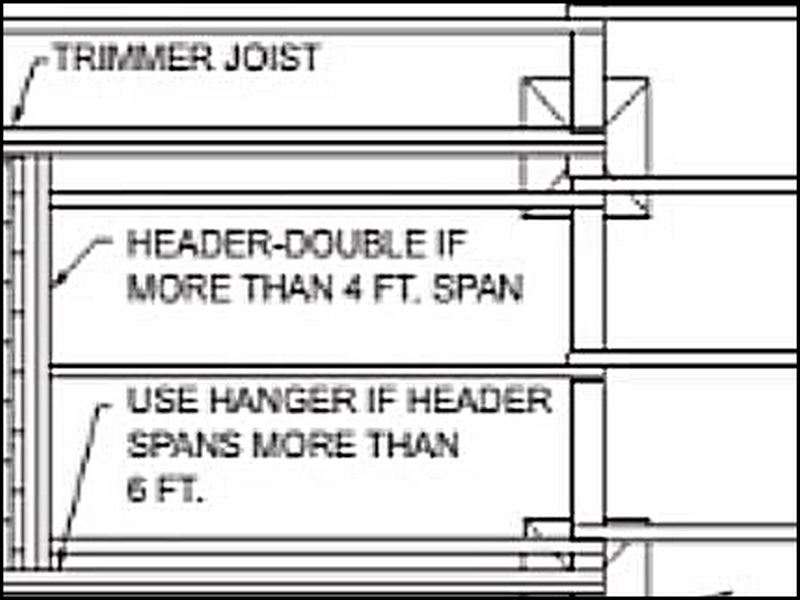
Headers
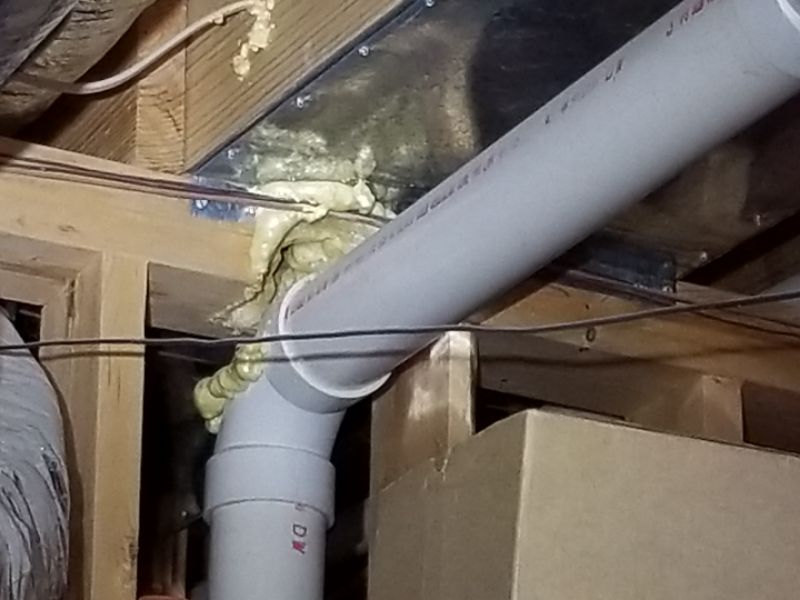
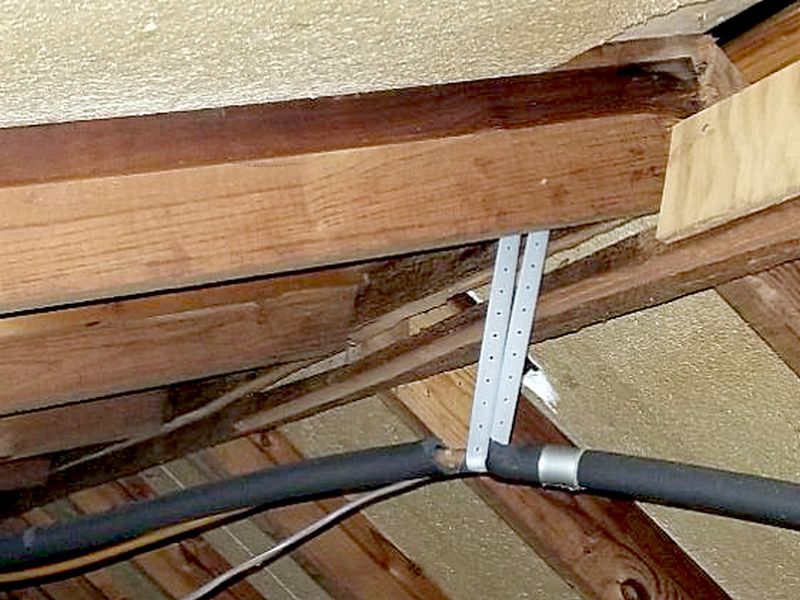
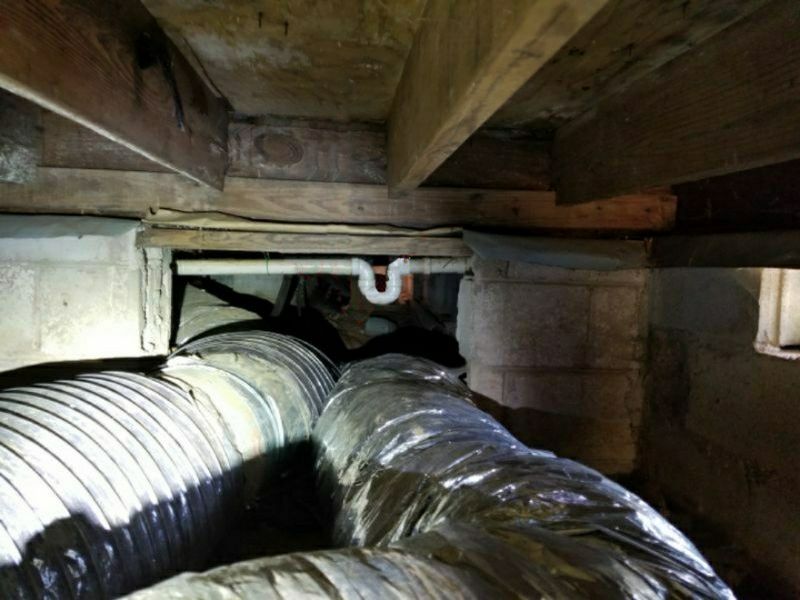
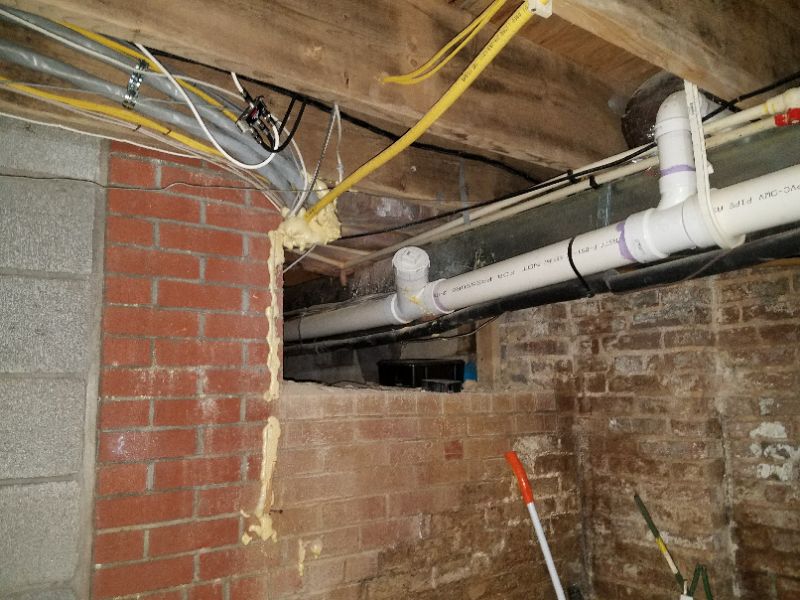
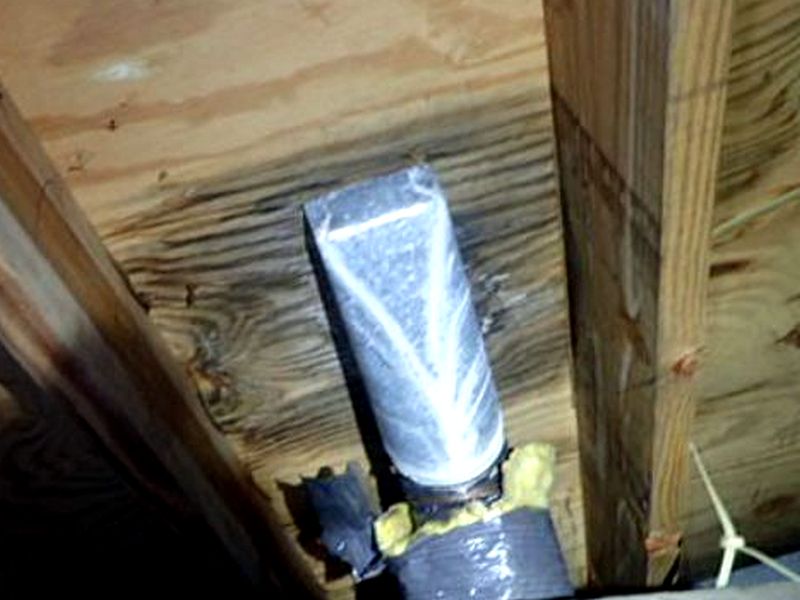
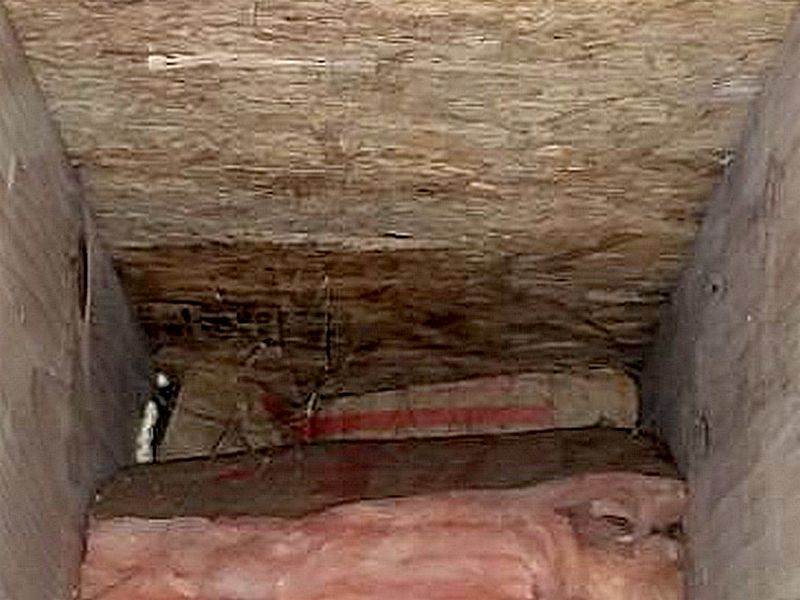
If a joist has to be cut in the middle of its span, e.g. to accommodate a plumbing stack or HVAC duct, then headers must be constructed around the obstacle. These allow the intact joists on either side of the missing section to carry the loads of the cut joists.
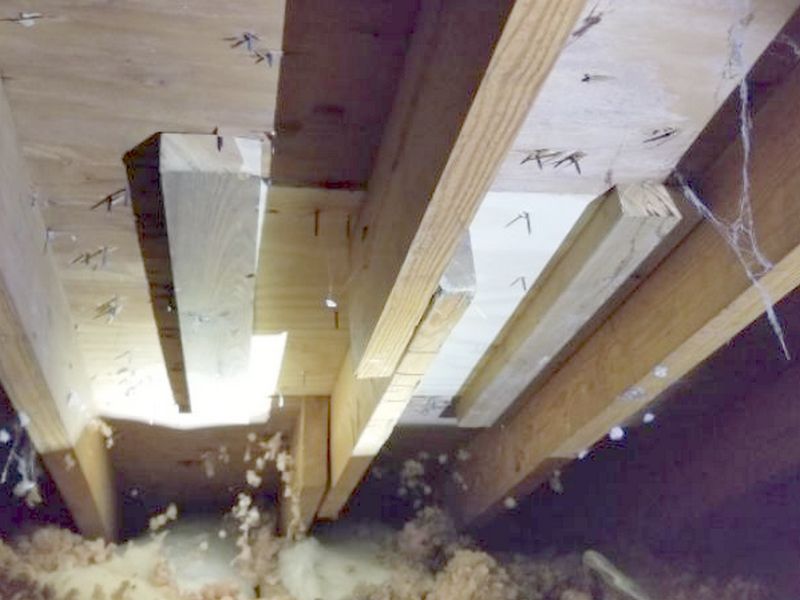
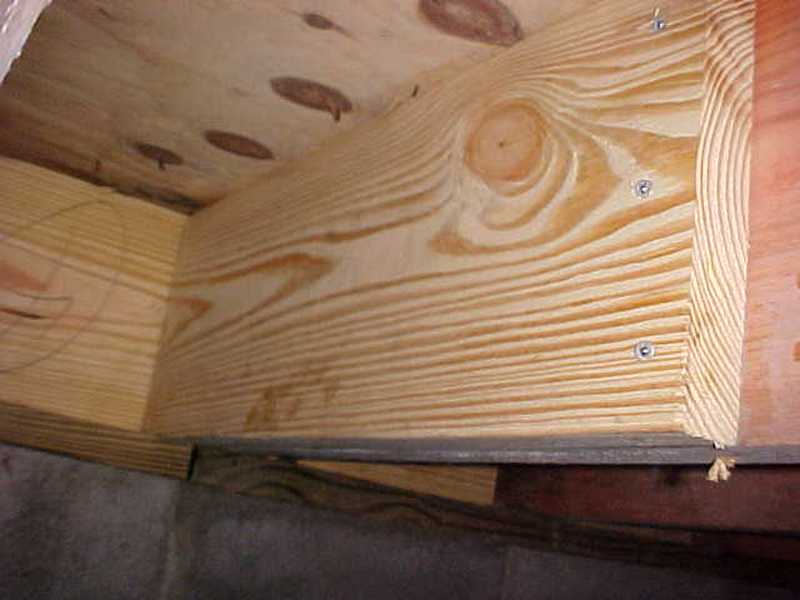
No headers
Posts and Beams
An acceptable alternative to bearing on the original foundation or beam is to install a new beam system next to the original bearing point. These must be constructed in a workmanlike manner. Note that most code inspectors will only accept surface support systems when designed and signed-off on by a structural engineer.
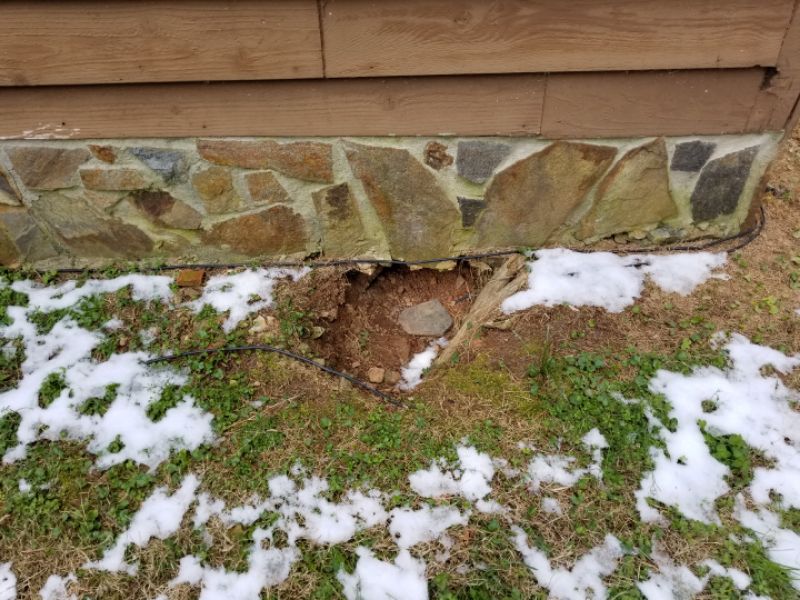
- The posts must be be set on foundation-level footers that are below the local frost line. Surface blocks are not acceptable.
- The new beam should be as close to the original bearing surface as possible to avoid a cantilever.
- Posts and beams must be adequately rated and installed in sufficient spacing. Everything must be plumb and level.
- Dimensional lumber posts and screw jacks are not acceptable.
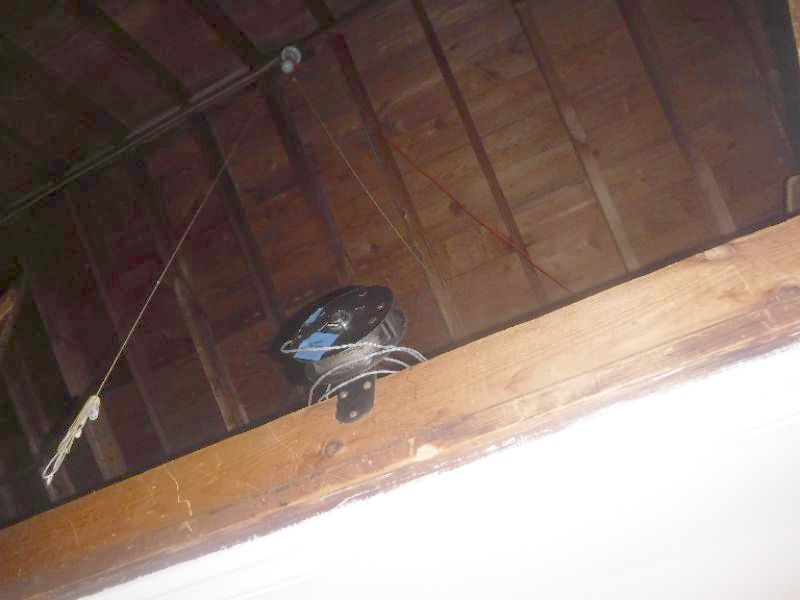
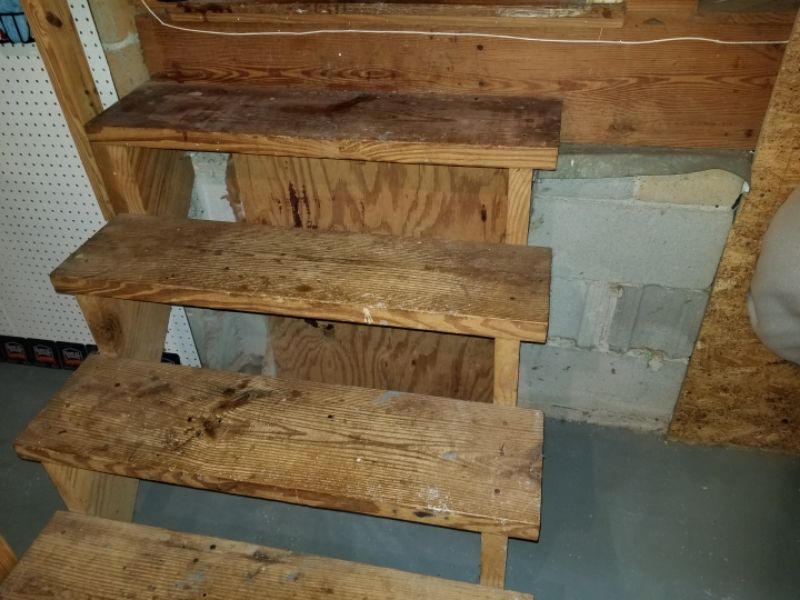
Screw jacks without footings
A great example of “unworkmanlike”