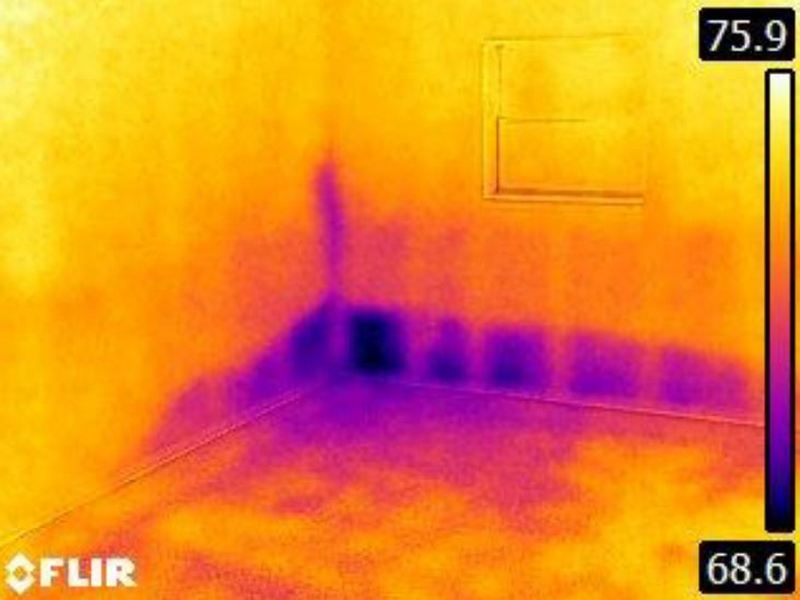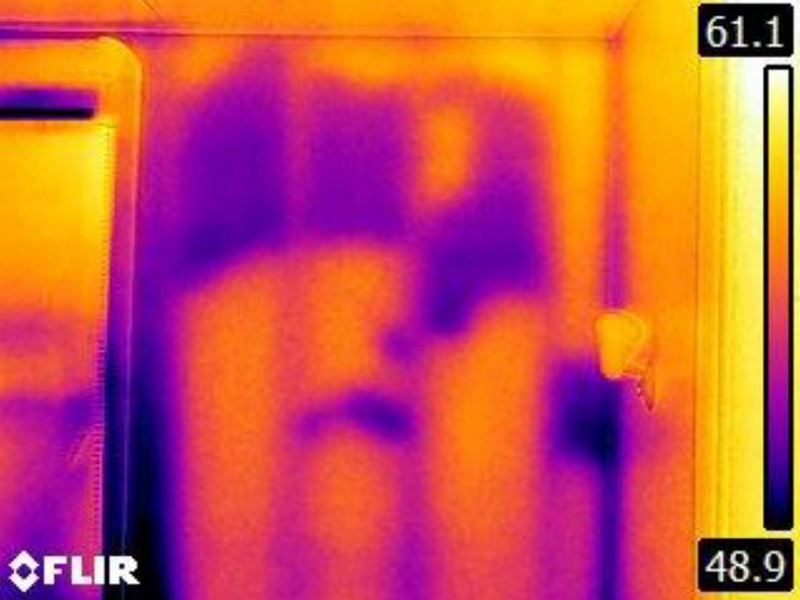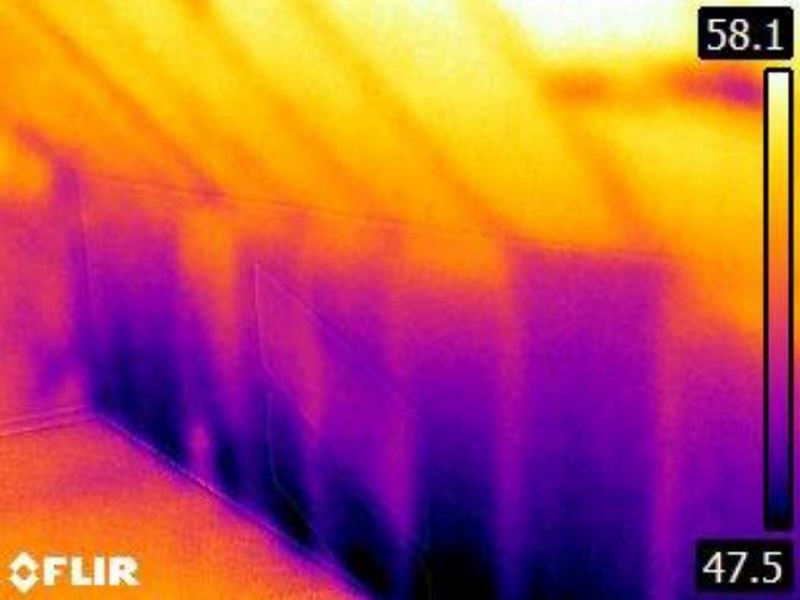
Appropriate attic insulation can be the single largest factor in managing a home’s energy costs. 25% of a home’s generated heat can be lost through the roof, accounting for up to 60% of the total energy lost in cold weather. During summer in warm climates inadequate insulation can require 1/2 ton of cooling just to overcome the heat gain from a hot attic. Additionally, the thoroughness of the insulation matters. Gaps and bare spots can negate the upper ceilings’ overall R-value.
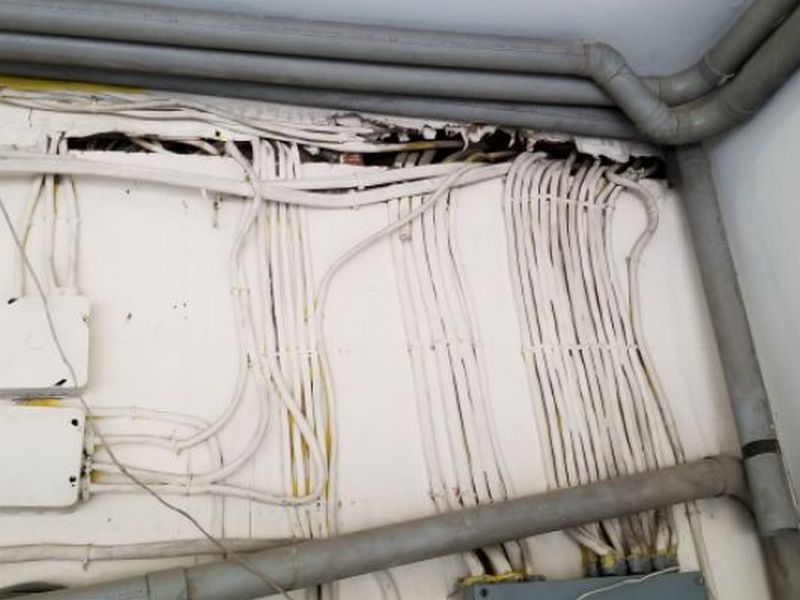
Safety comes first, but enter and inspect attics as completely as possible. Report displaced or missing insulation, thin areas, and coverage not up to current local requirements. Exposed flammable materials such as paper vapor barriers are notable, as are improperly-installed materials. The vapor barrier must be against the drywall or plaster and closest to the conditioned spaces. Newer top layers should not have an additional vapor barrier; loose or “unfaced” product should be installed. “Can” lights must have clearance from insulation unless you can confirm that they are”IC” rated. Look for damaged insulation, and be sure to connect the dots if you see water damage.
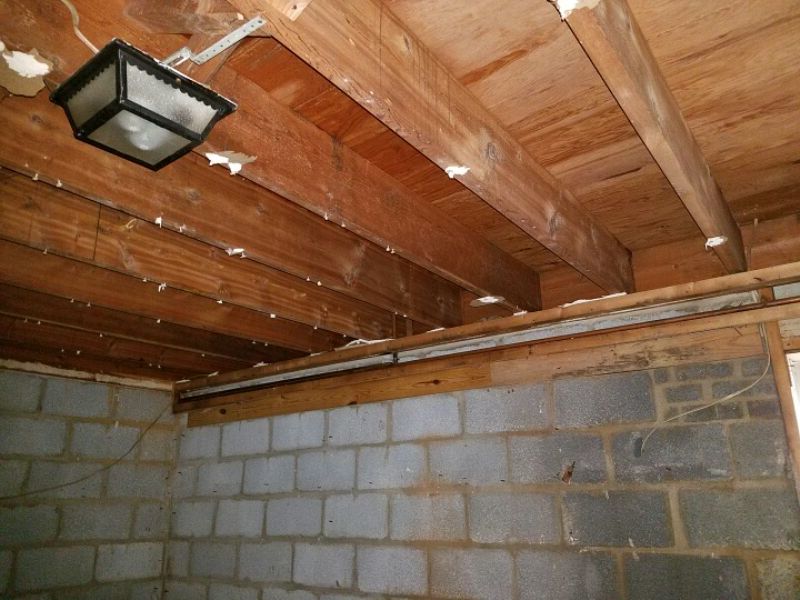
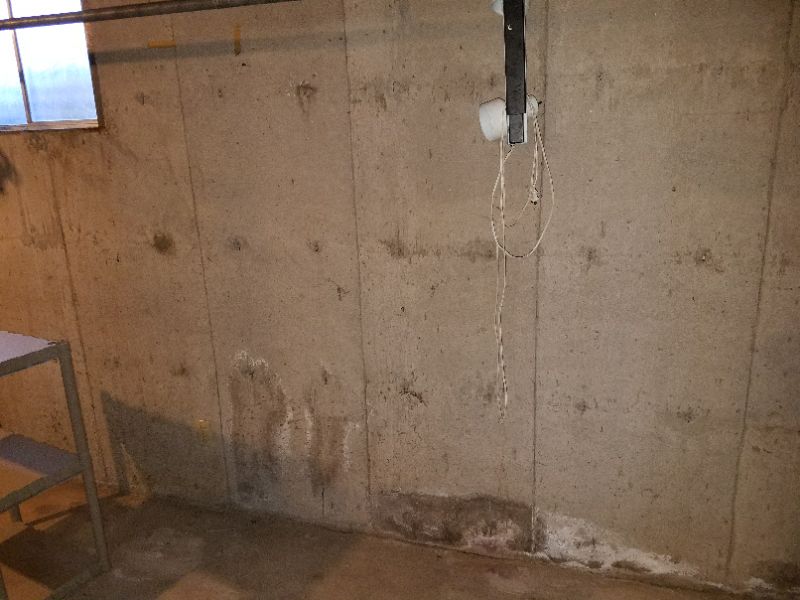
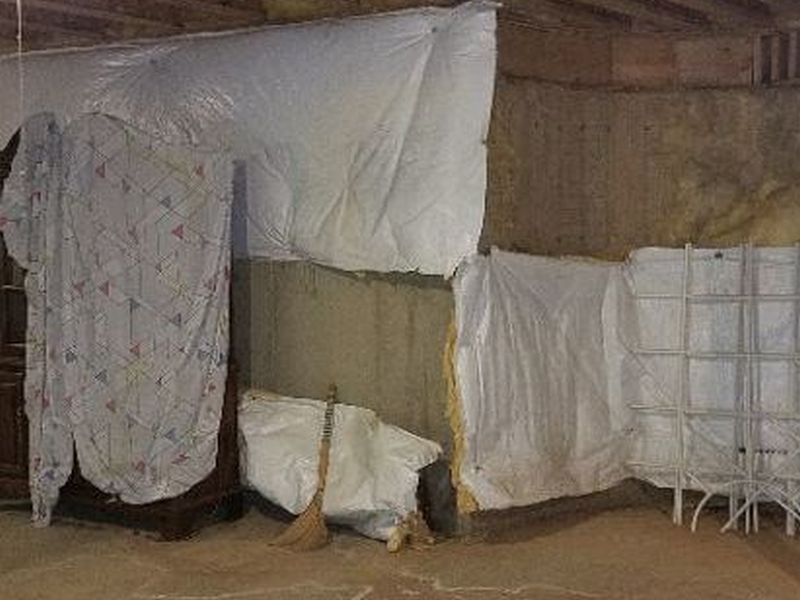
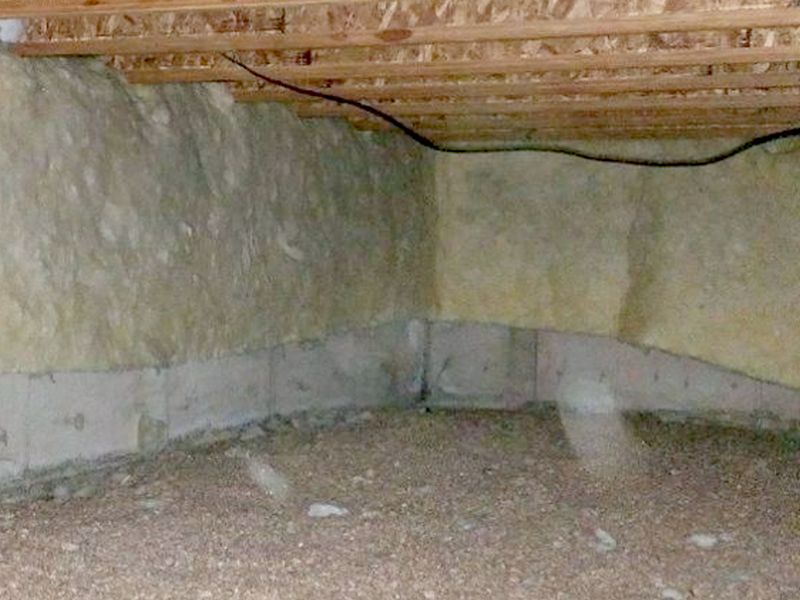
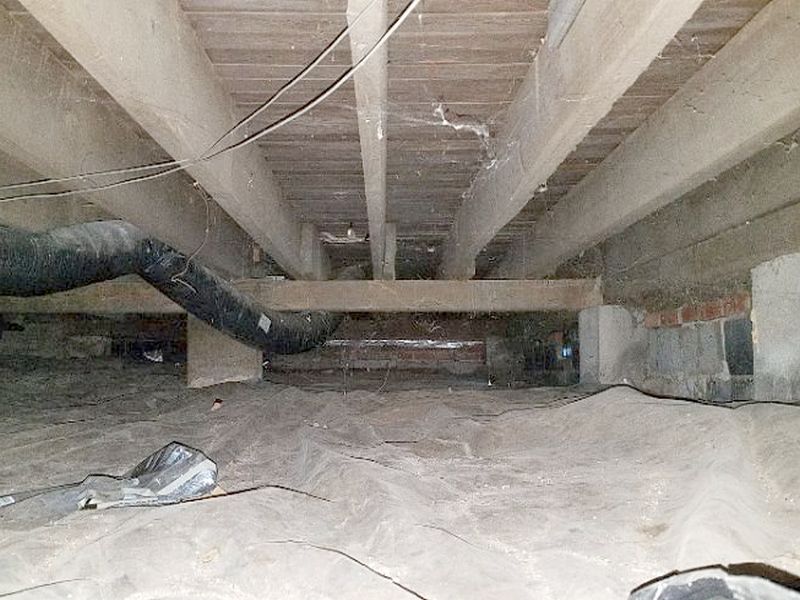
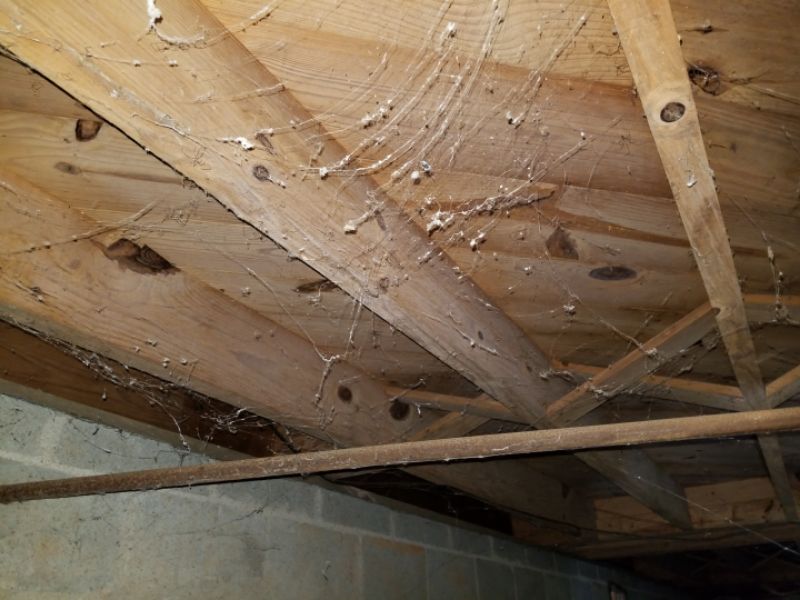
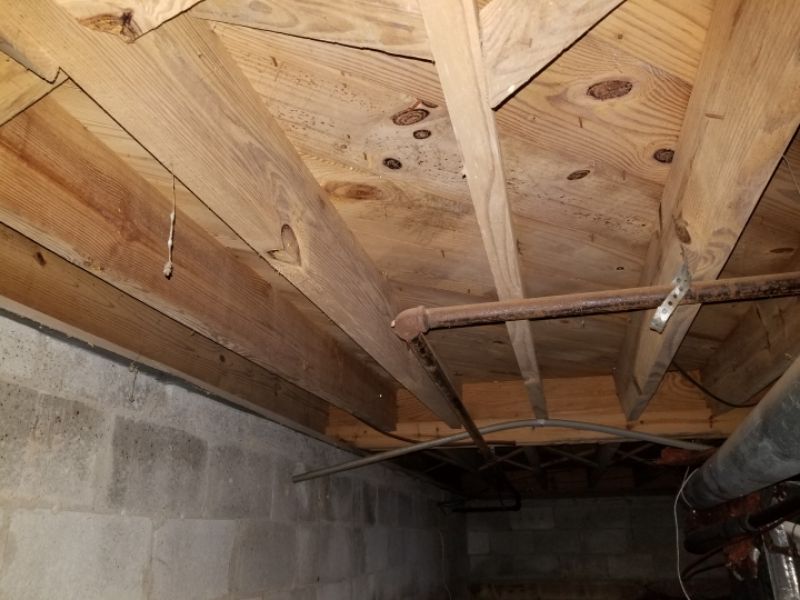
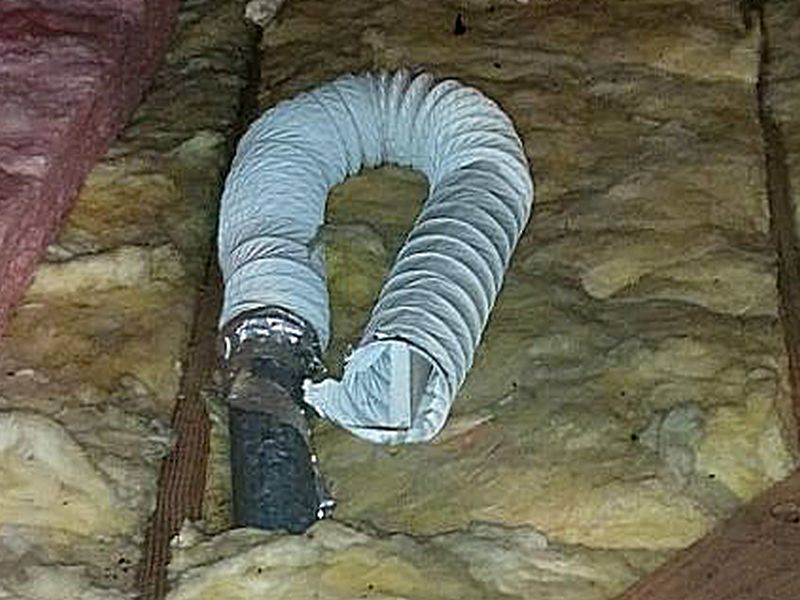
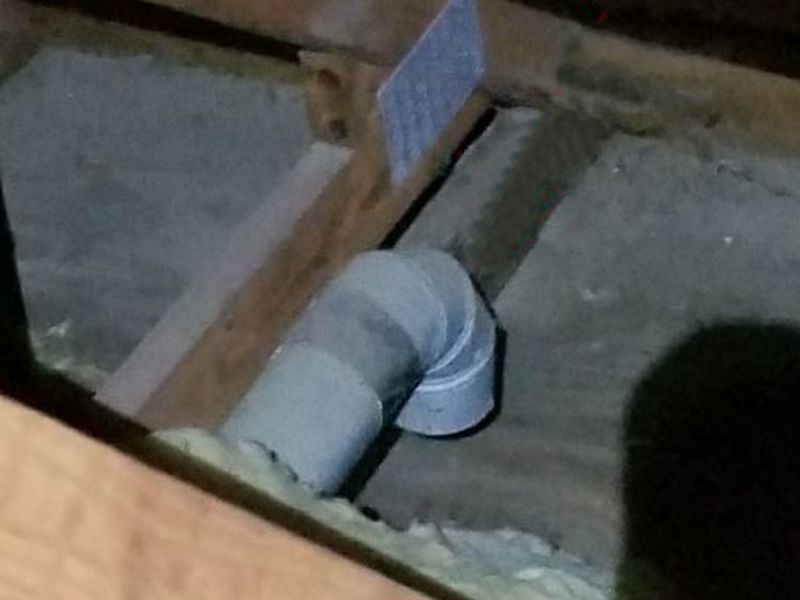
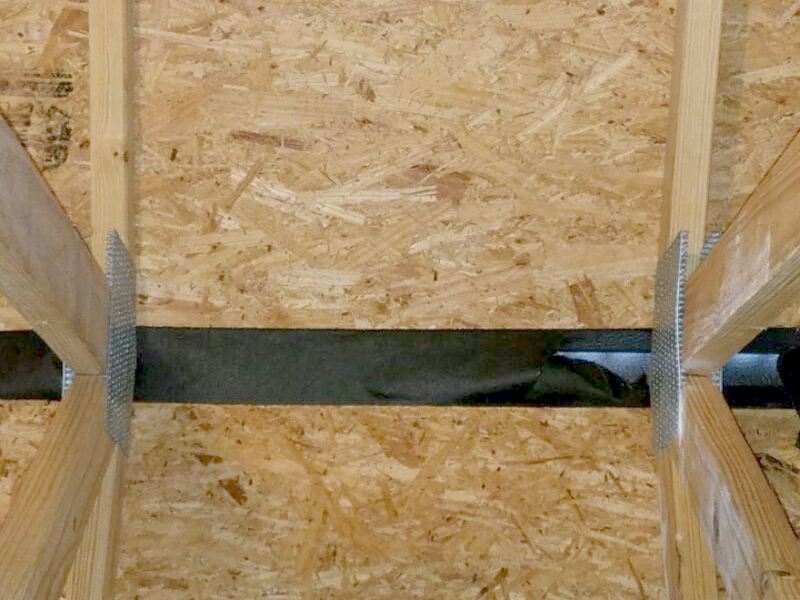
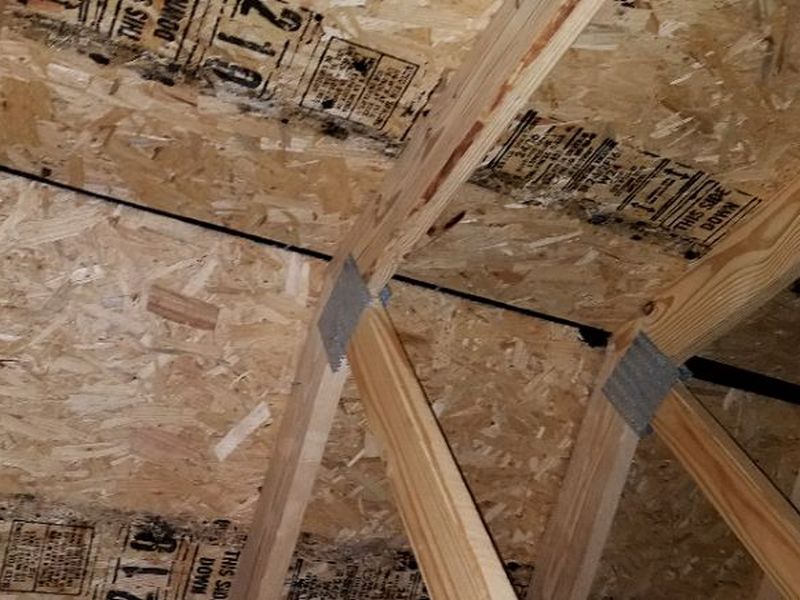
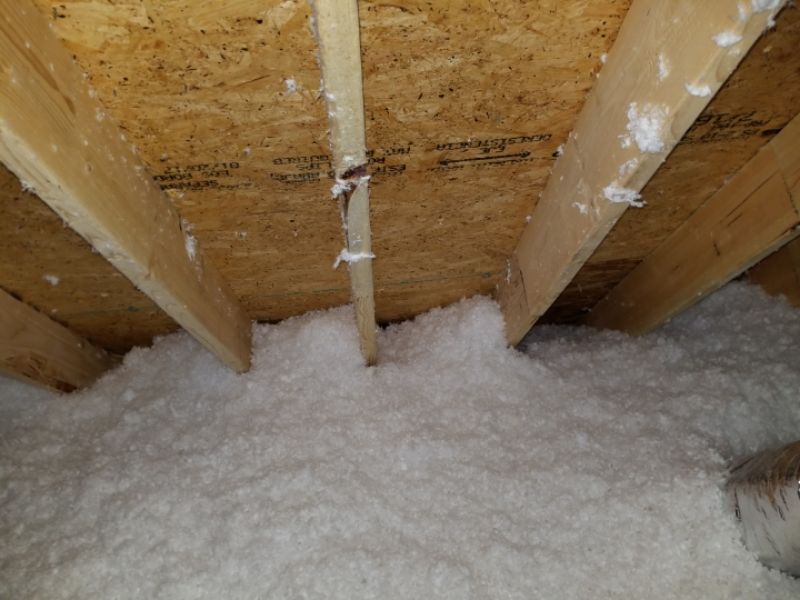
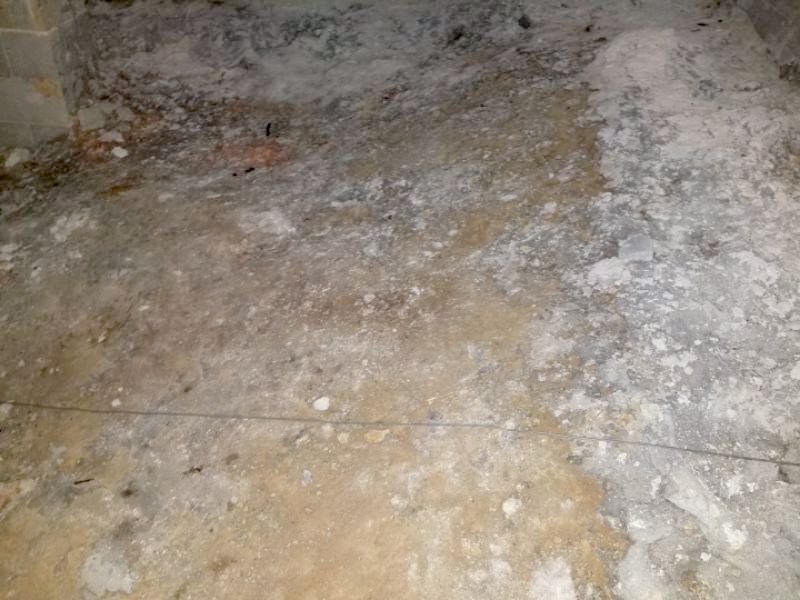
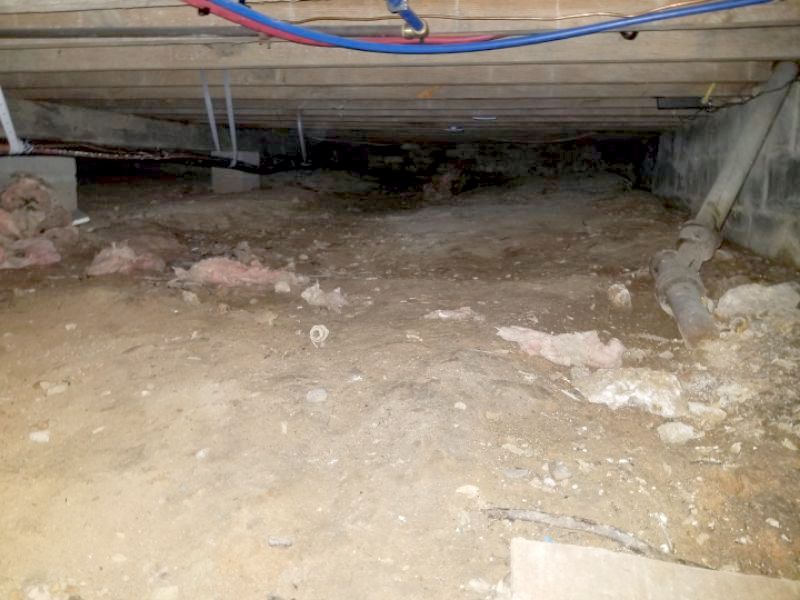
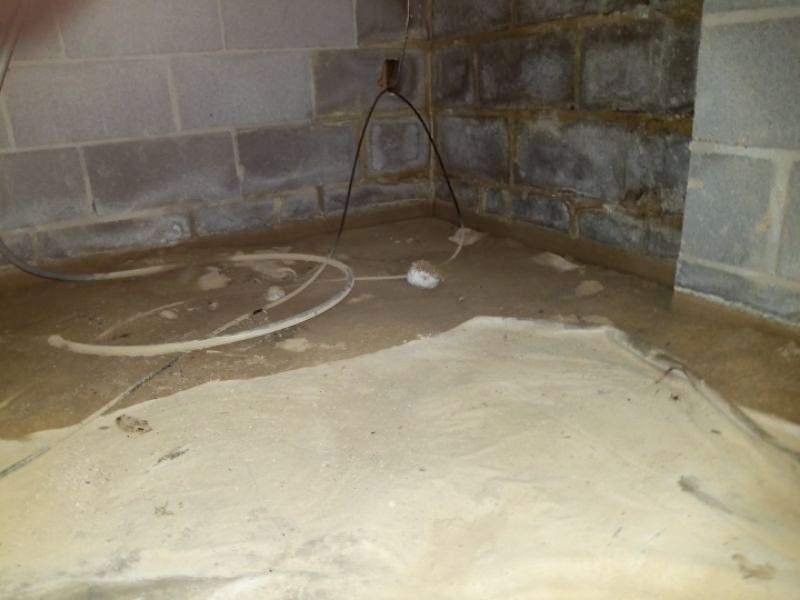
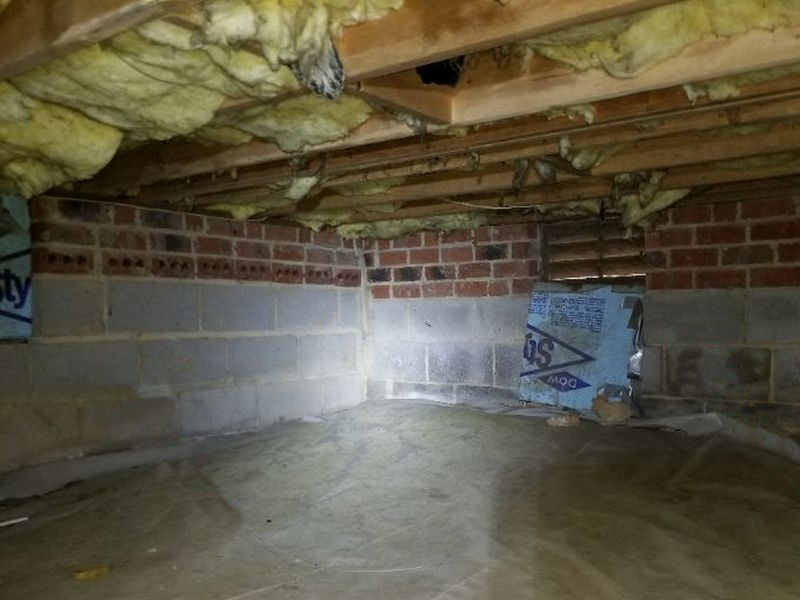
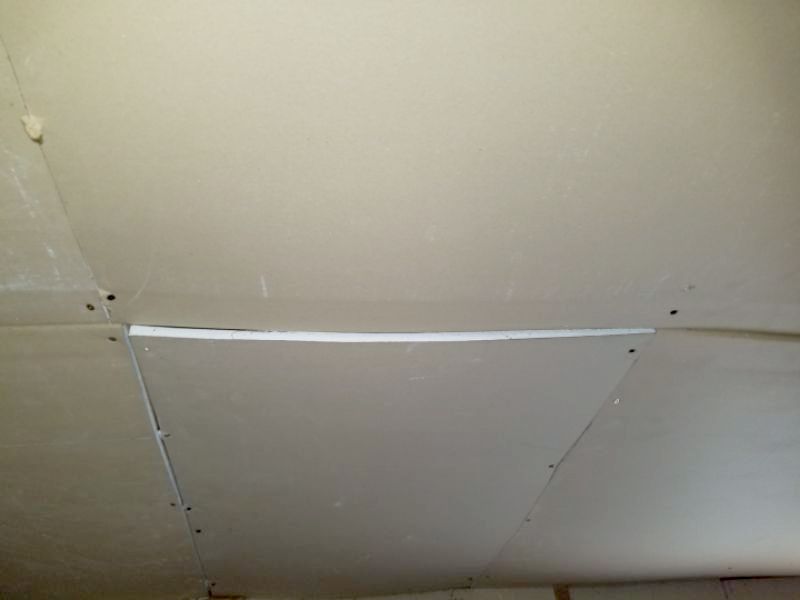
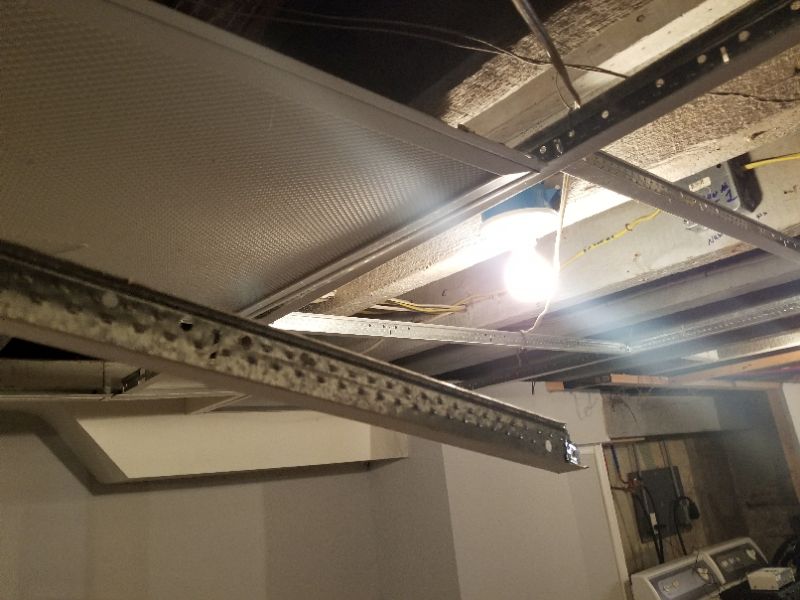
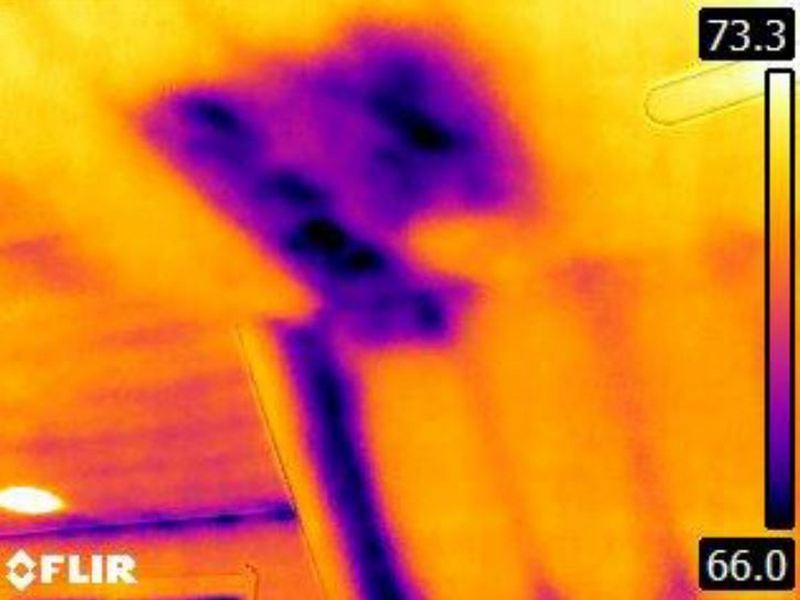
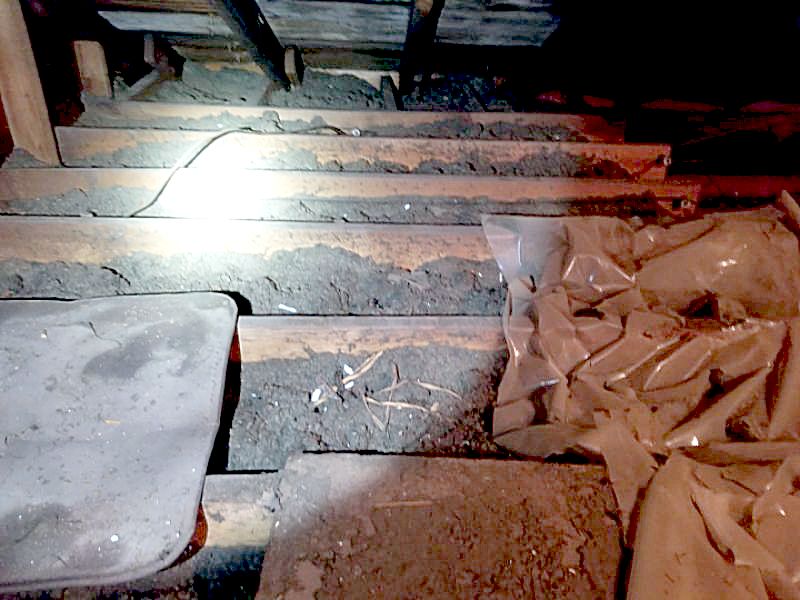
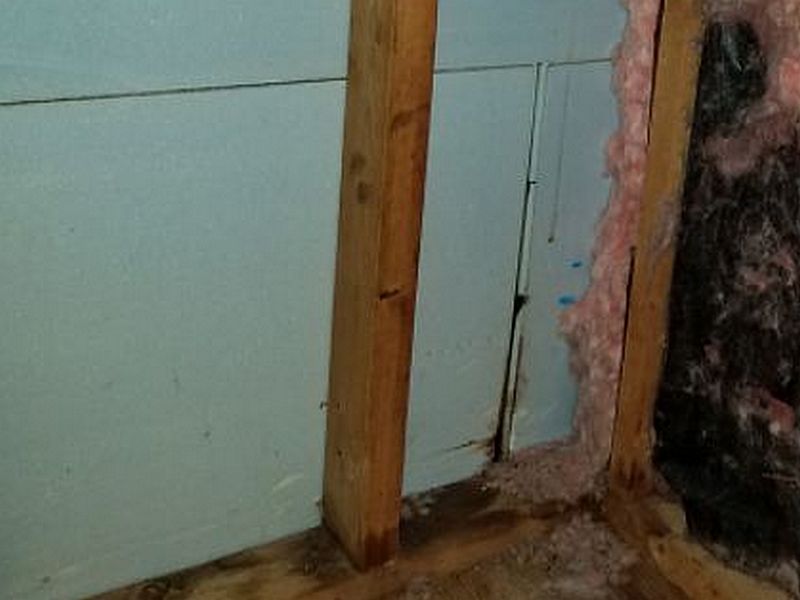
Insulation is missing in the attic. This affects energy efficiency. Install insulation in accordance with local guidelines.
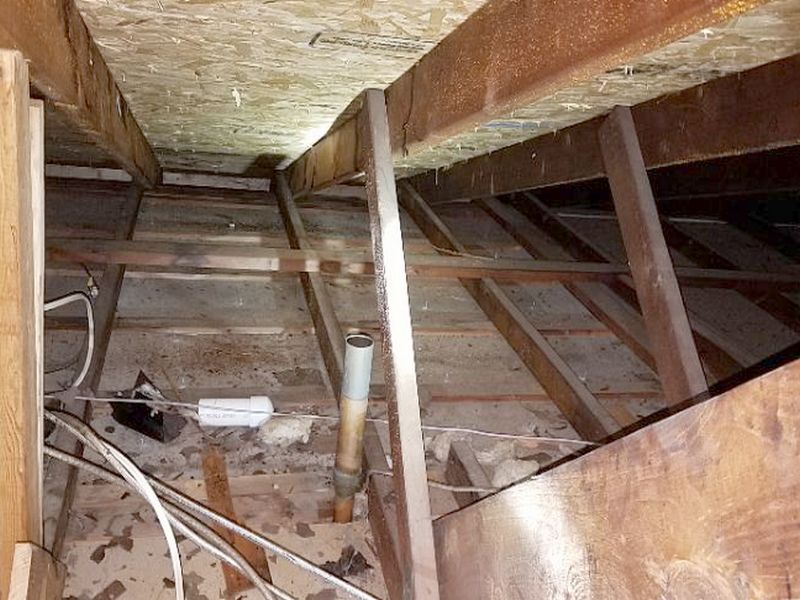
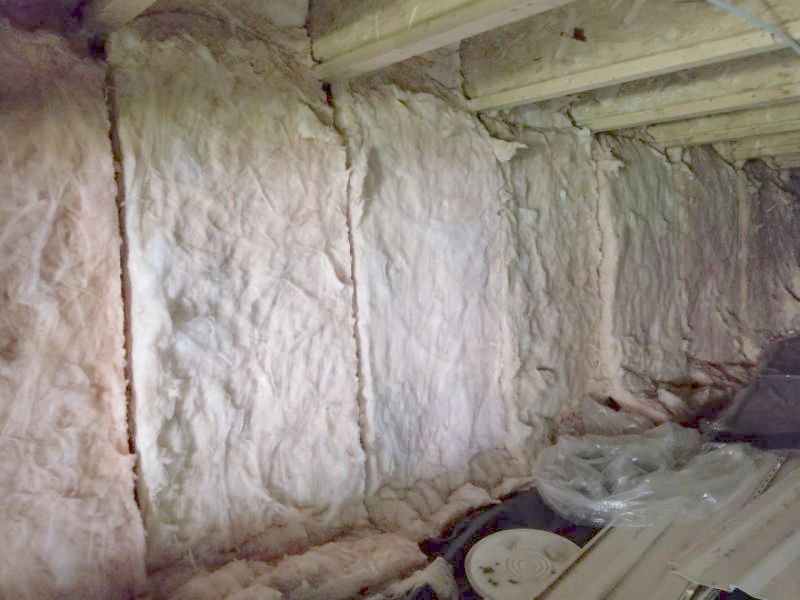
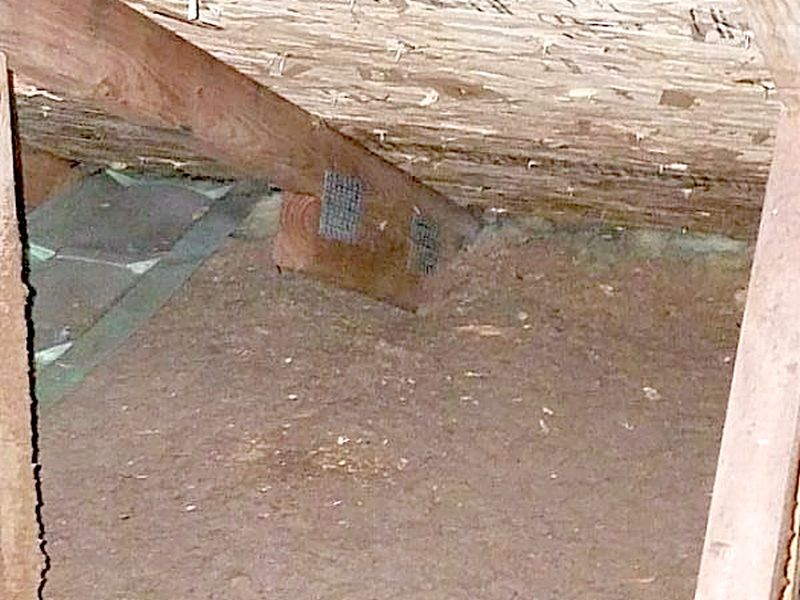
The level of attic insulation is considered inadequate by today’s standards. Install insulation in accordance with local guidelines.
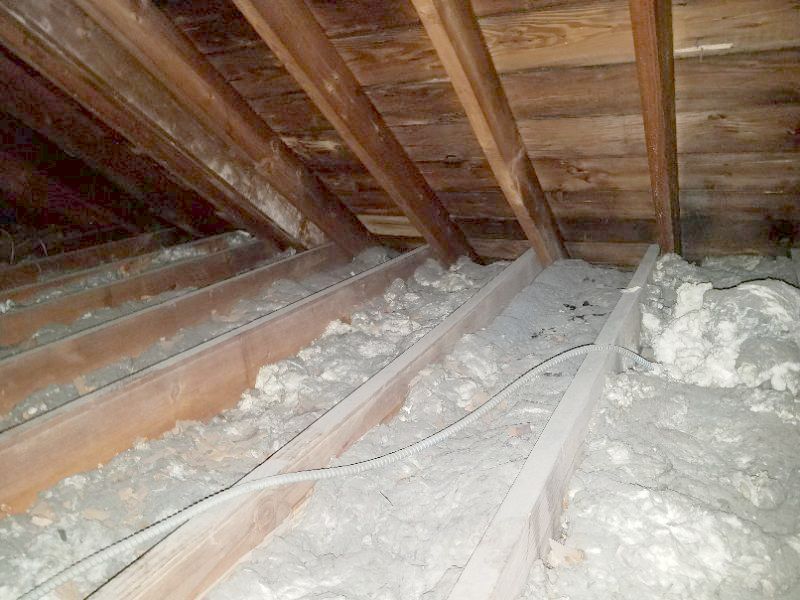
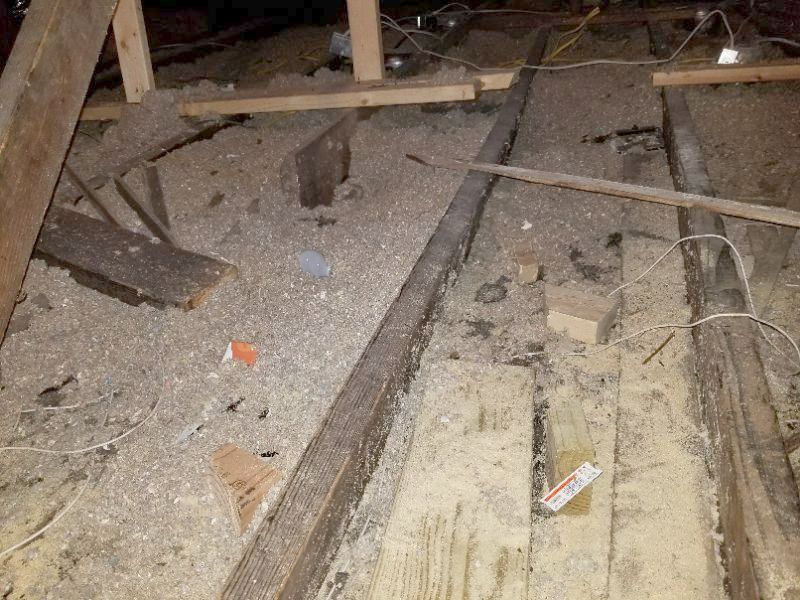
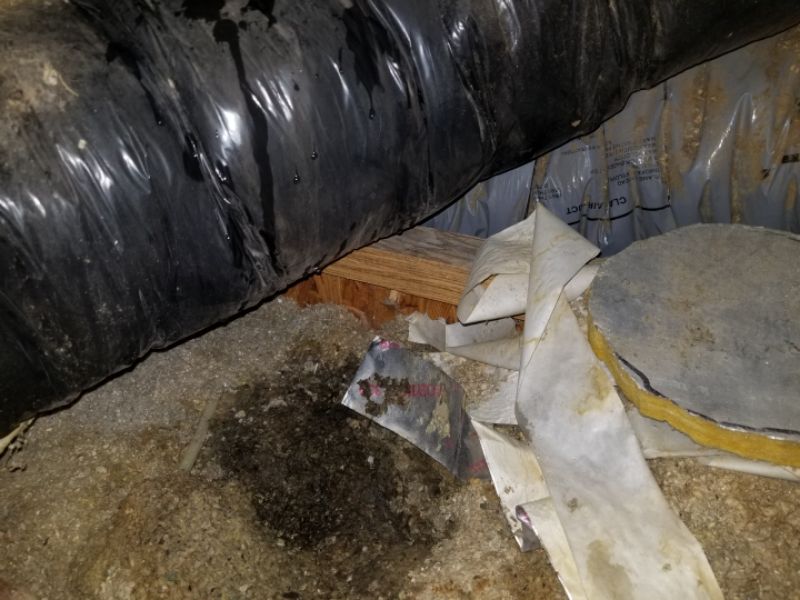
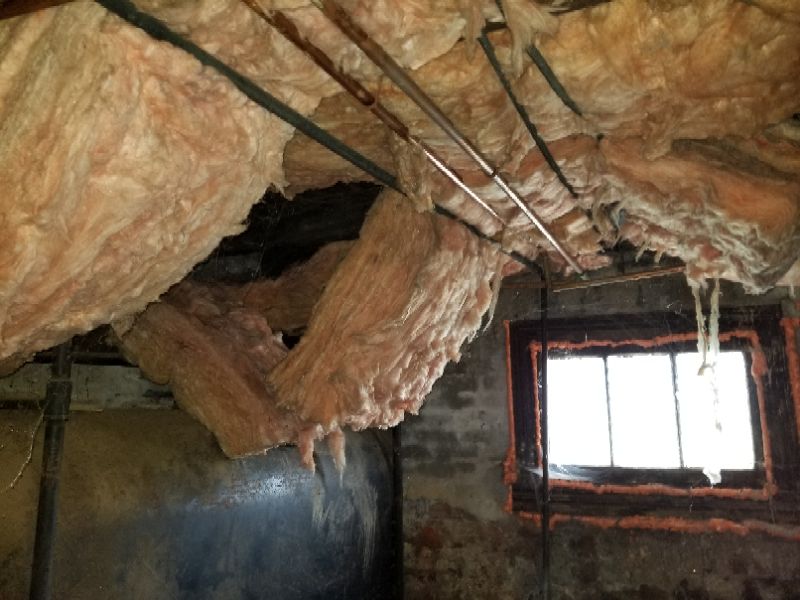
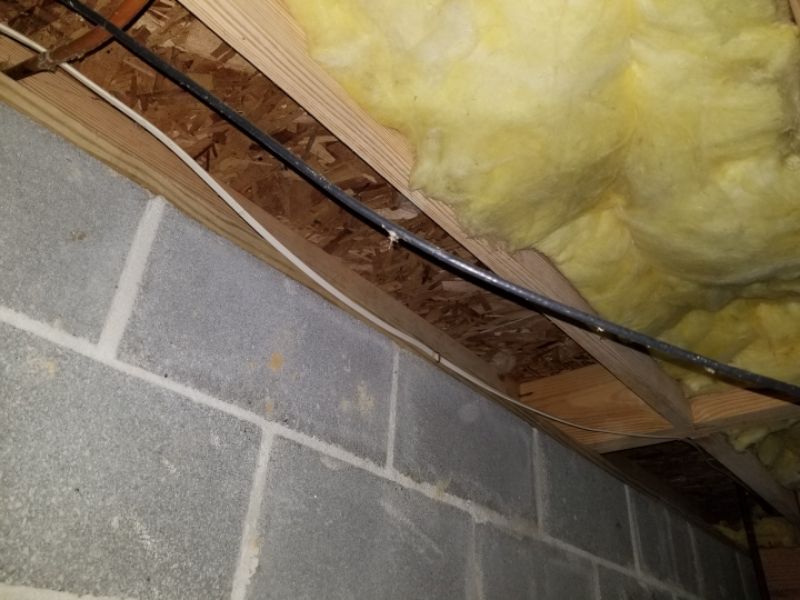
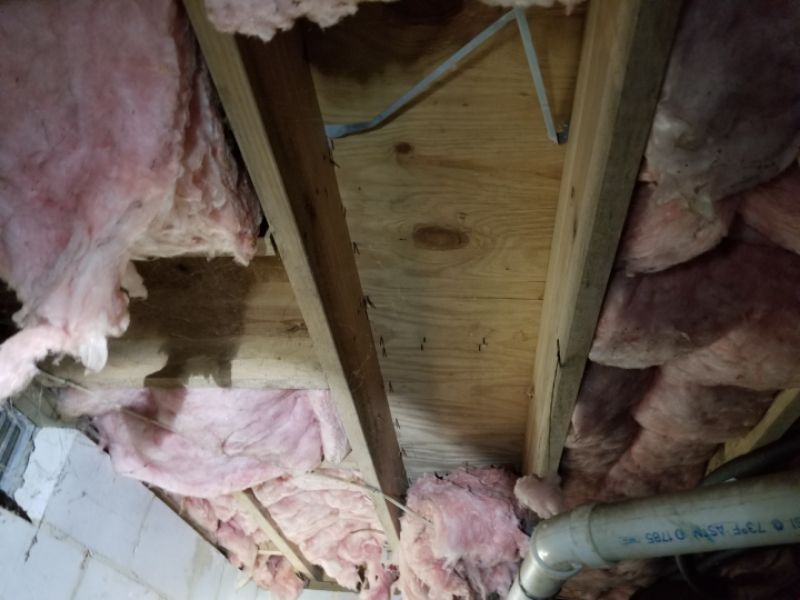
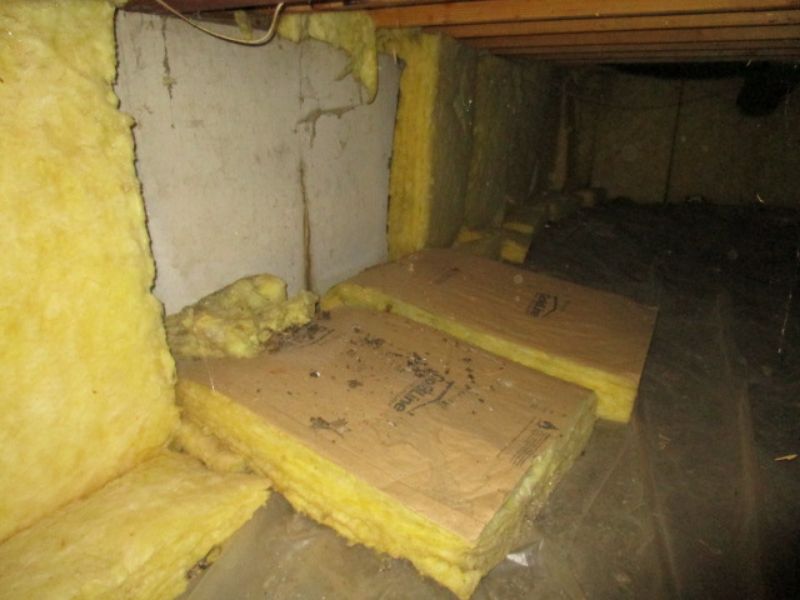
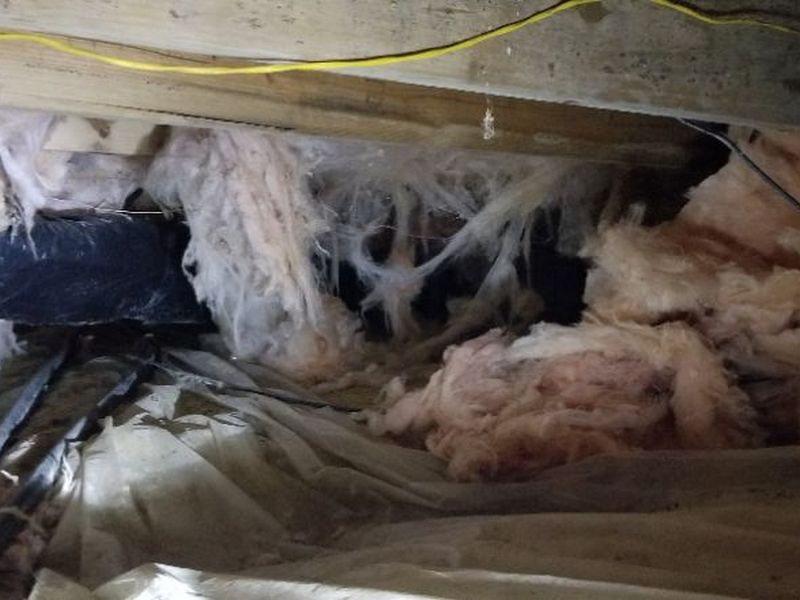
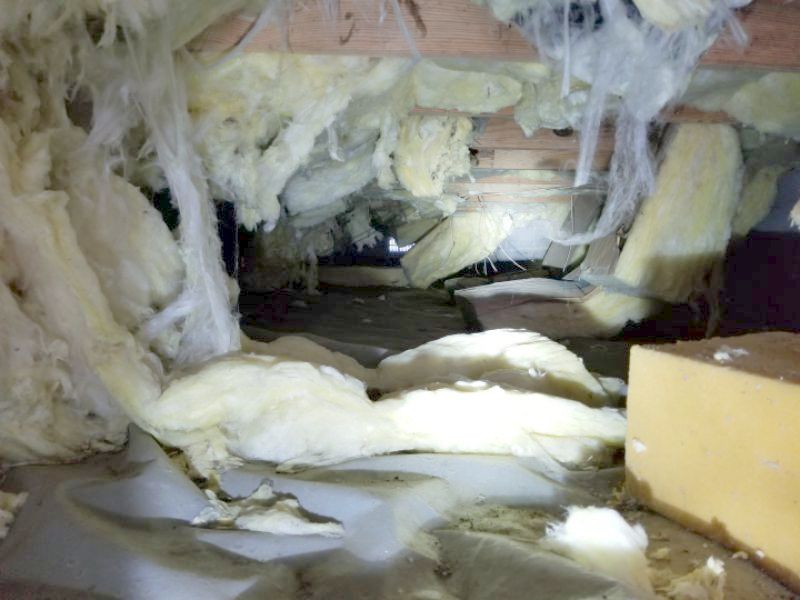
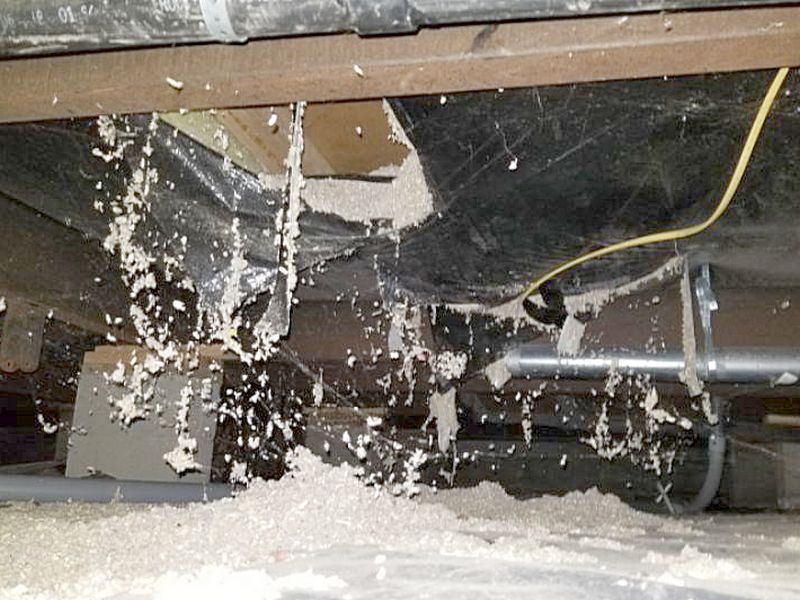
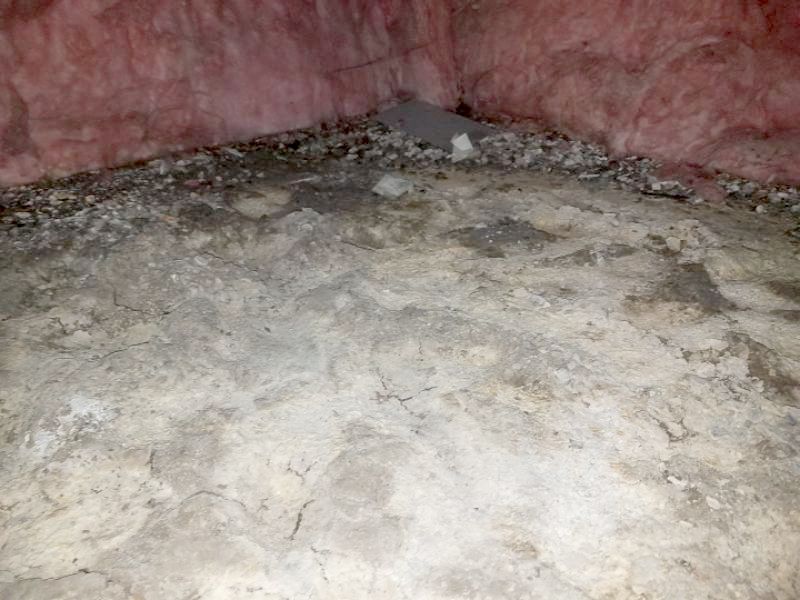
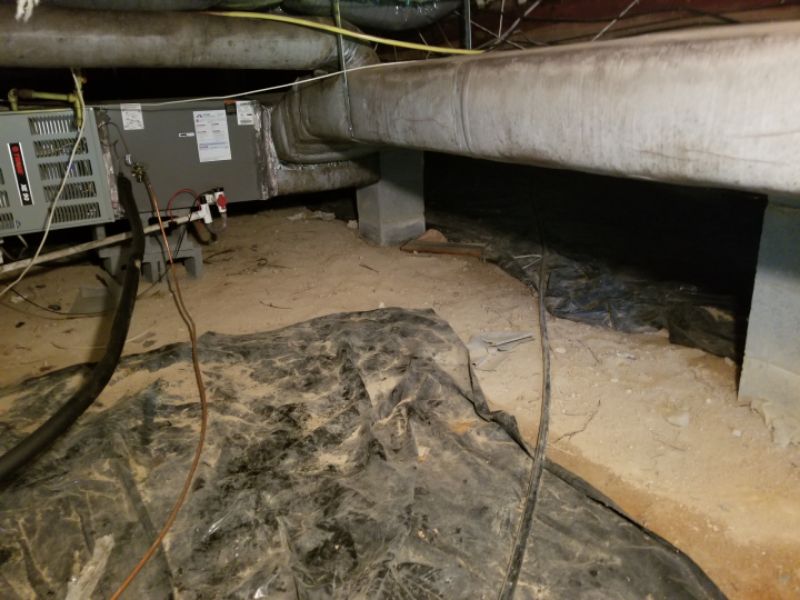
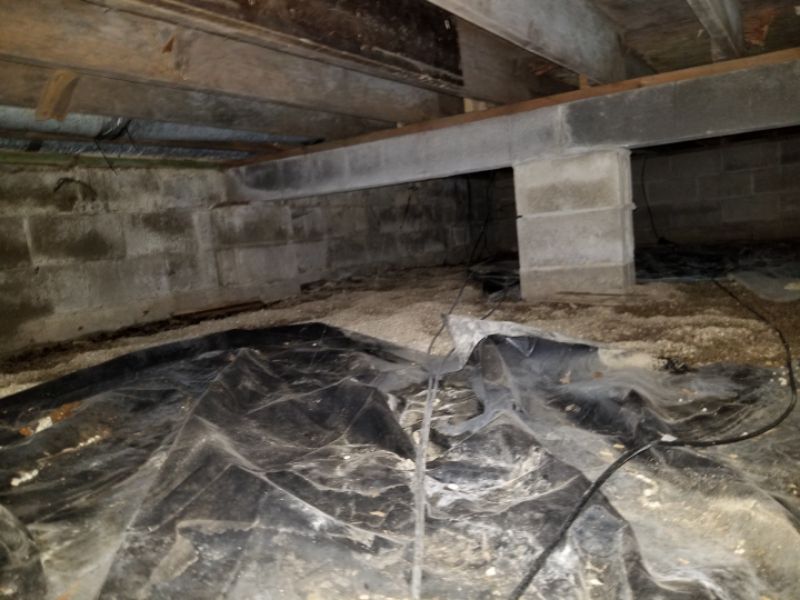
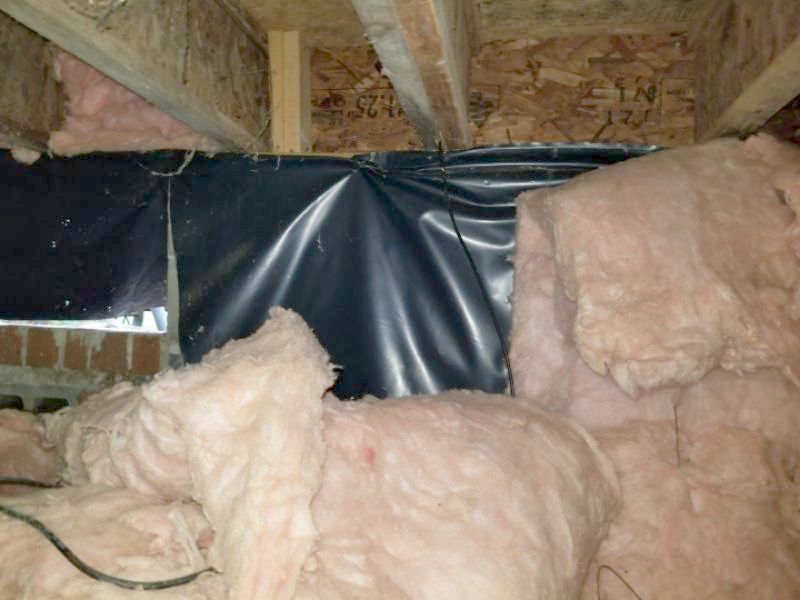
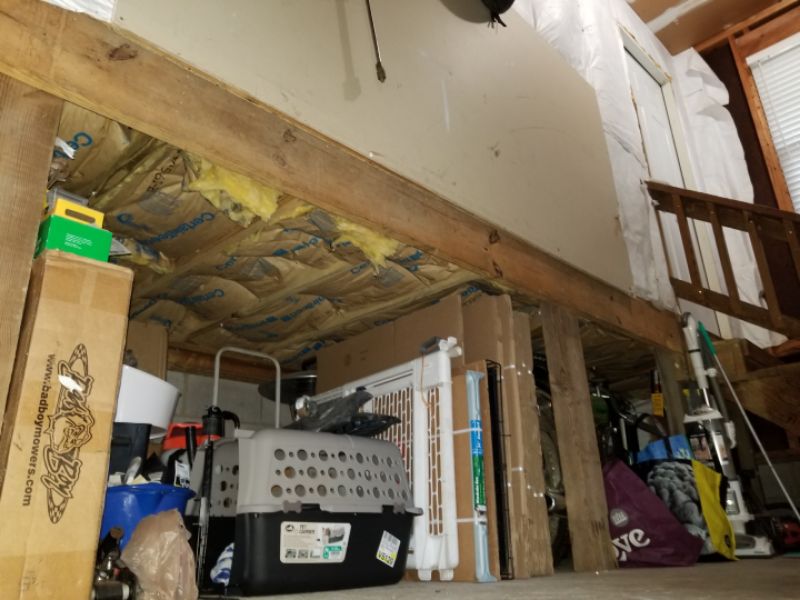
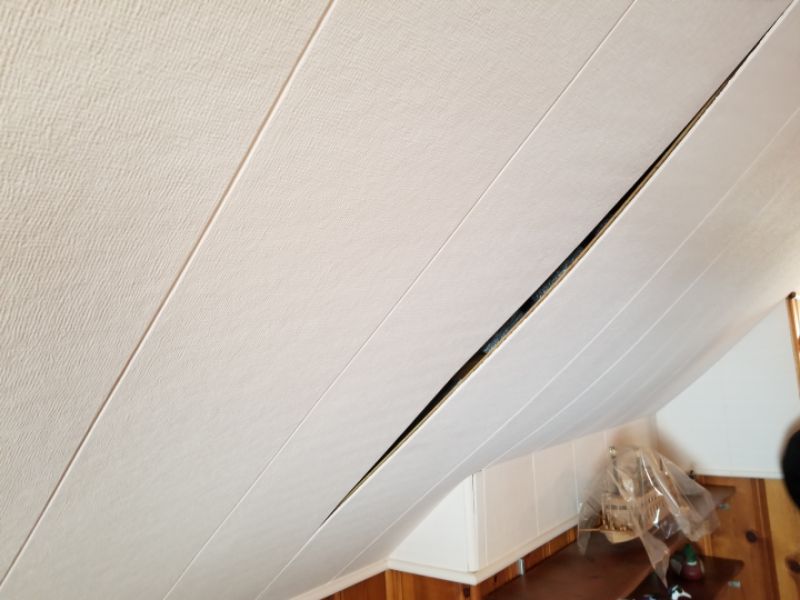
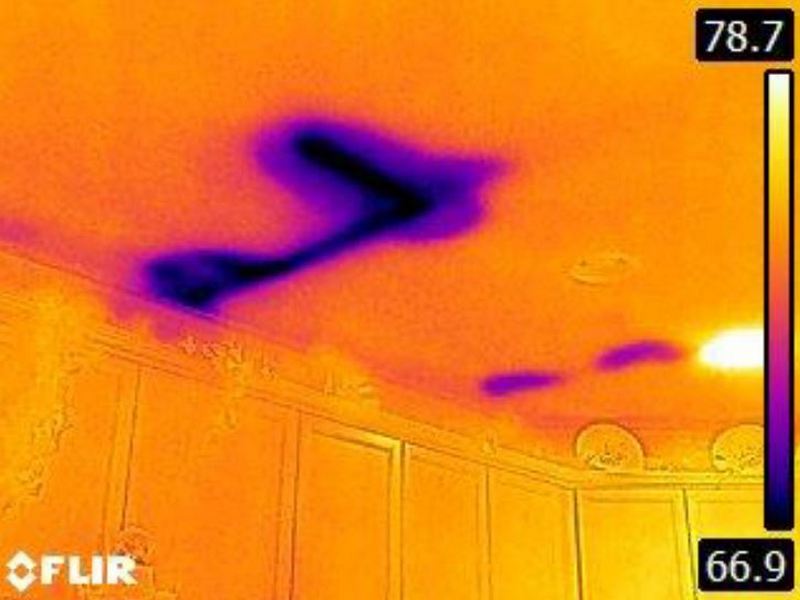
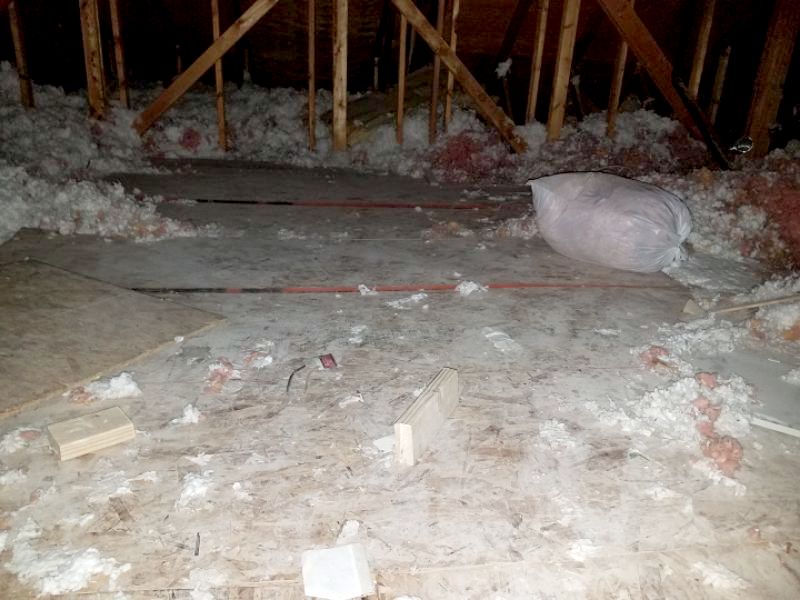
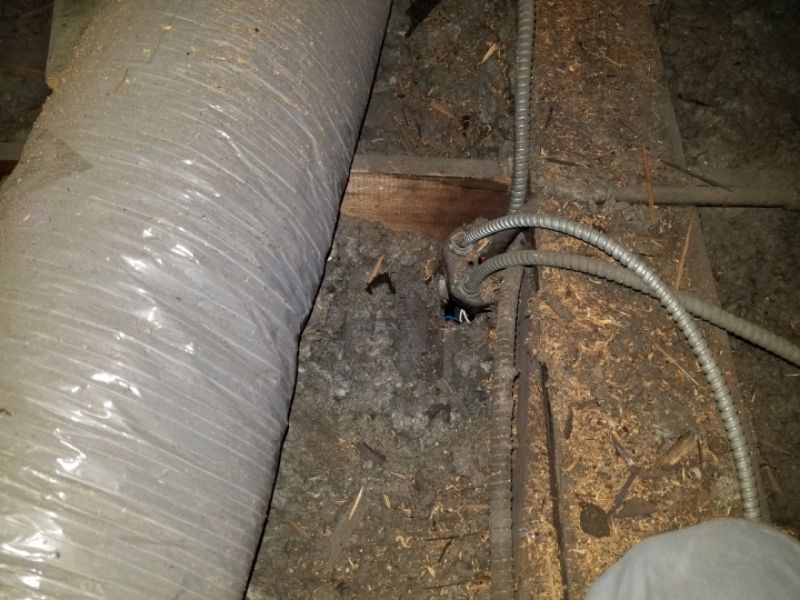
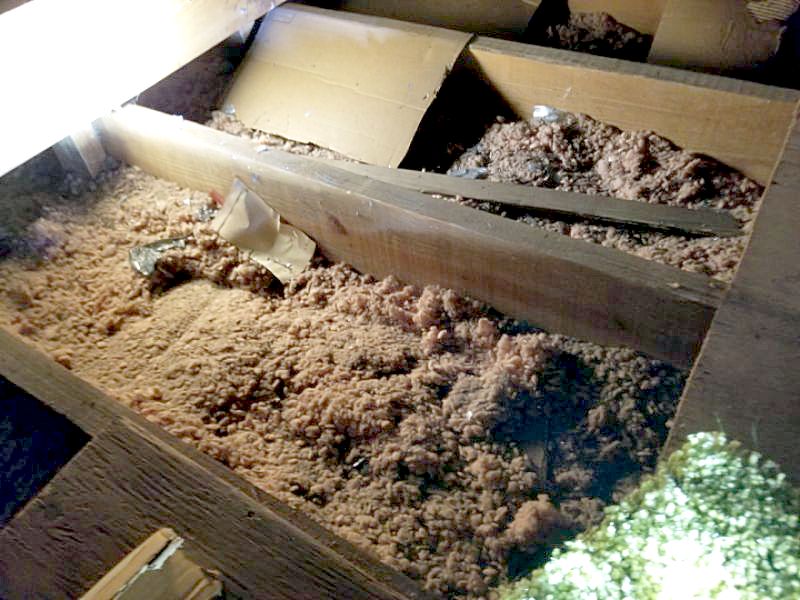
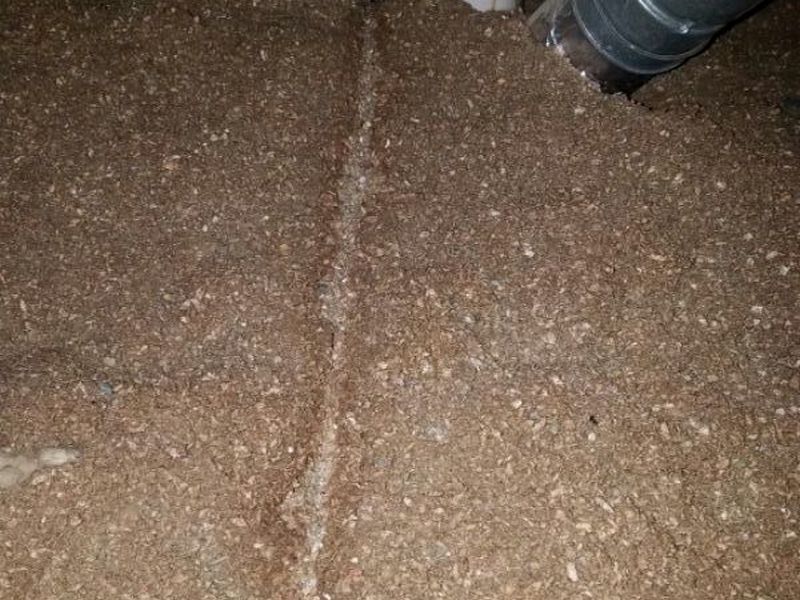
Insulation has been moved, leaving uninsulated areas. This affects energy efficiency. Install insulation in accordance with local guidelines.
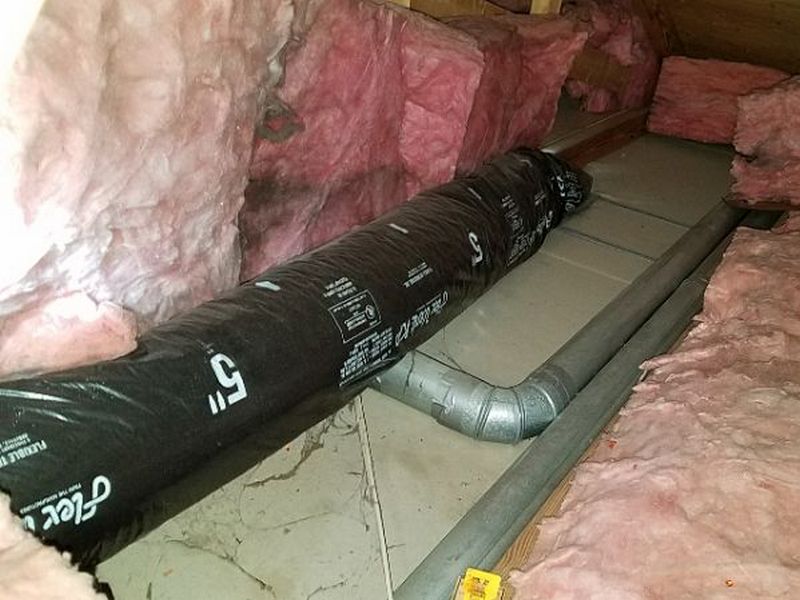
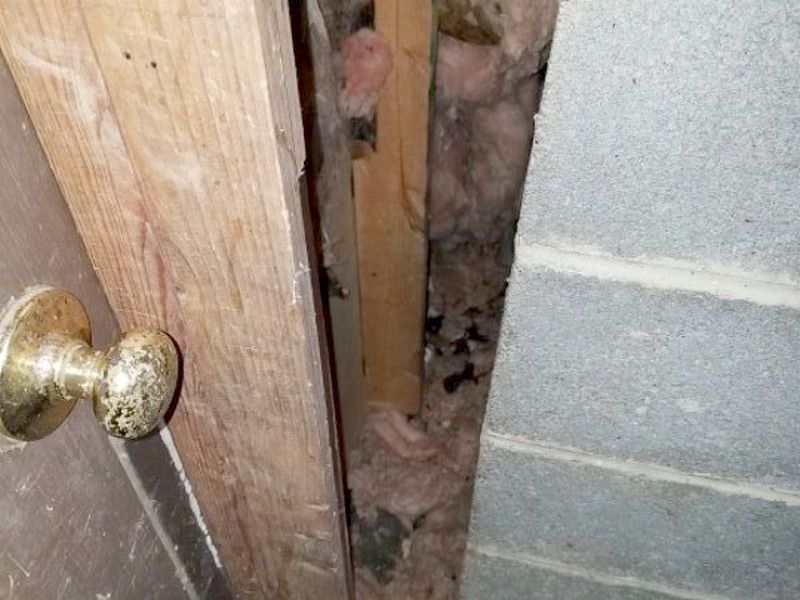
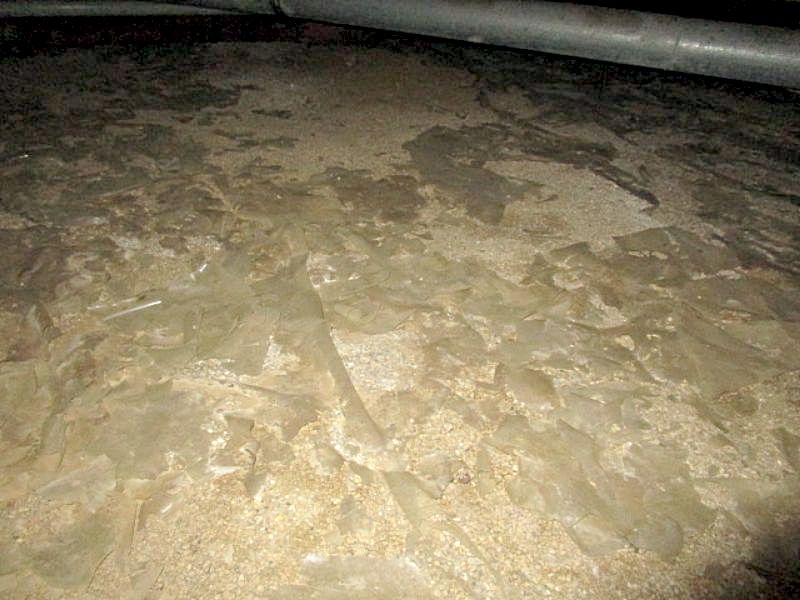
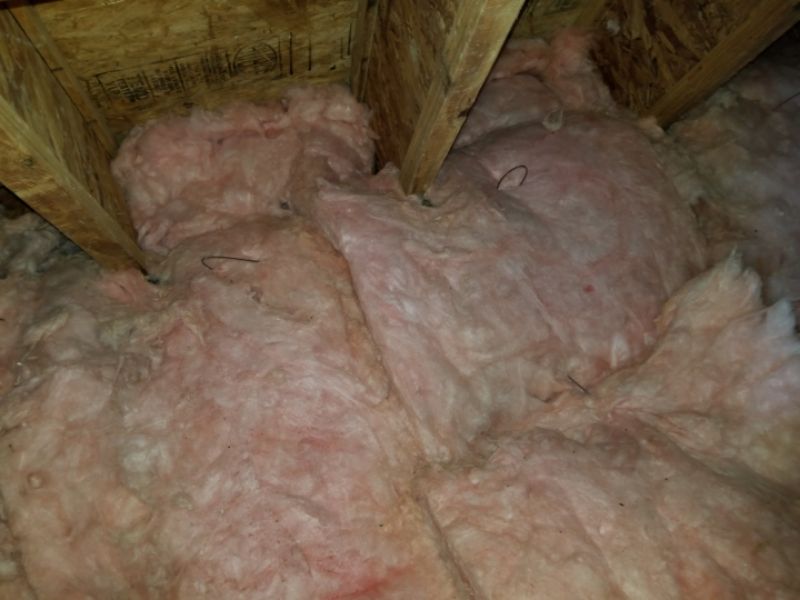
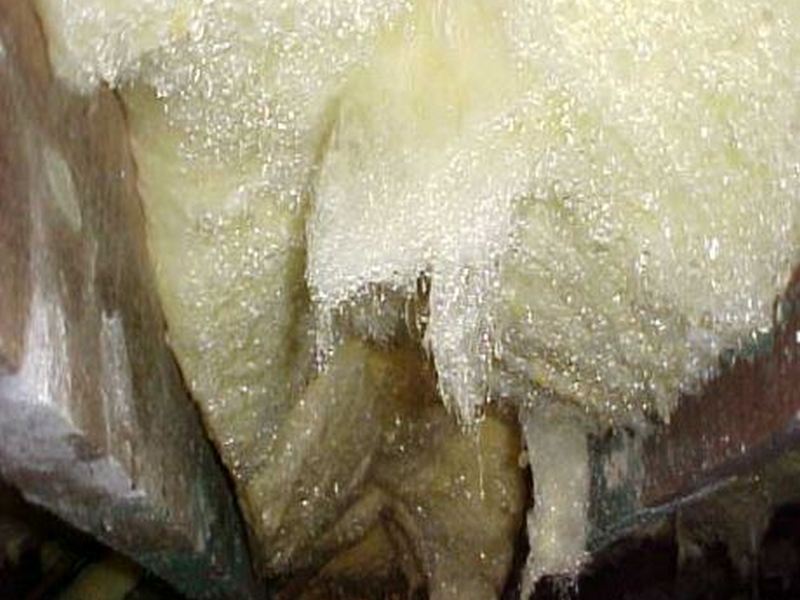
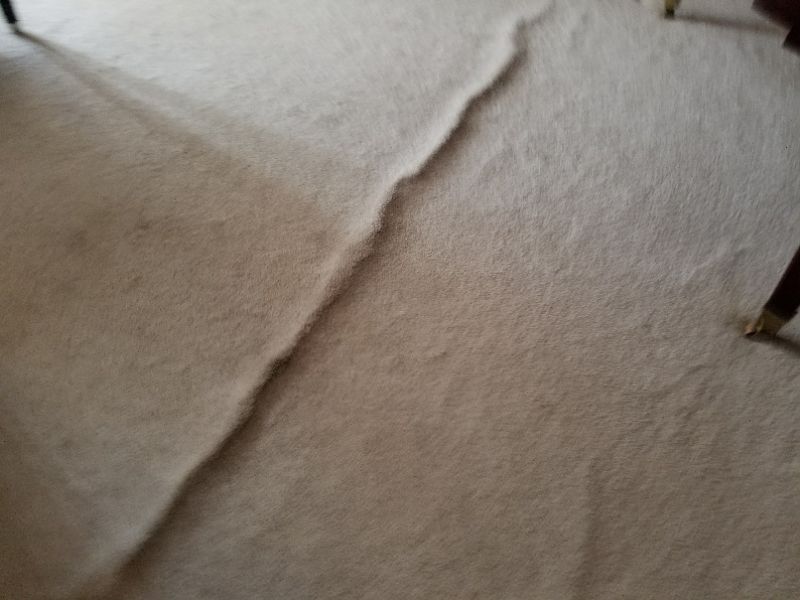
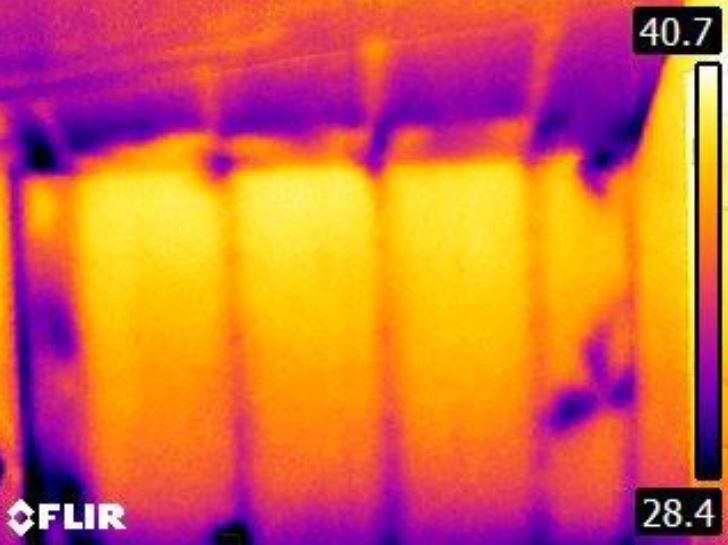
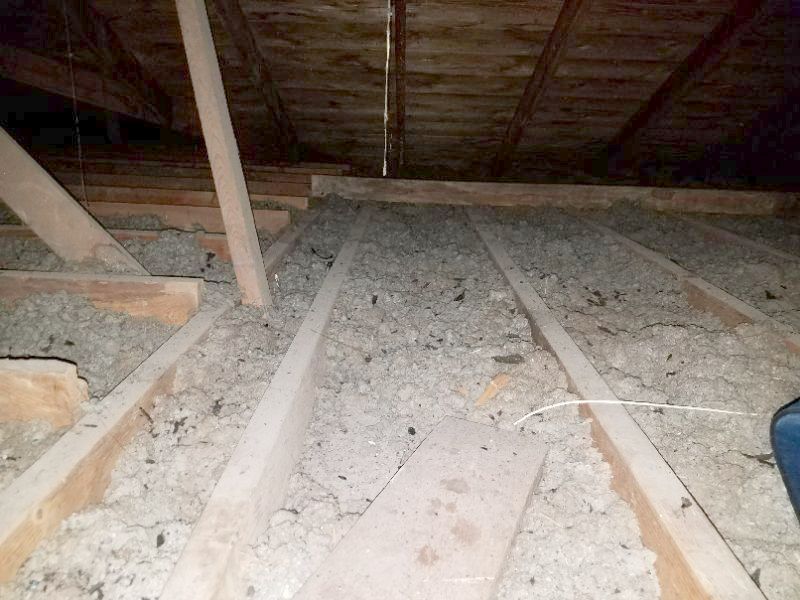
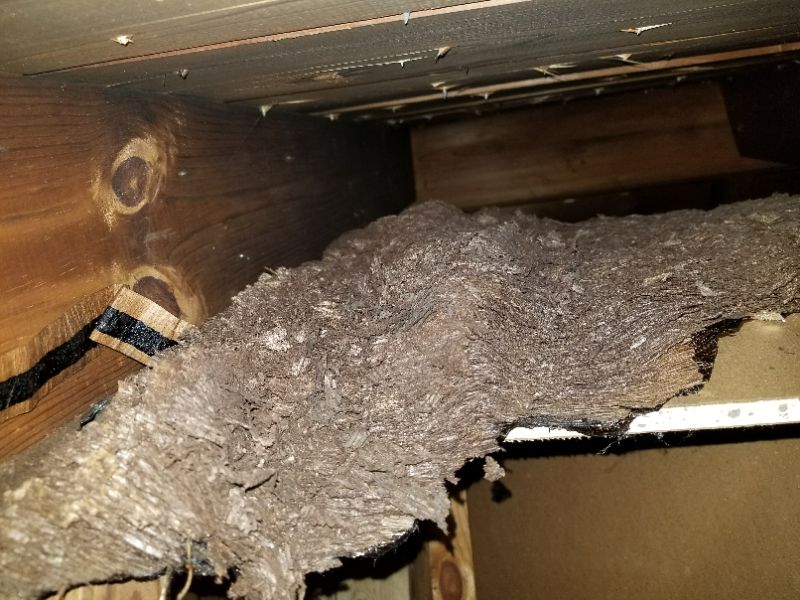
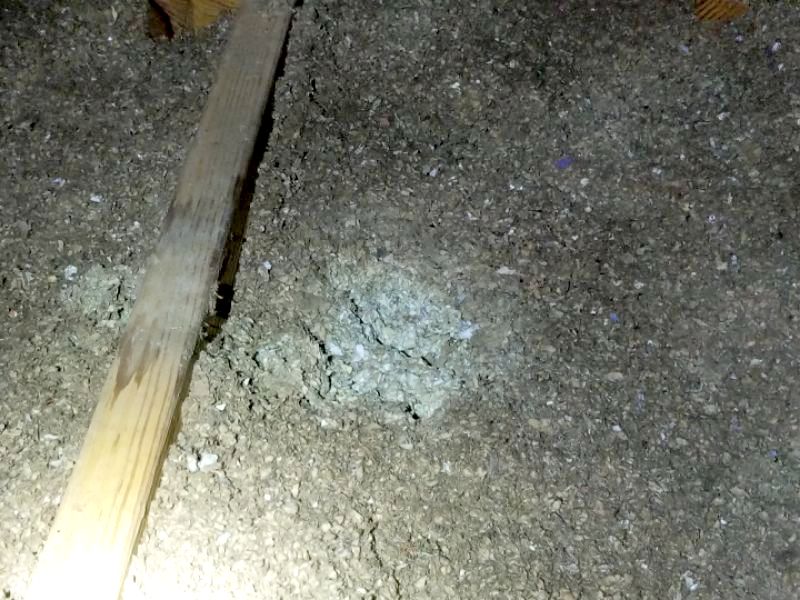
Insulation is compressed or settled in the attic to an extent to which its effectiveness is compromised. This affects energy efficiency. Install additional insulation in accordance with local guidelines.
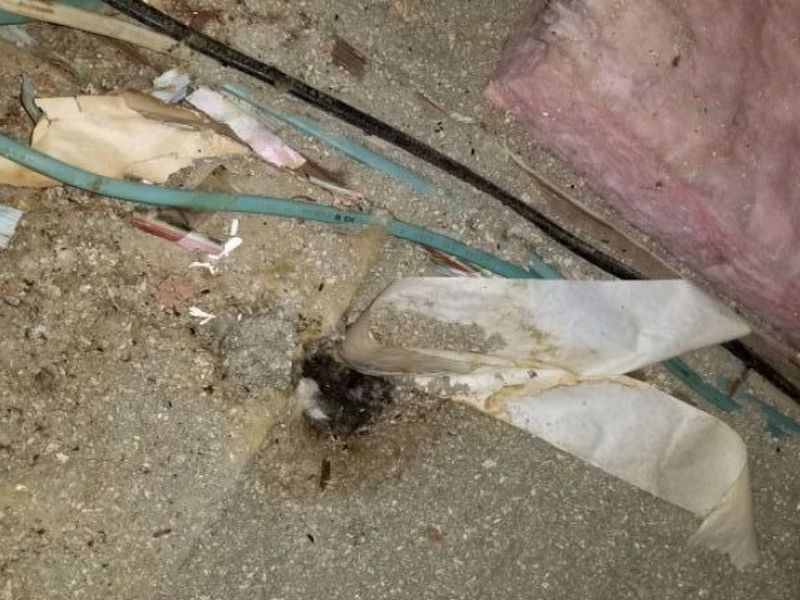
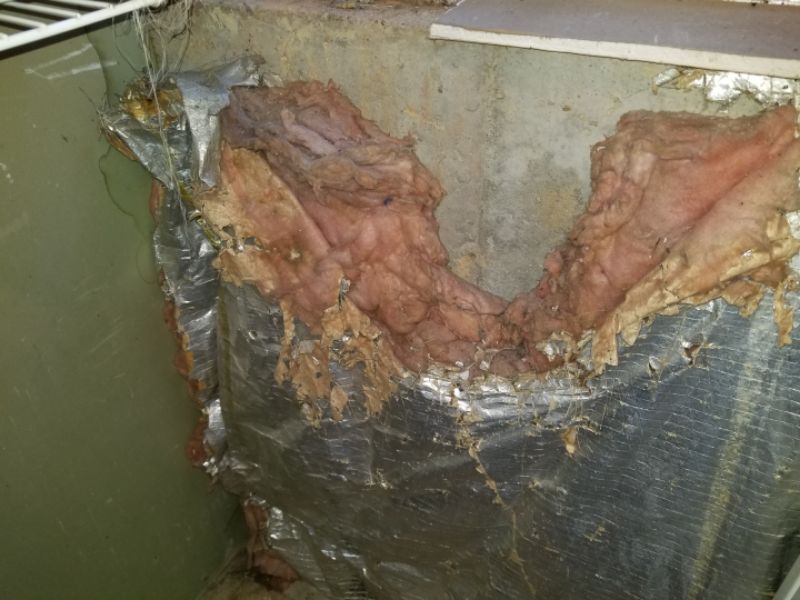
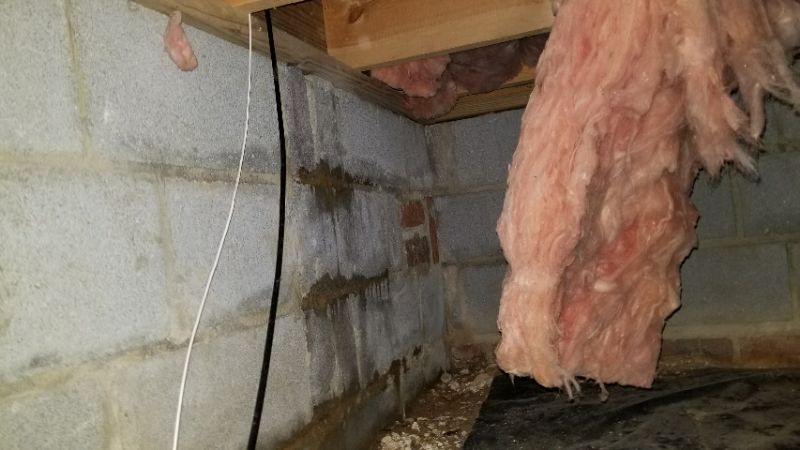
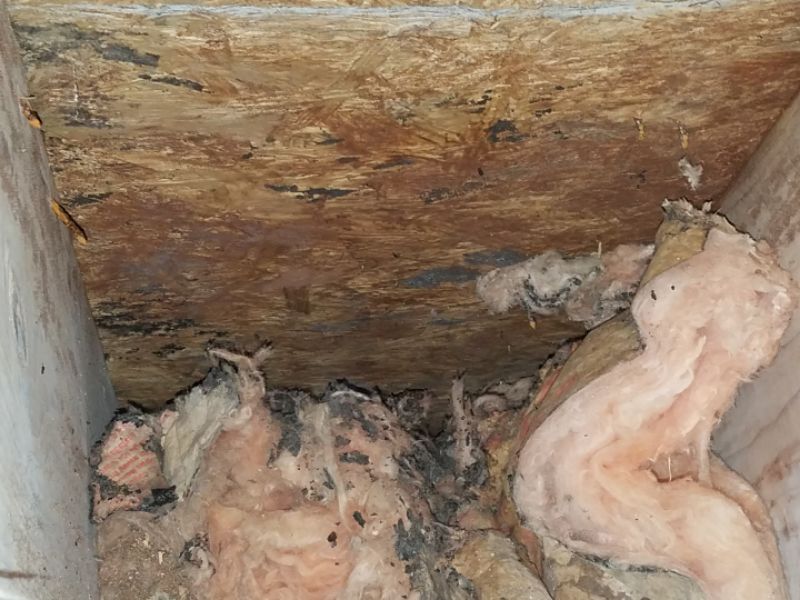
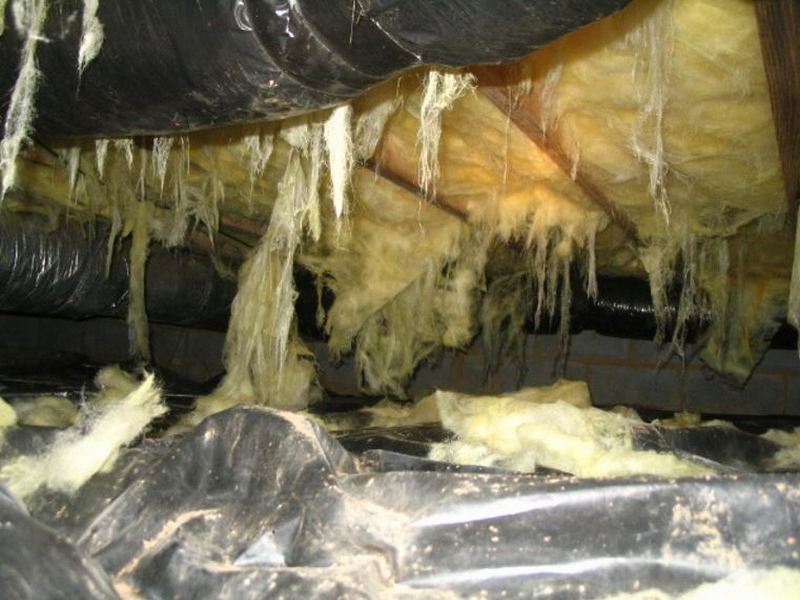
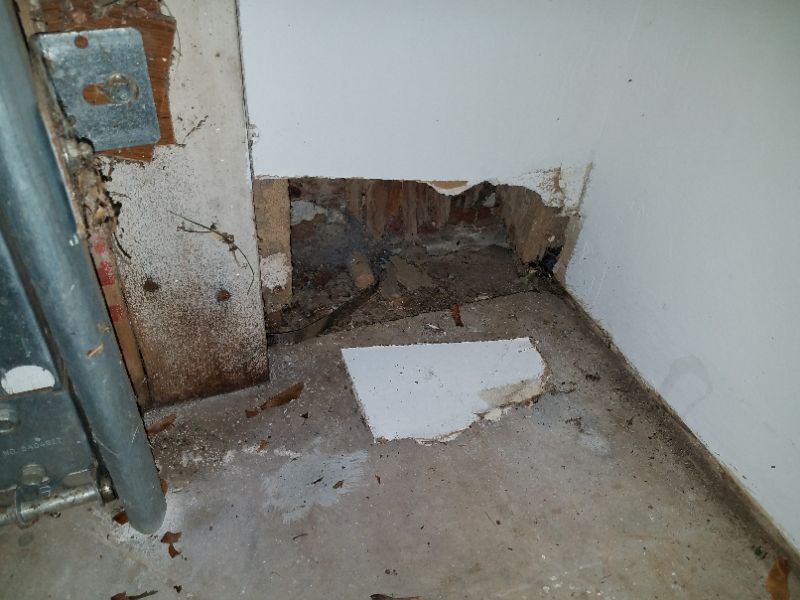
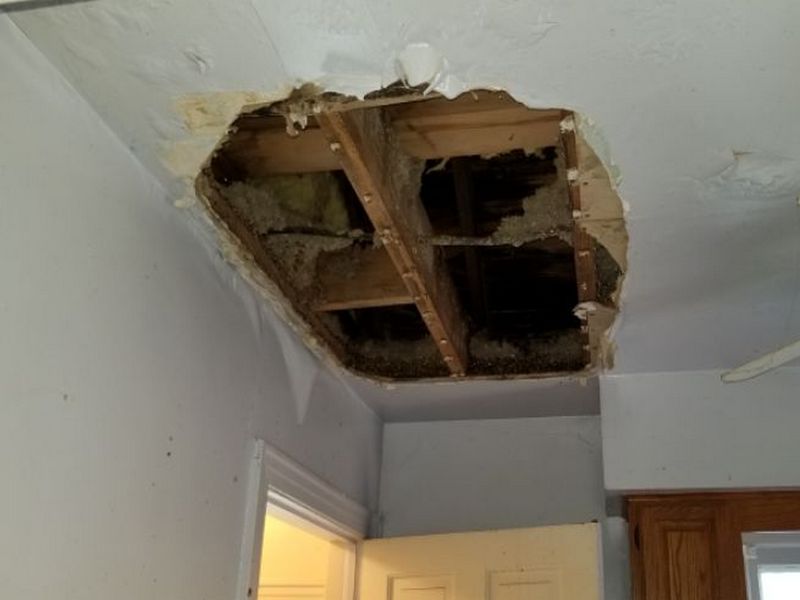
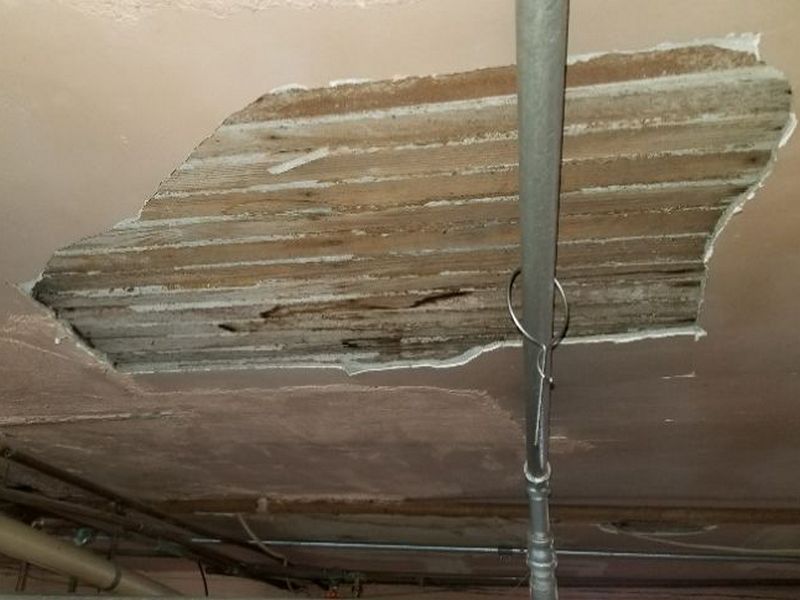
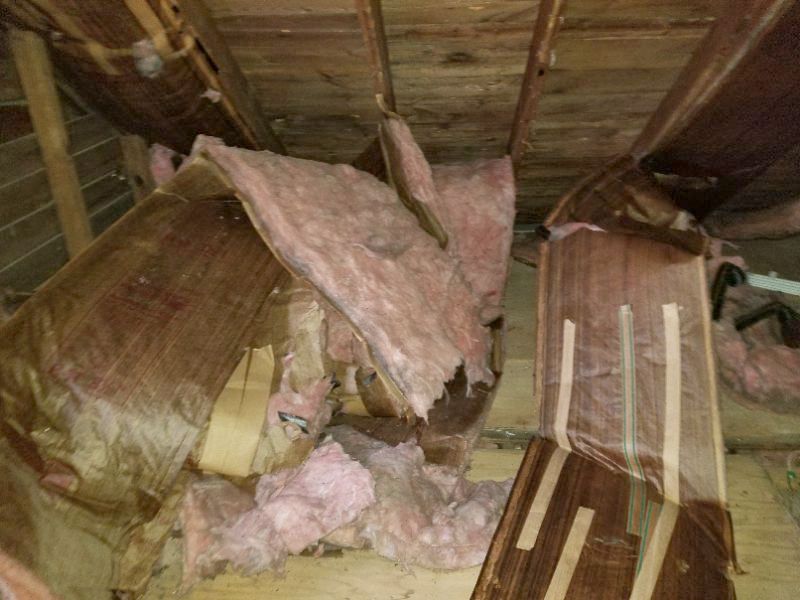
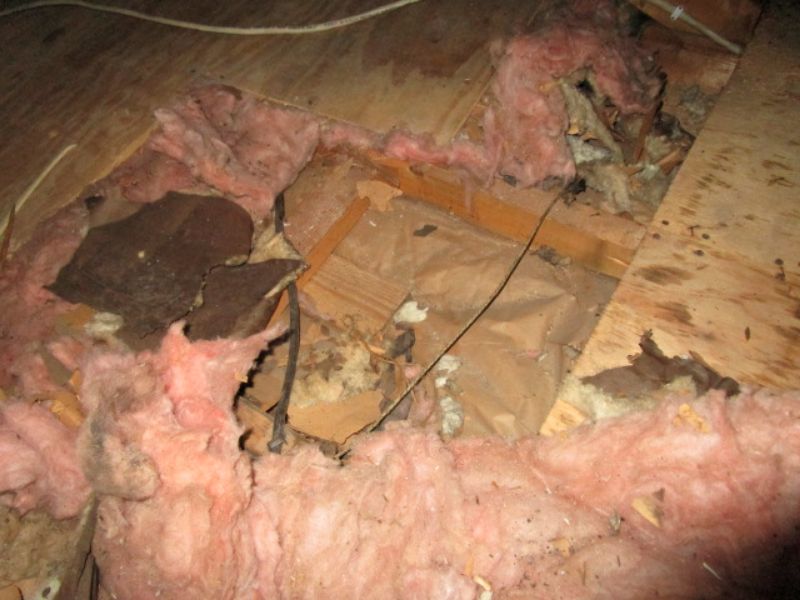
Insulation is damaged in the attic to an extent to which its effectiveness is compromised. This affects energy efficiency. Replace the insulation.
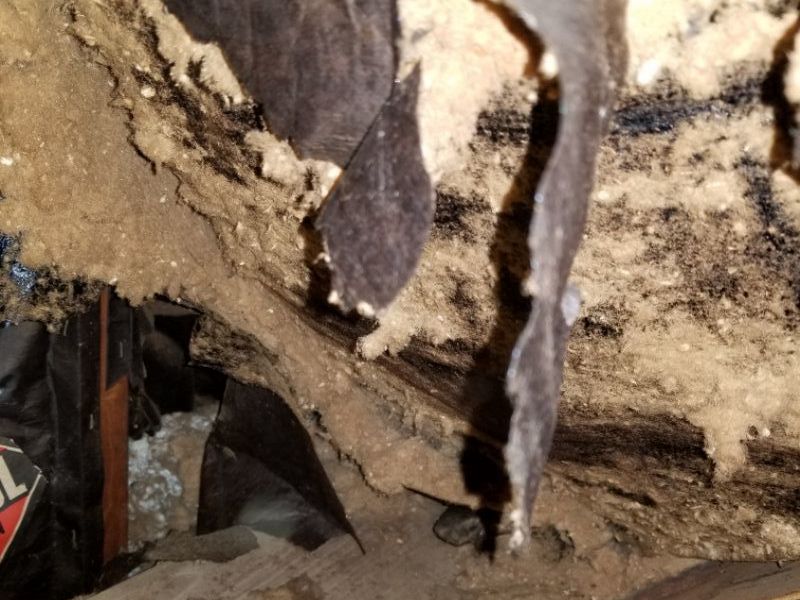
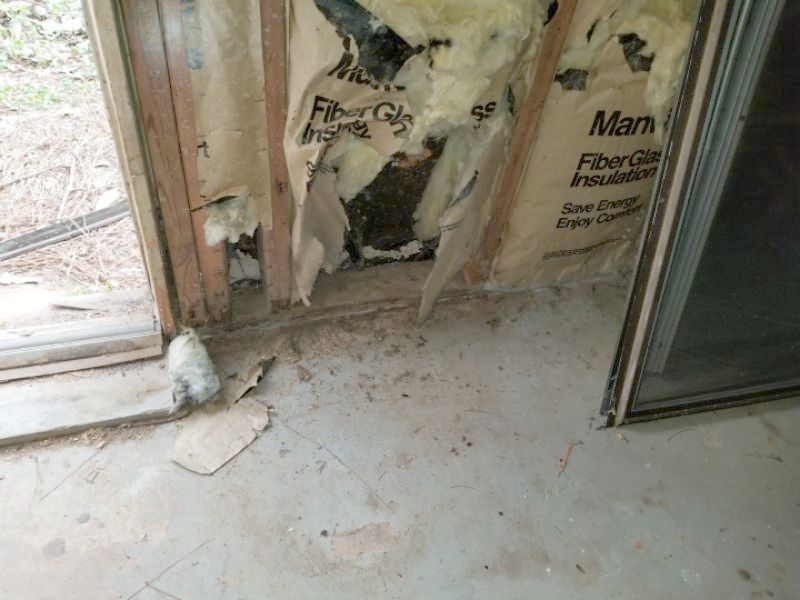
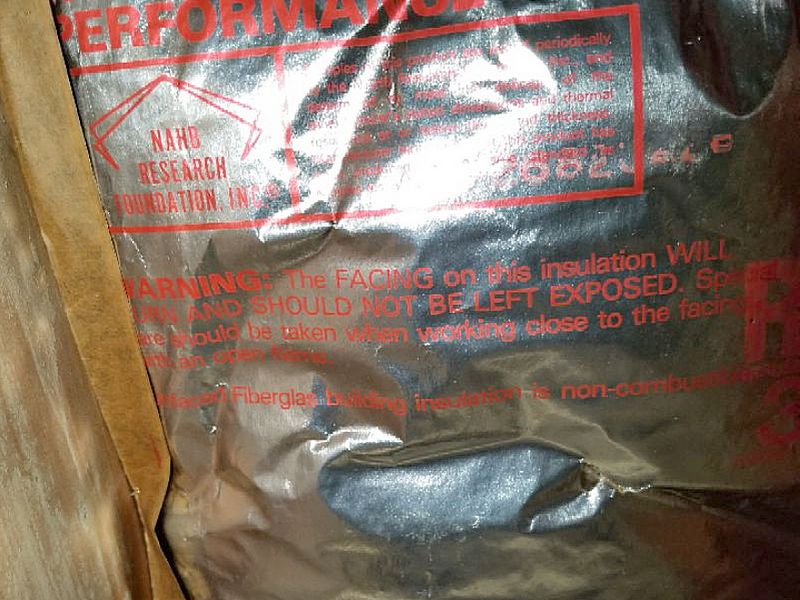
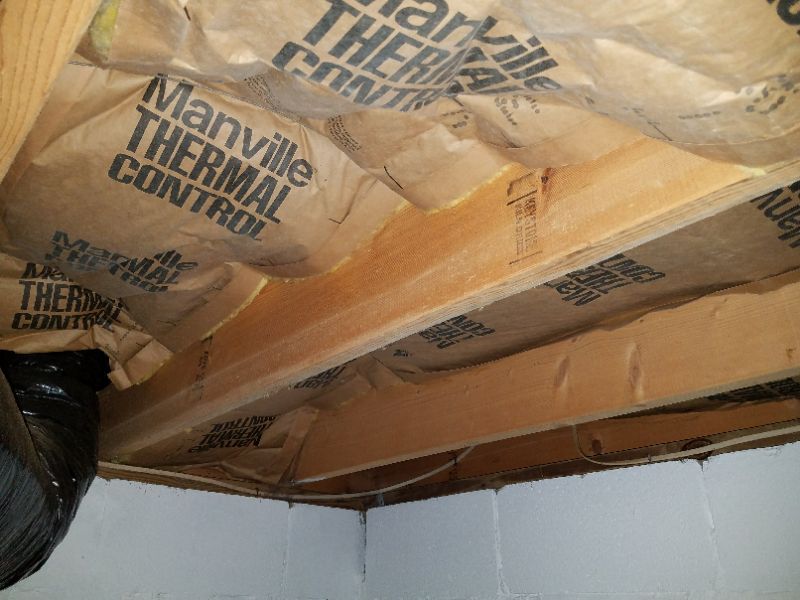
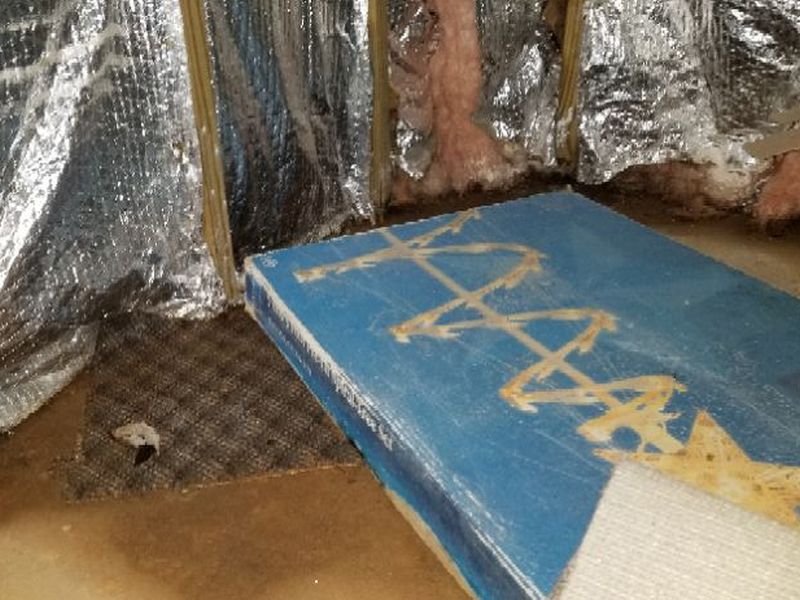
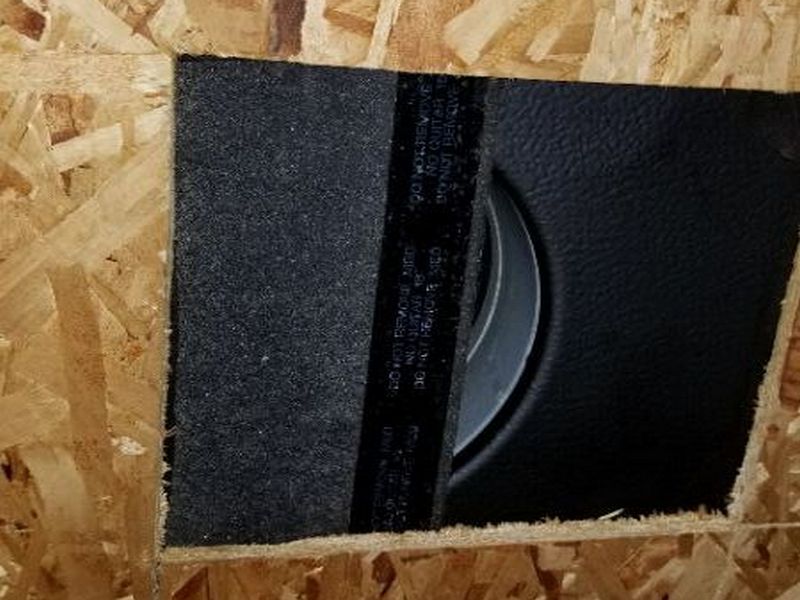
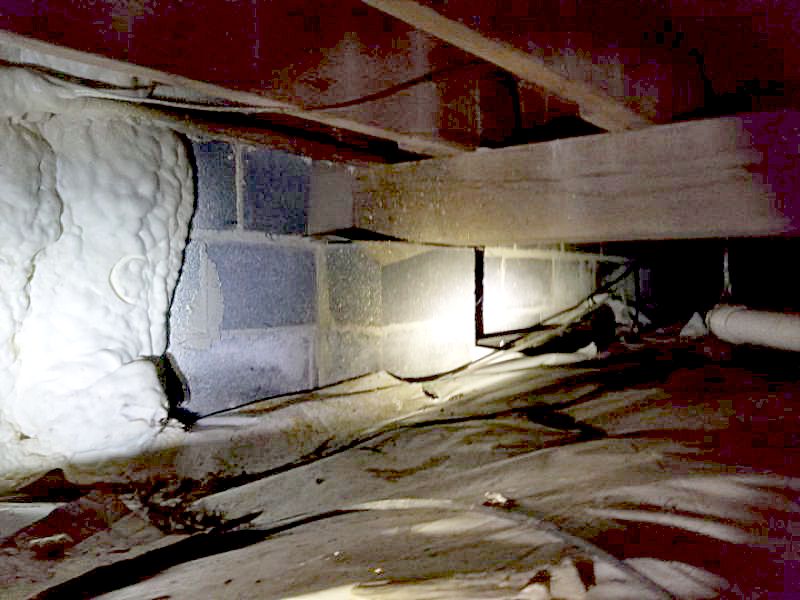
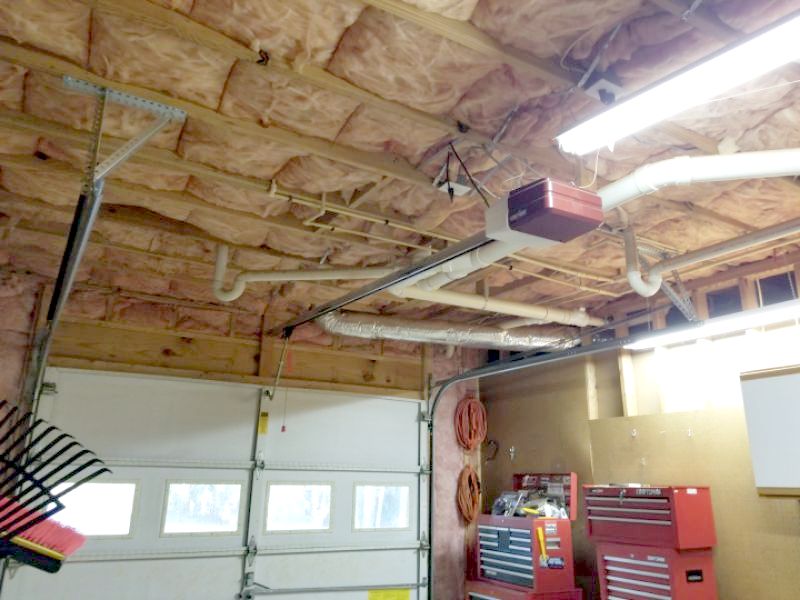
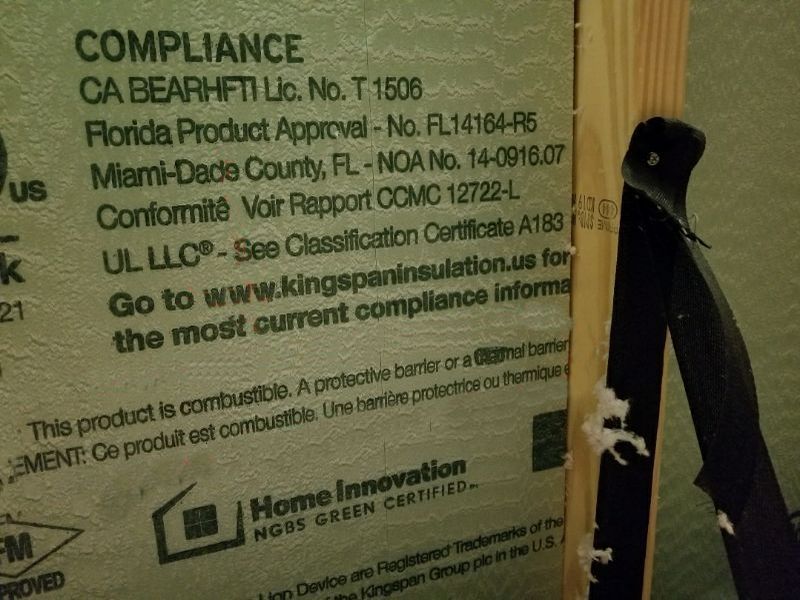
There is exposed flammable insulation present. The insulation is required to be protected using fire-rated materials. Replace the insulation or cover it with approved materials.
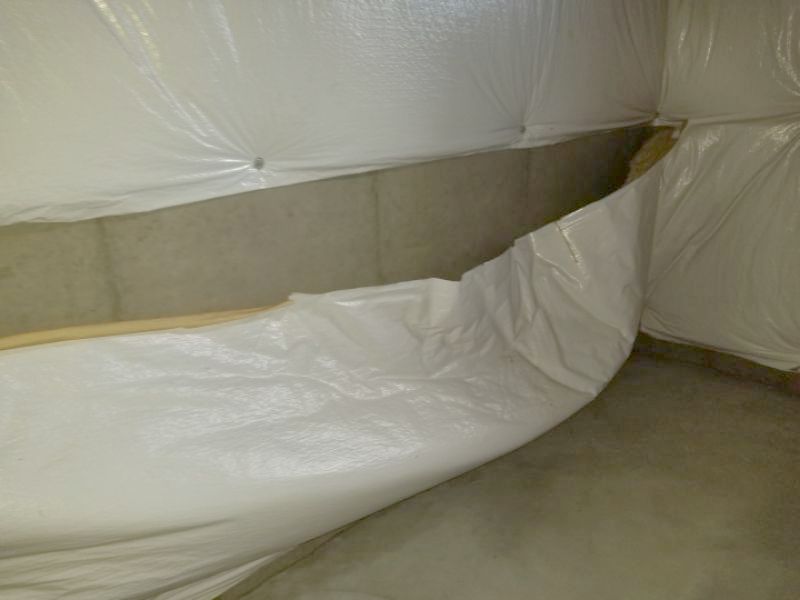
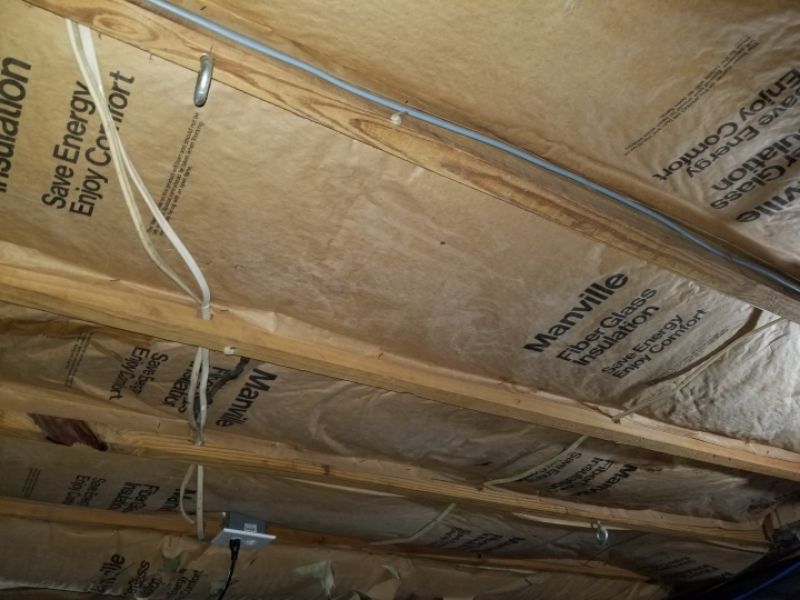
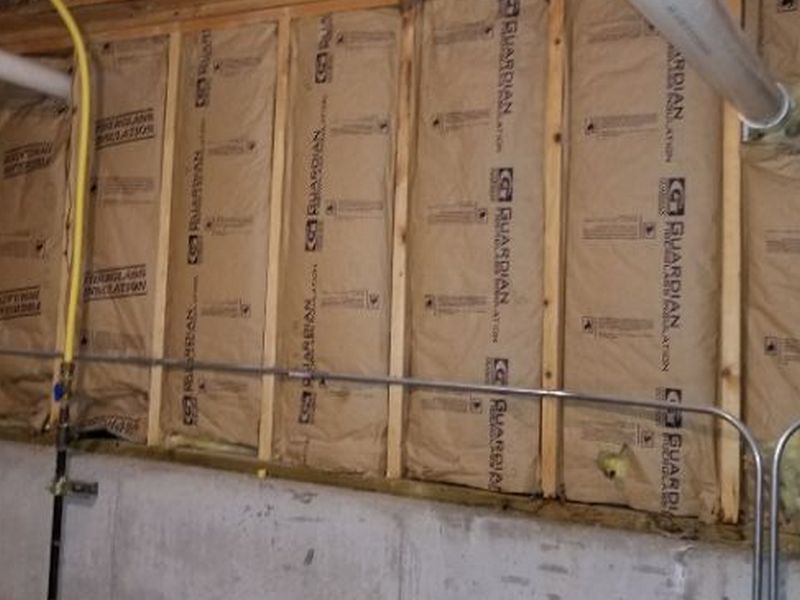
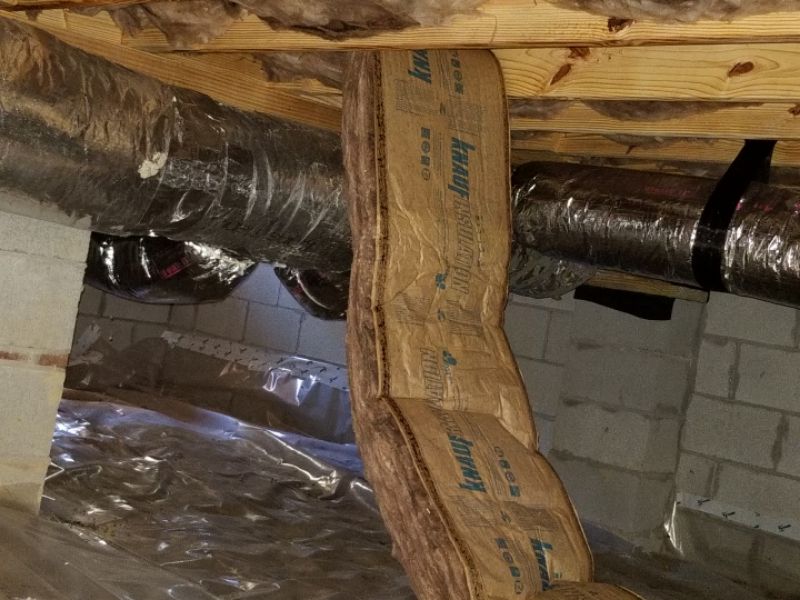
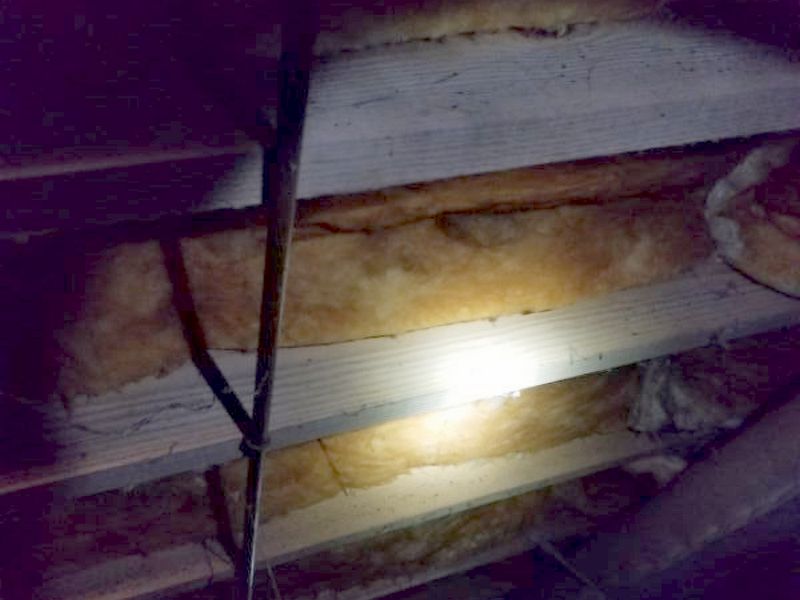
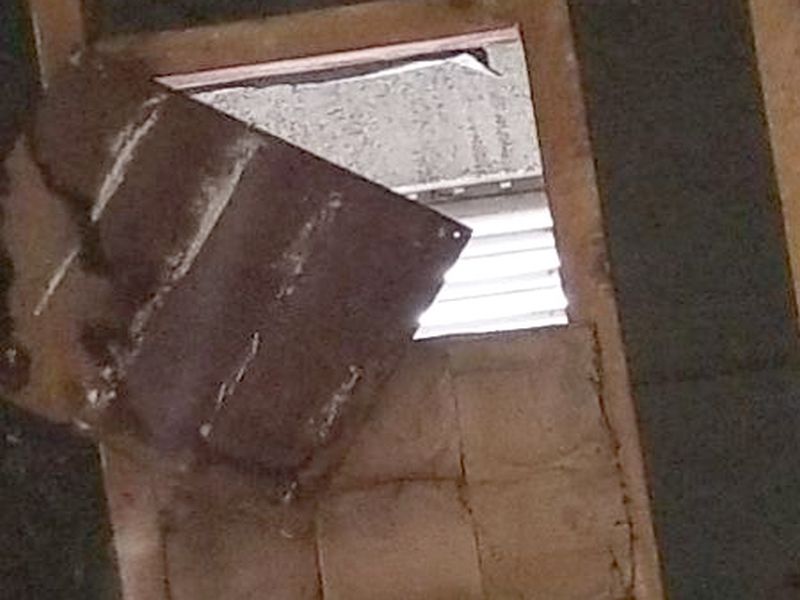
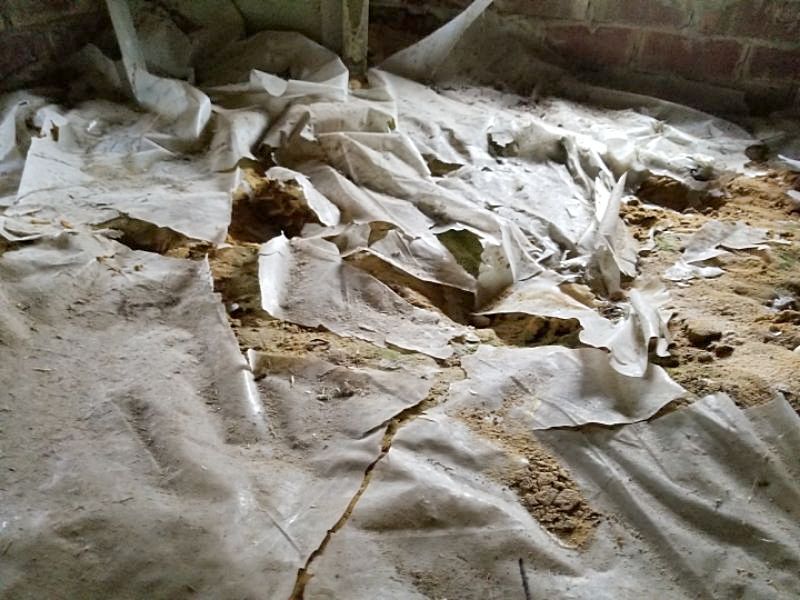
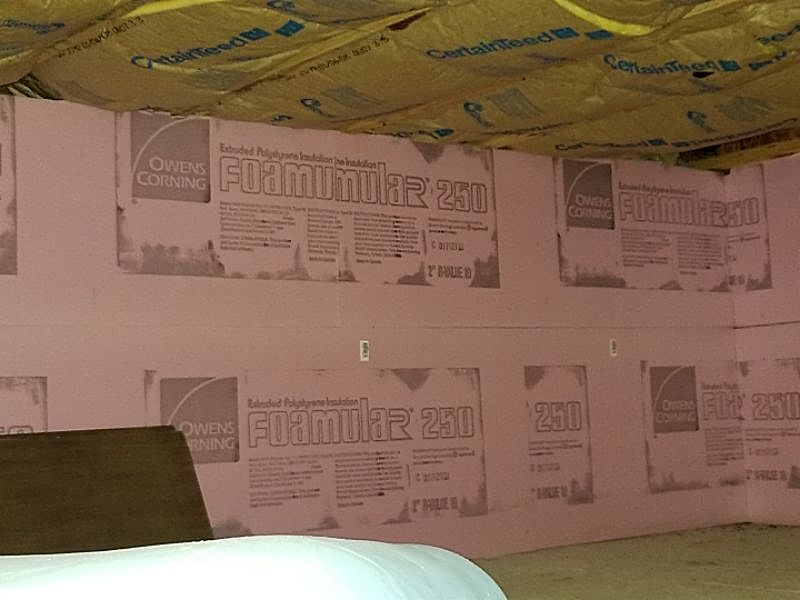
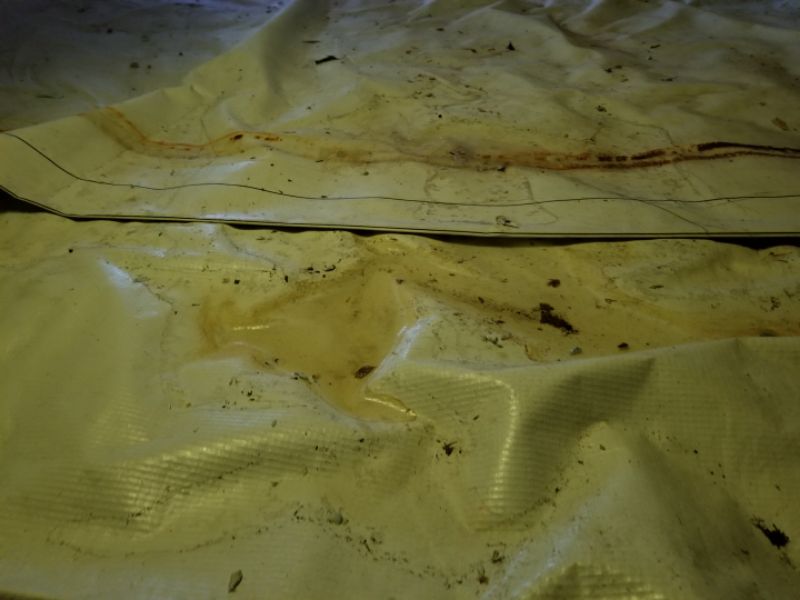
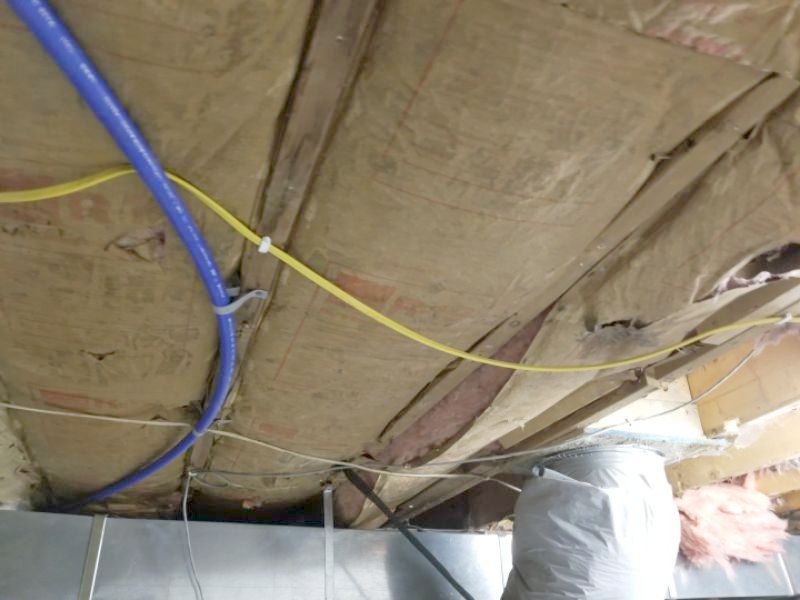
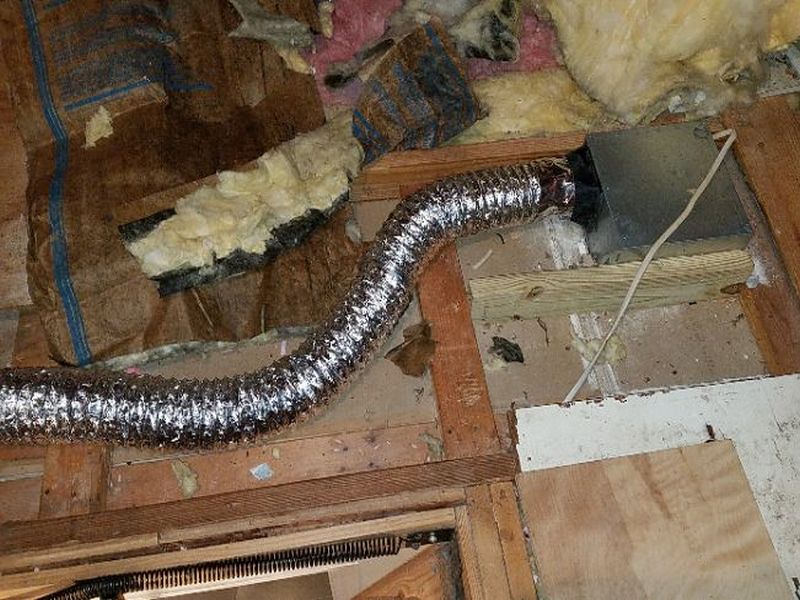
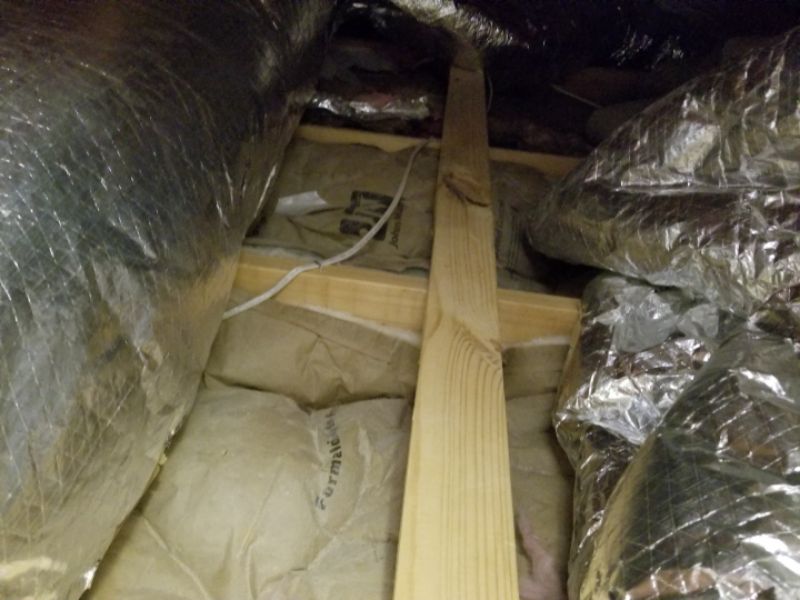
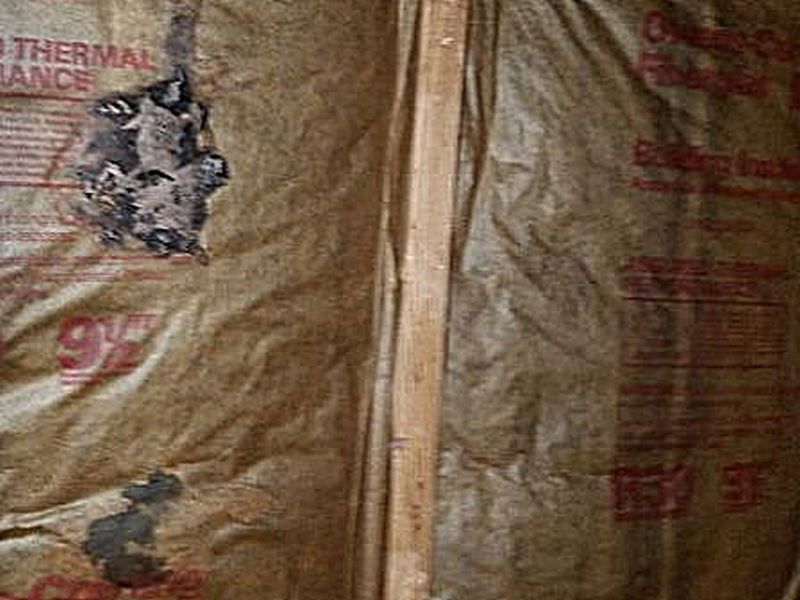
The attic insulation is installed with the vapor retarder exposed; the Kraft paper barrier is flammable and should be covered. Replace the insulation, or cover the exposed vapor barrier with approved materials.
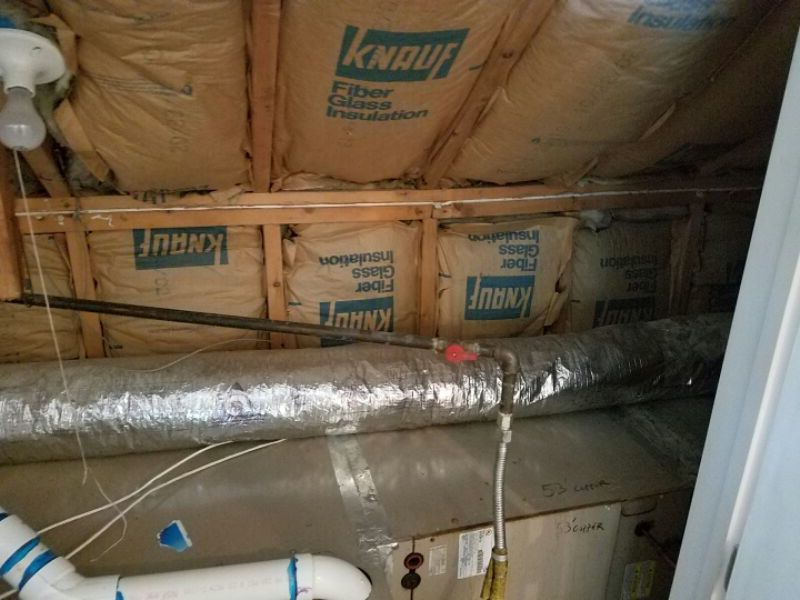
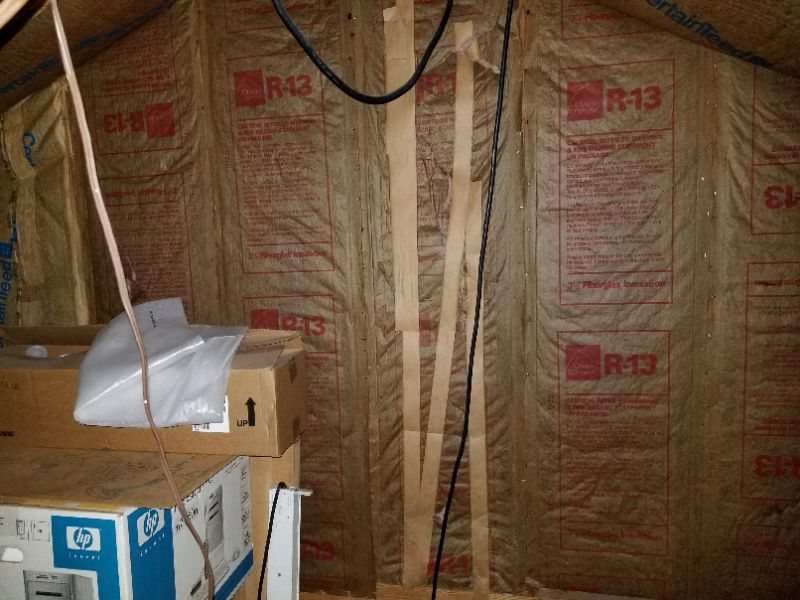
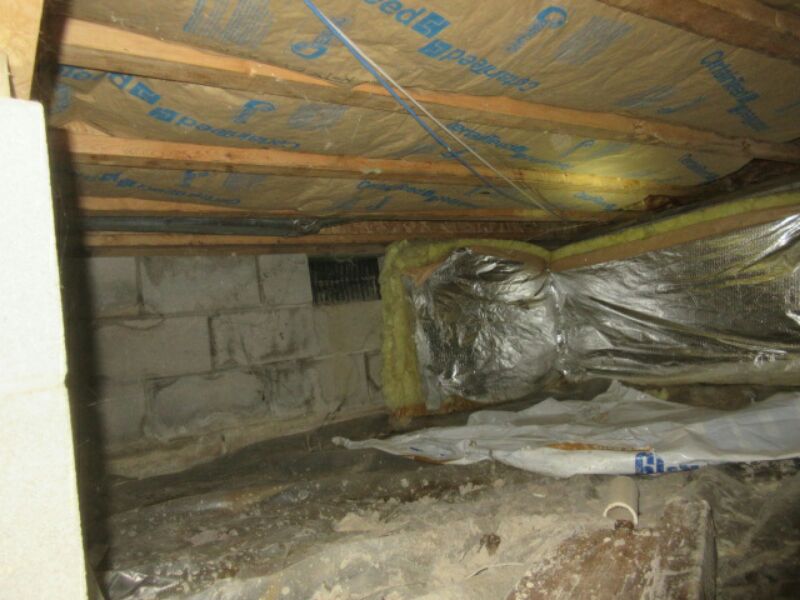
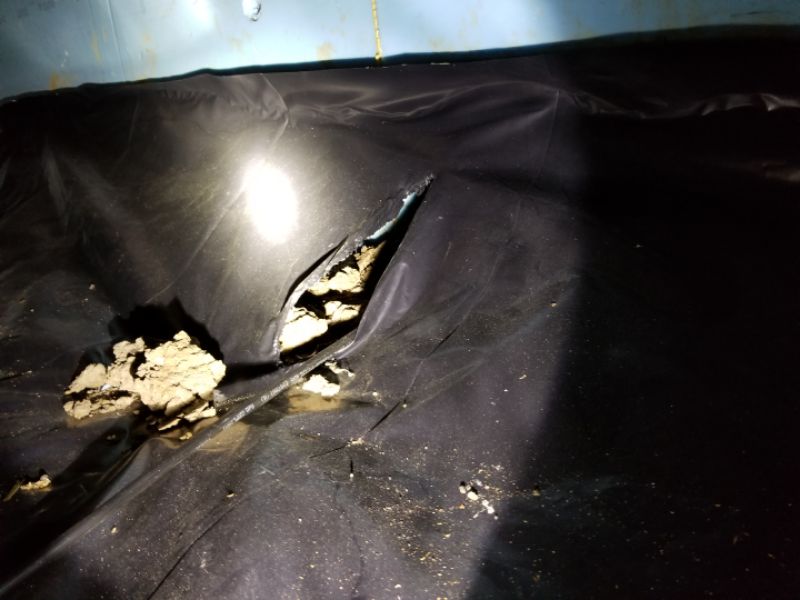
The attic insulation is installed backwards with the vapor retarder exposed. The vapor barrier is required to be installed against the conditioned side of the ceiling to prevent the trapping of moisture. This is also a safety hazard. Reinstall or replace the insulation.
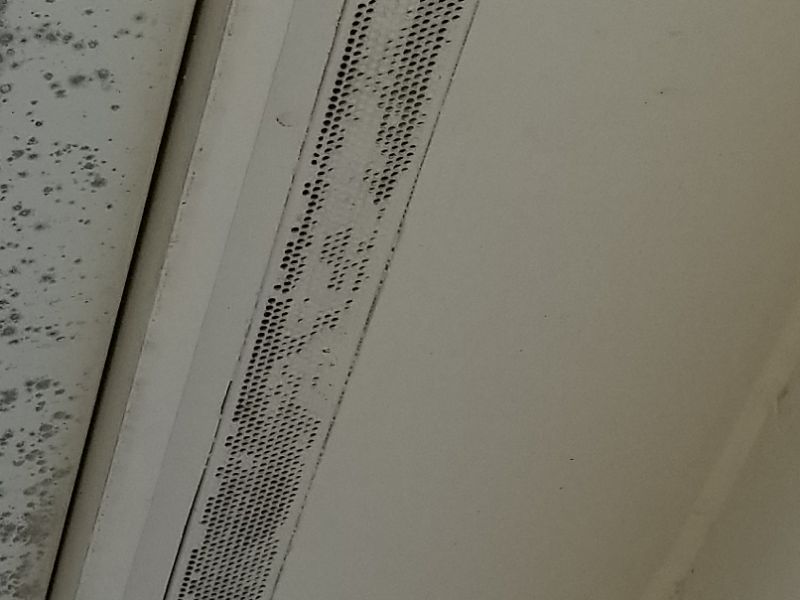
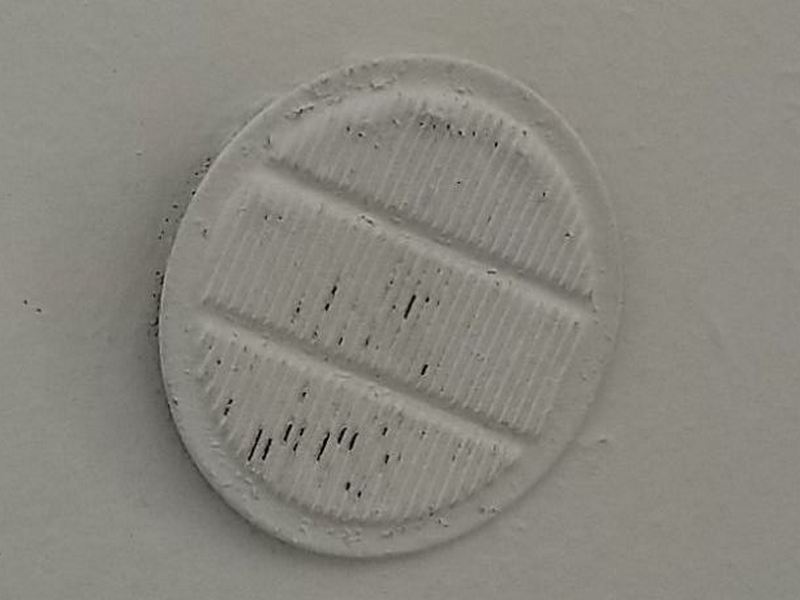
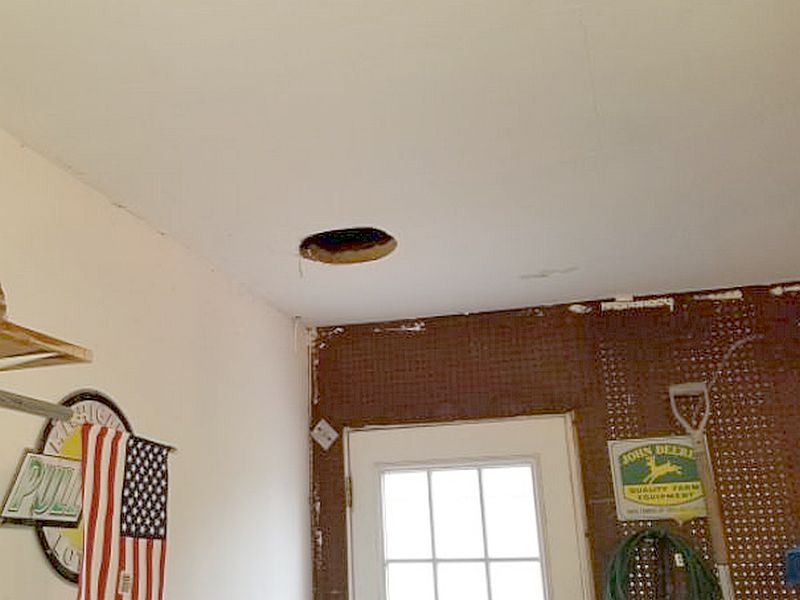
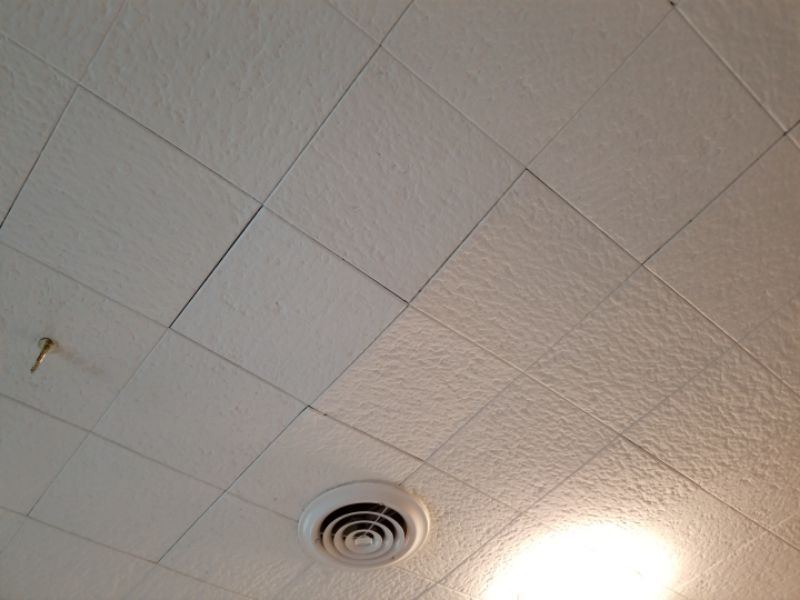
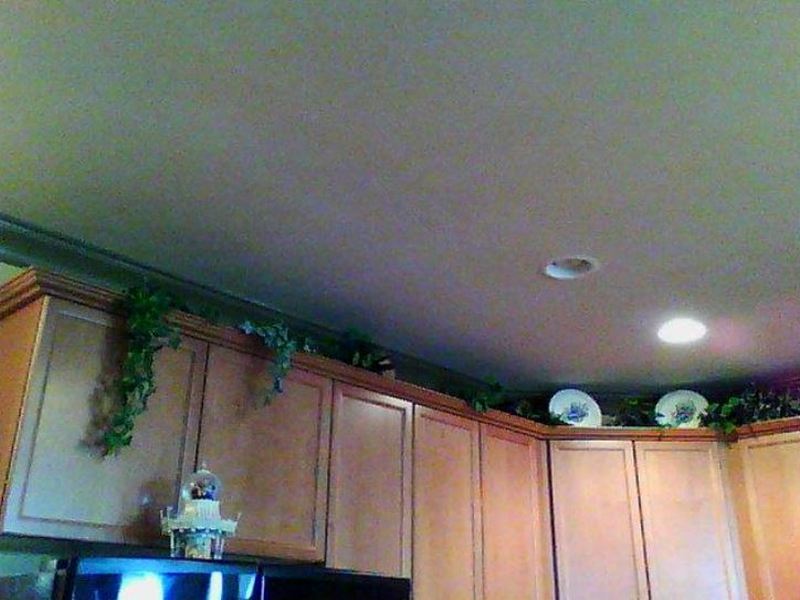
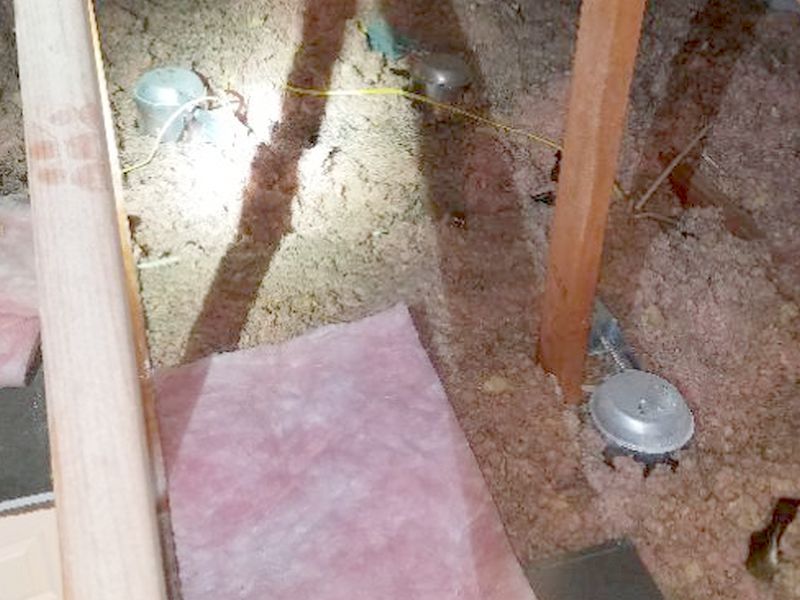
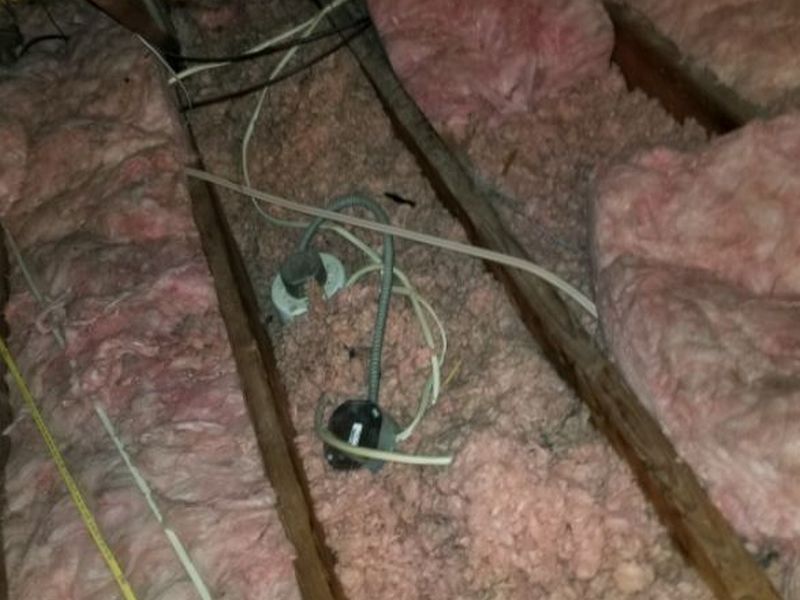
The insulation is adjacent to the recessed lighting fixtures. Unless the fixtures are of a newer design which permit contact with insulation, this is a fire hazard. Remove the insulation from the light fixtures.
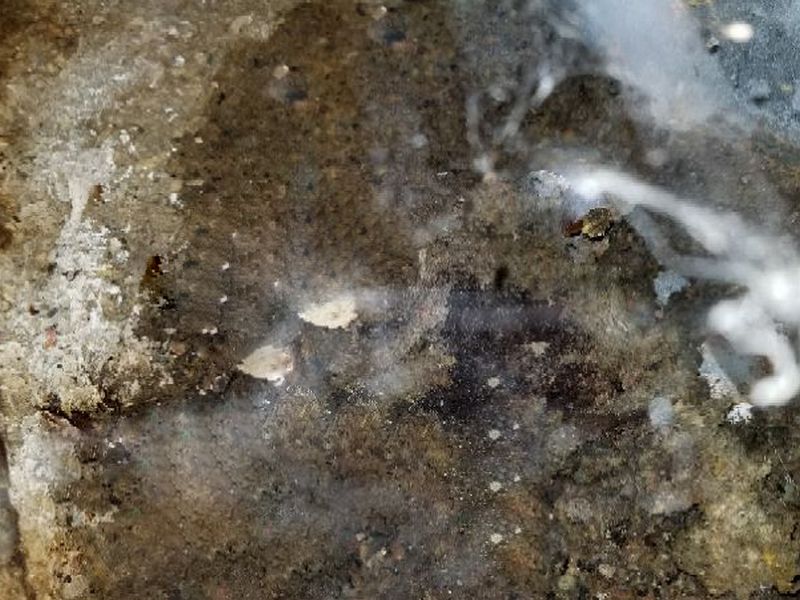
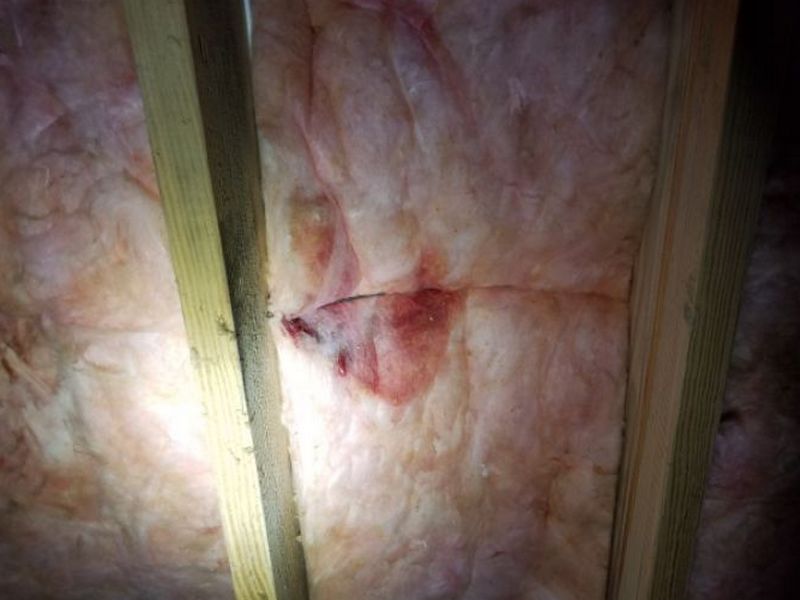
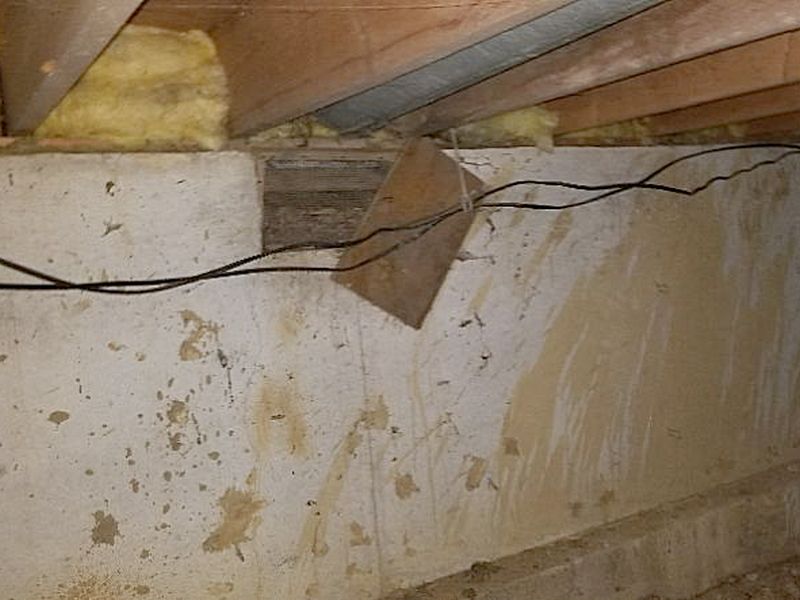
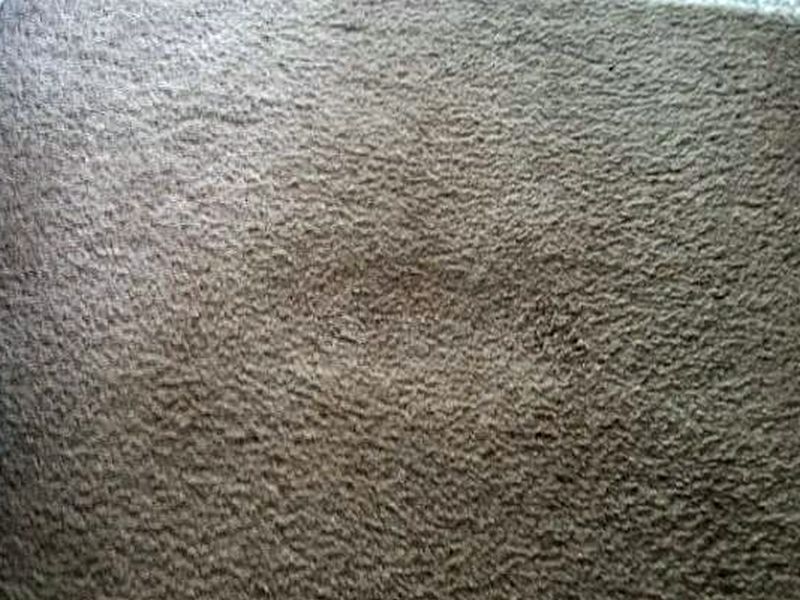
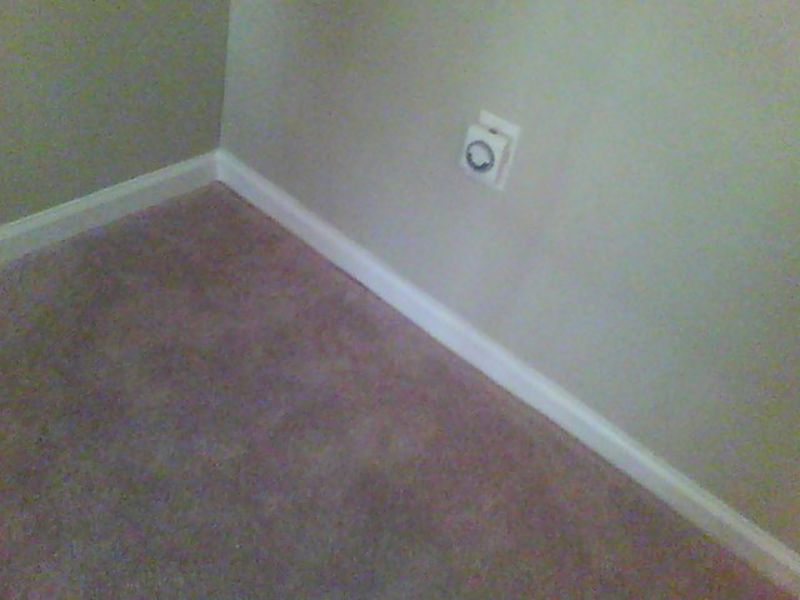
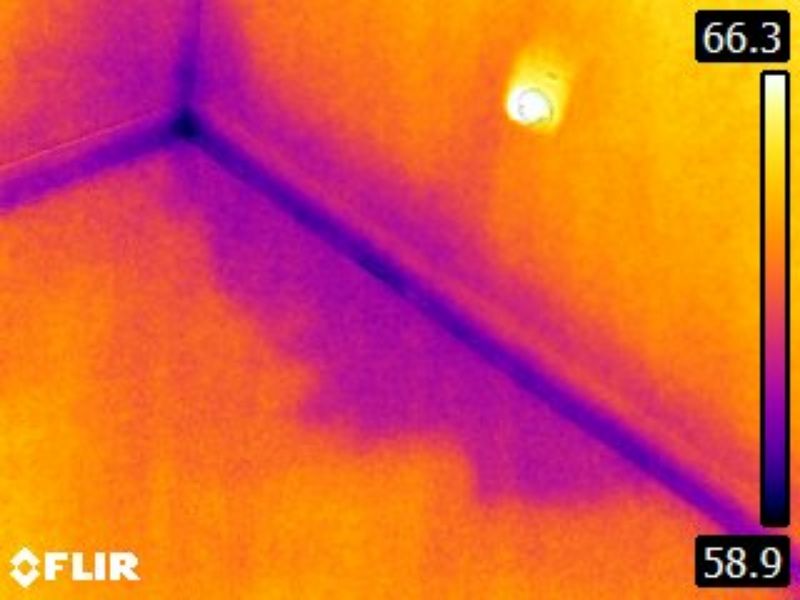
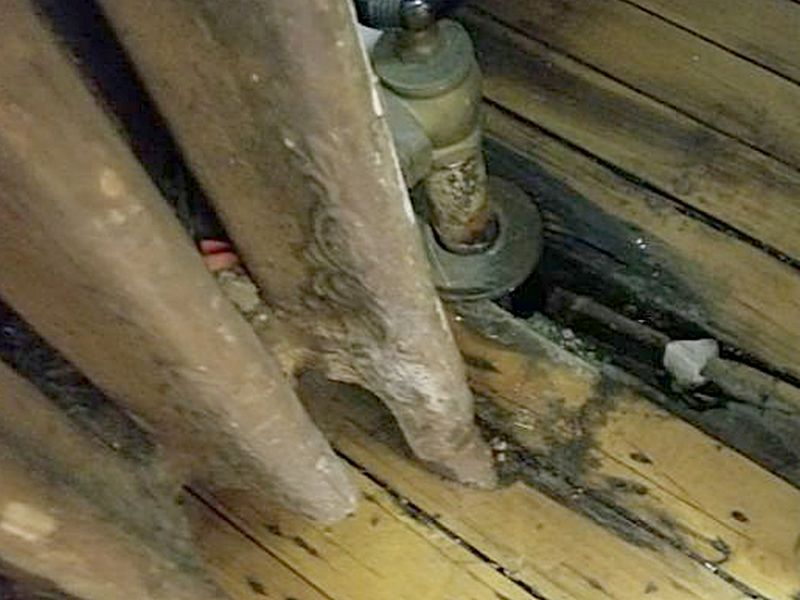
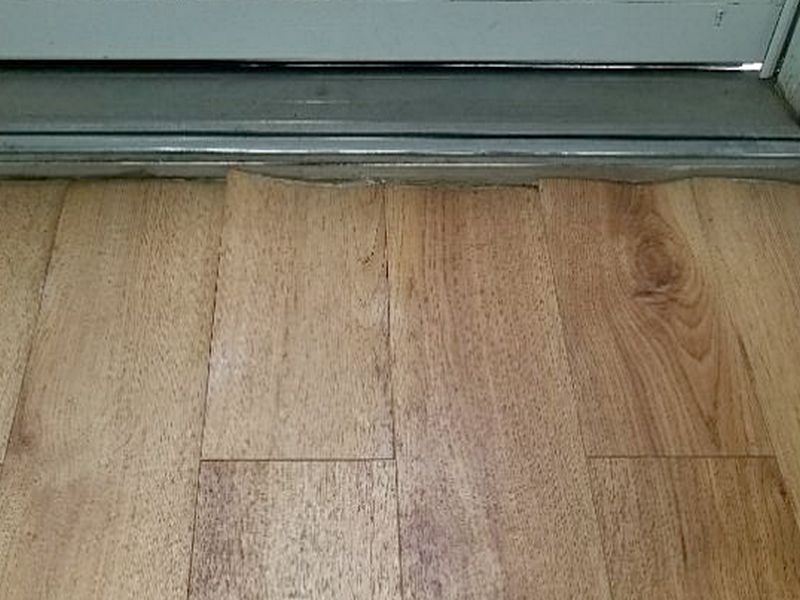
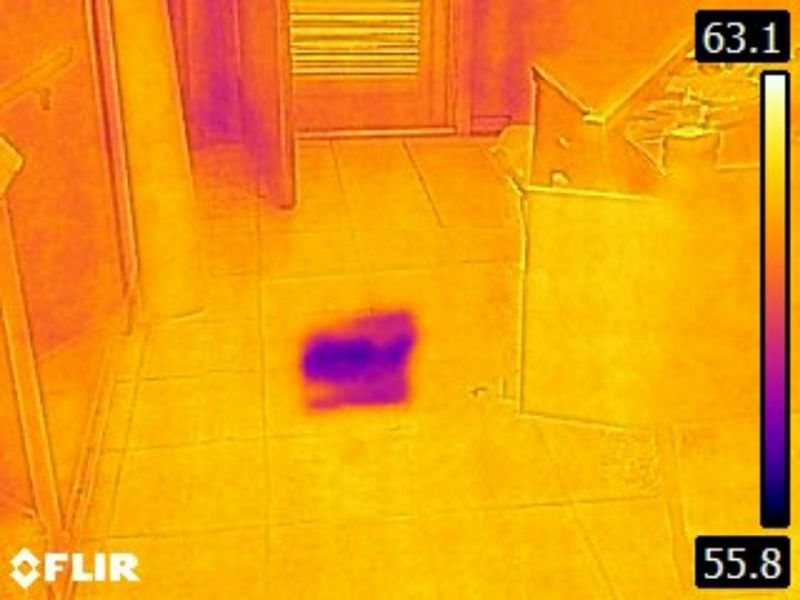
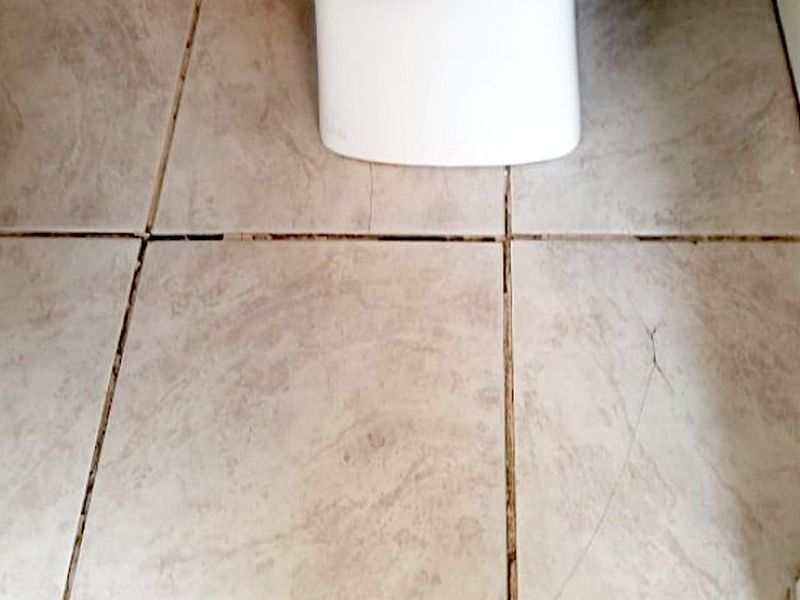
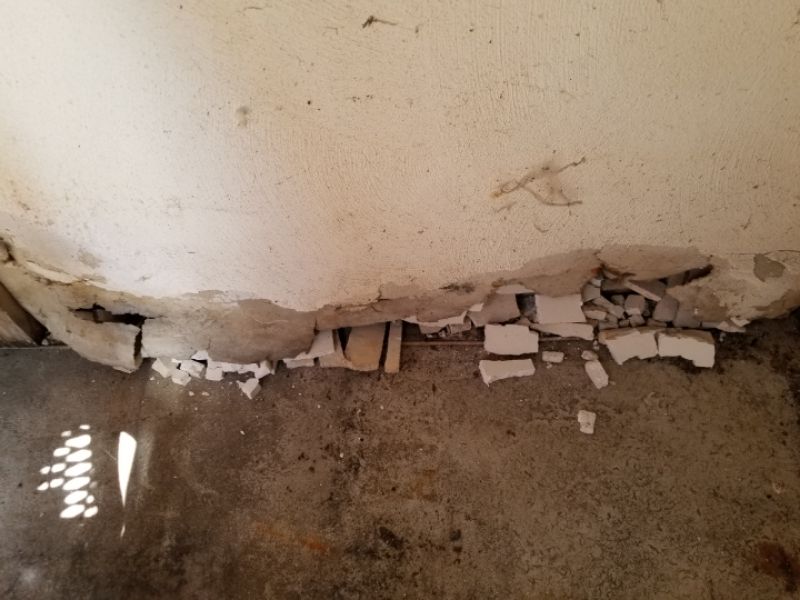
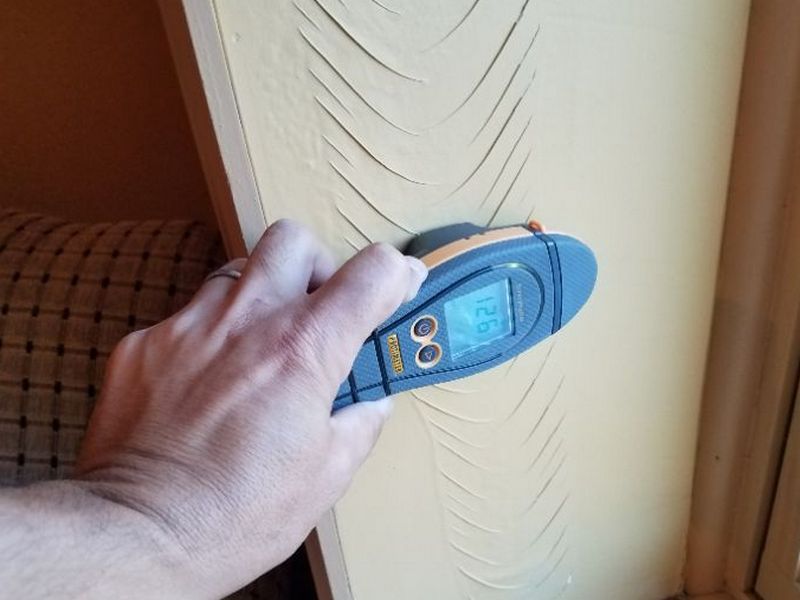
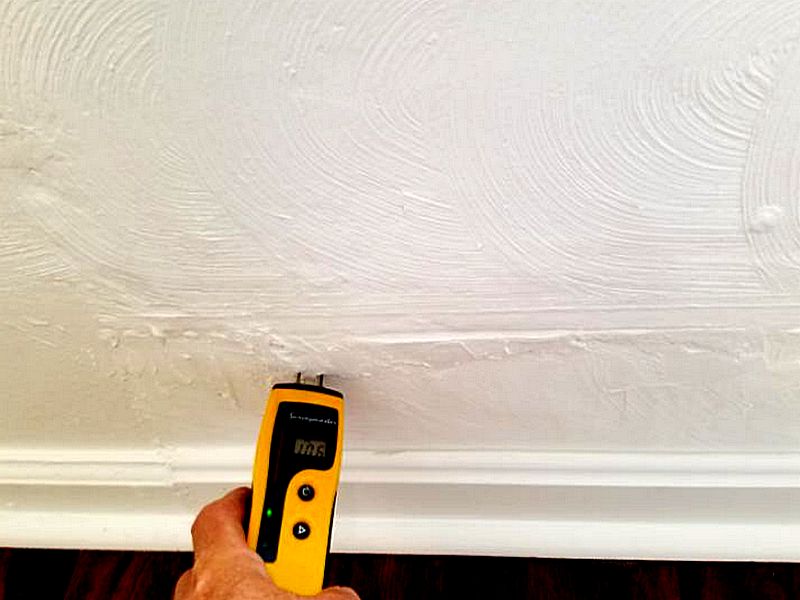
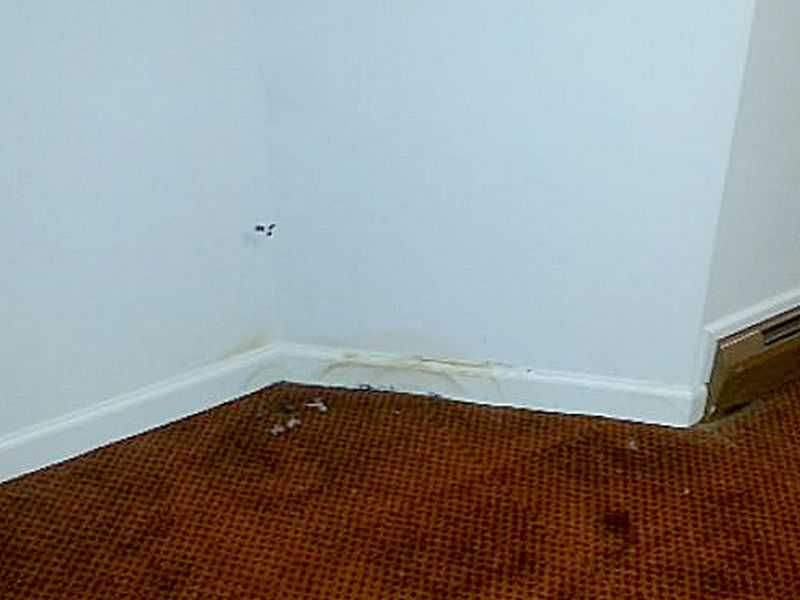
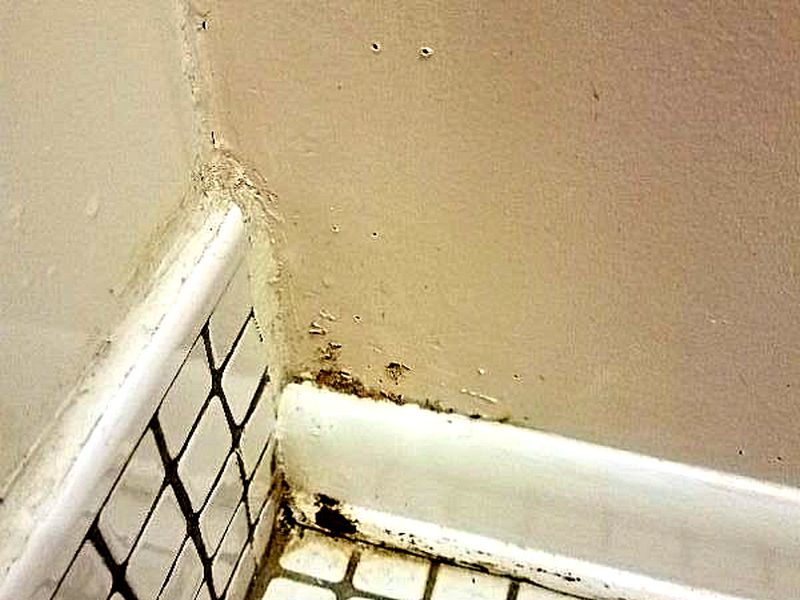
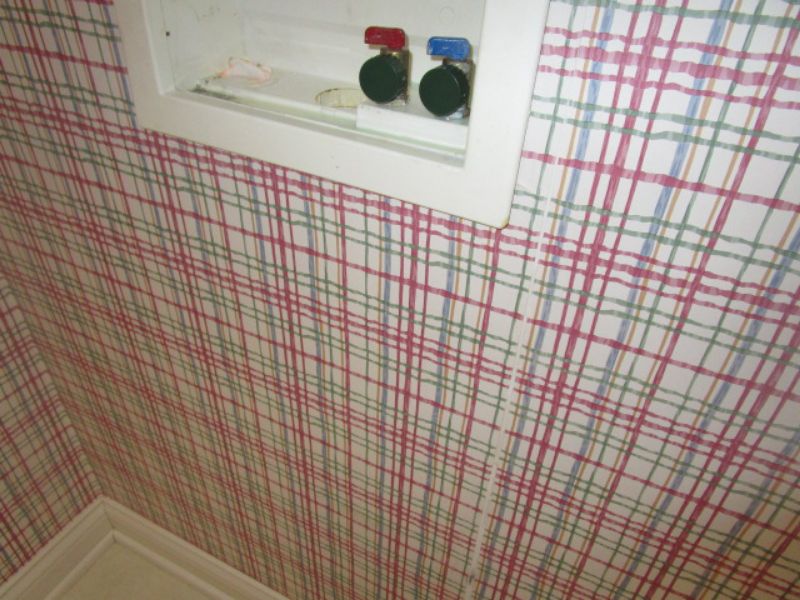
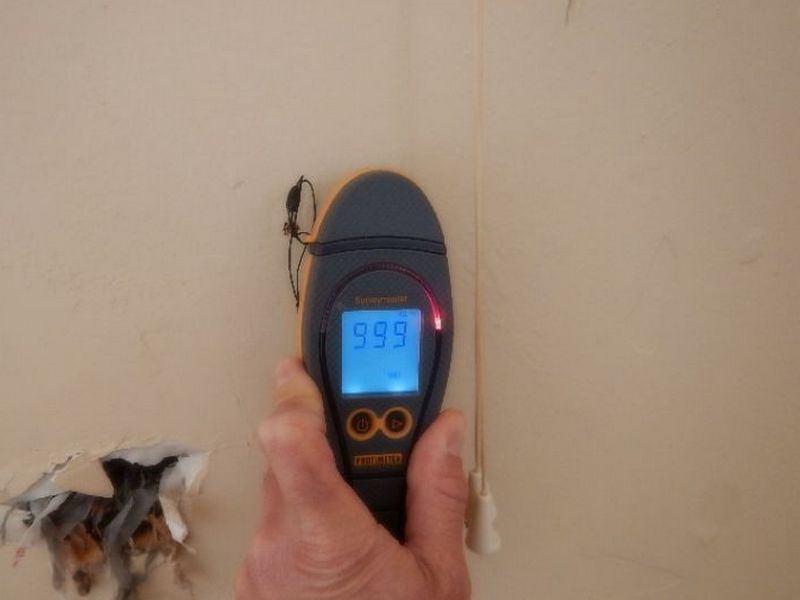
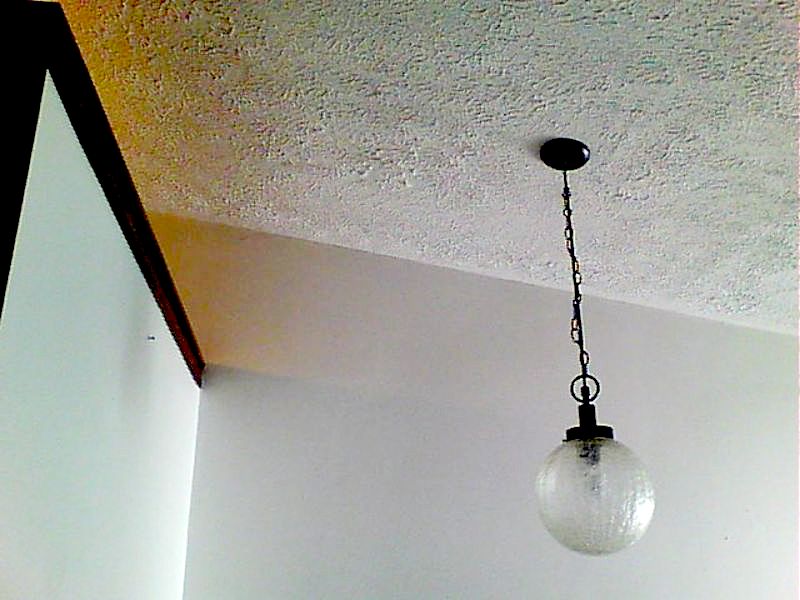
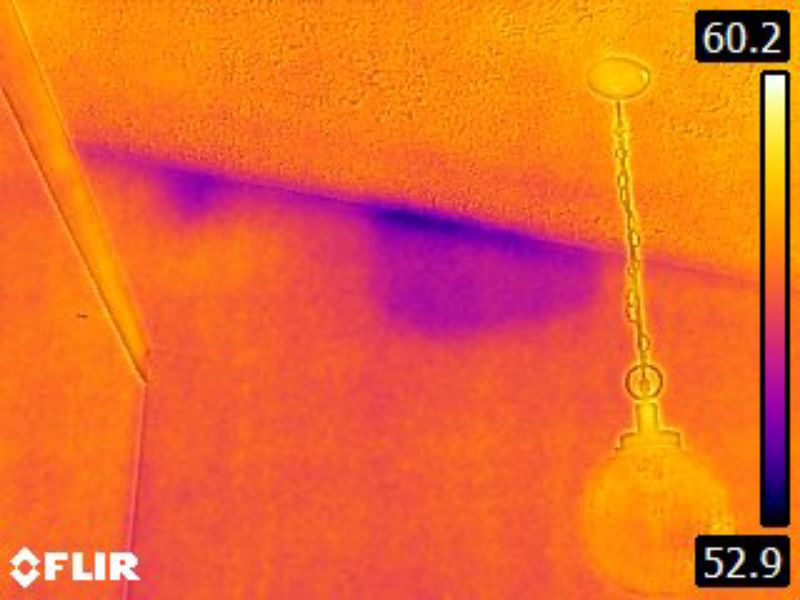
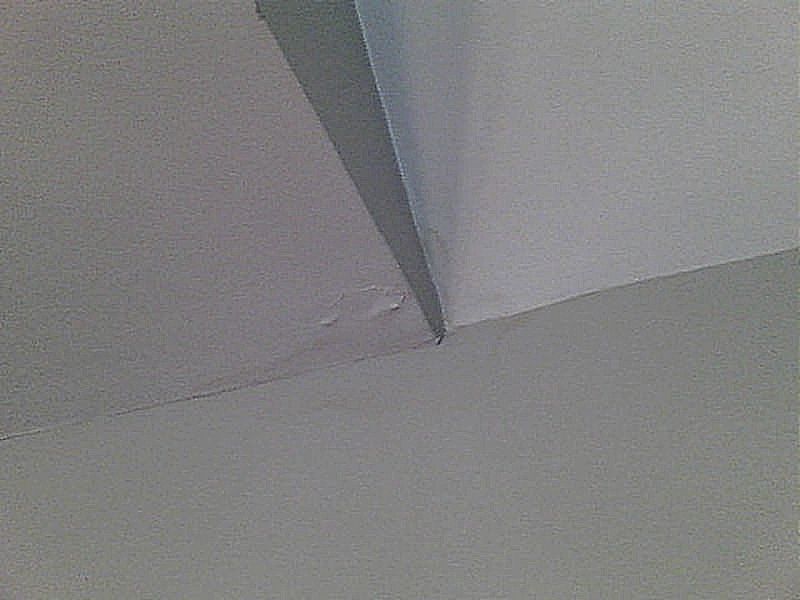
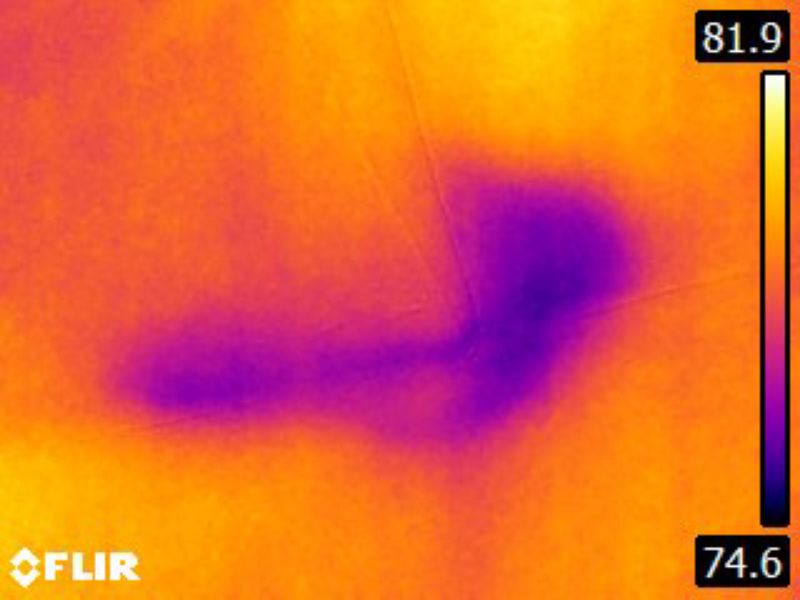
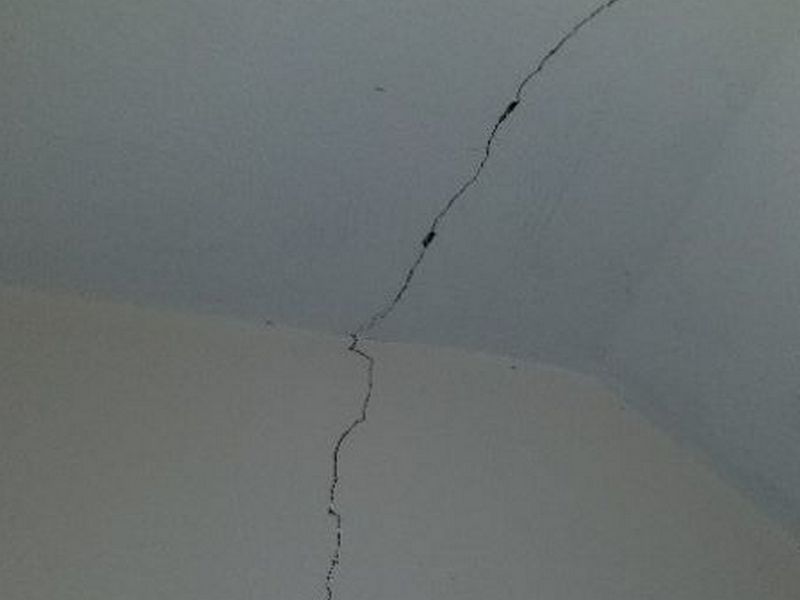
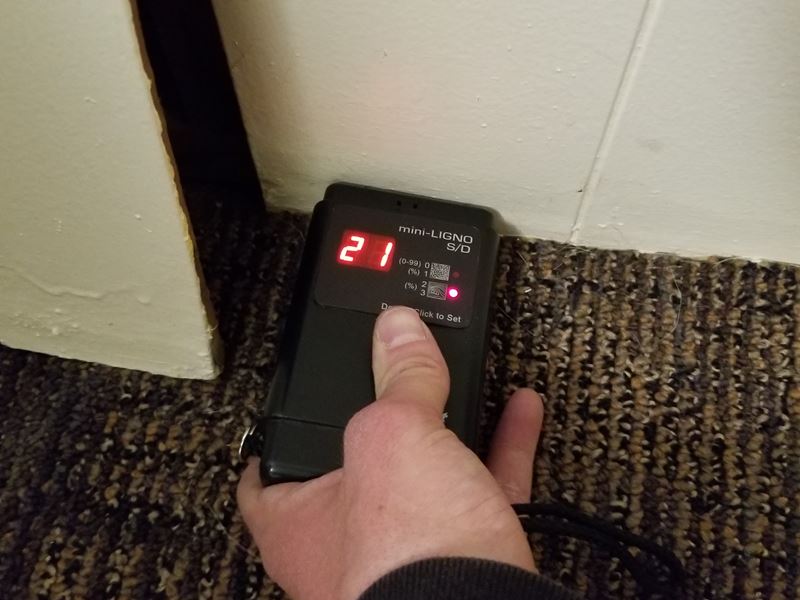
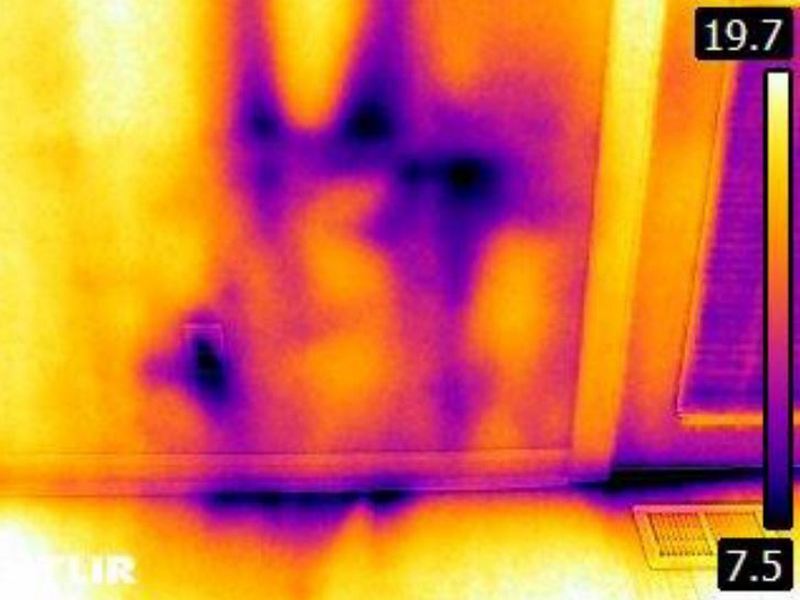
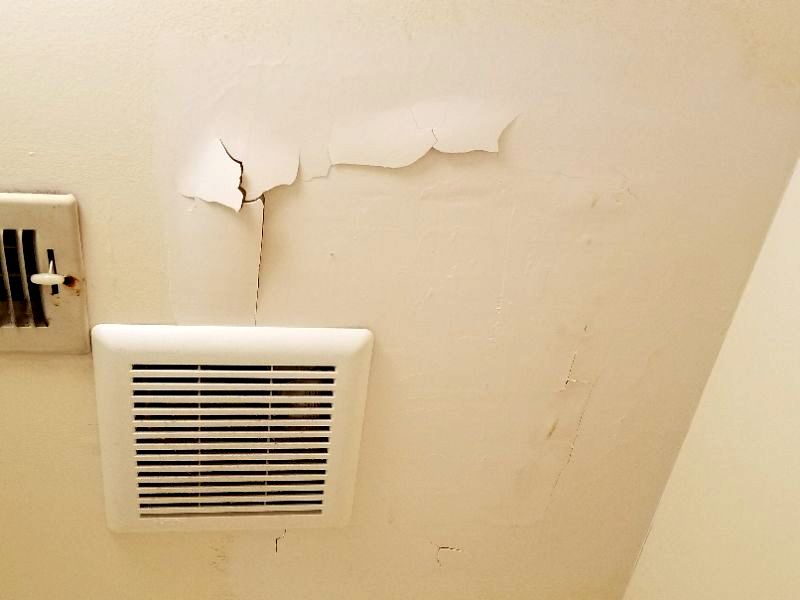
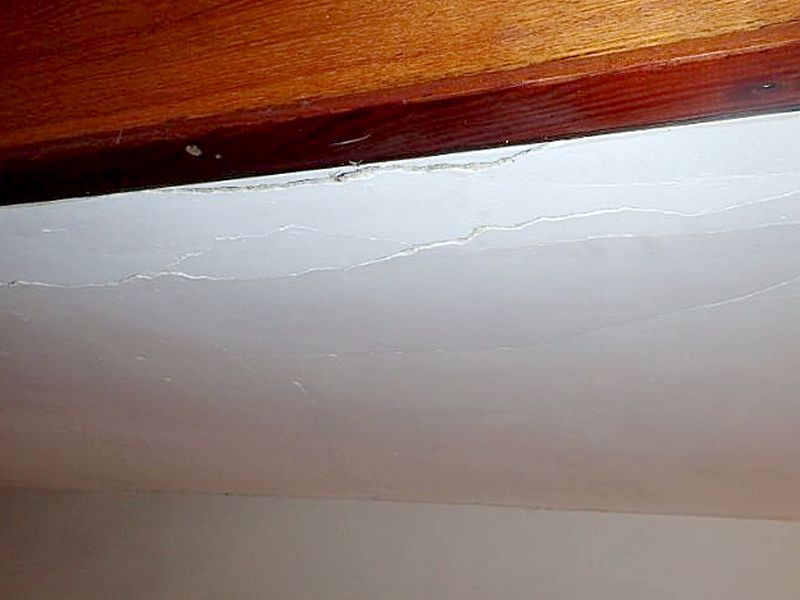
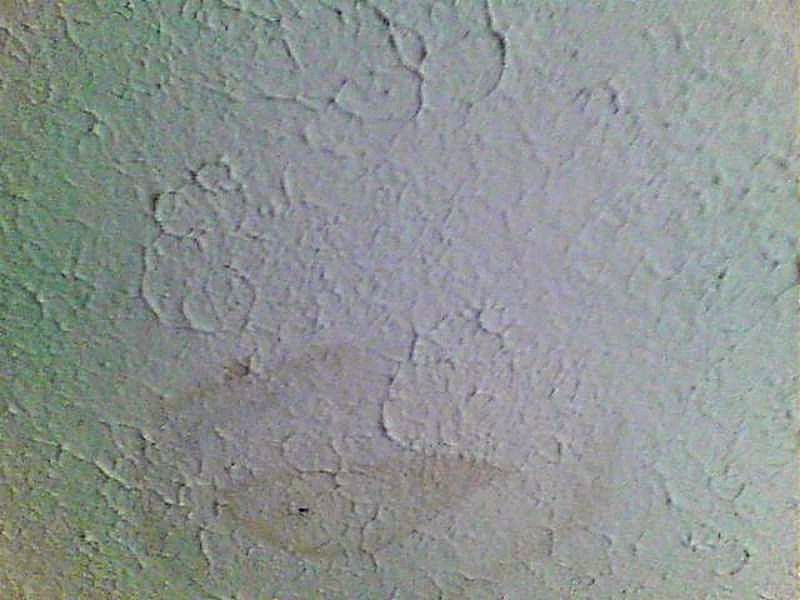
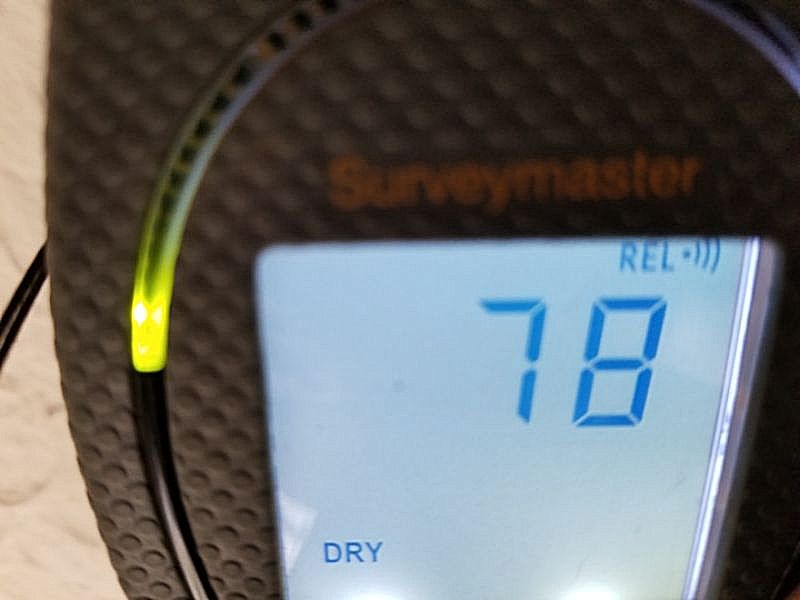
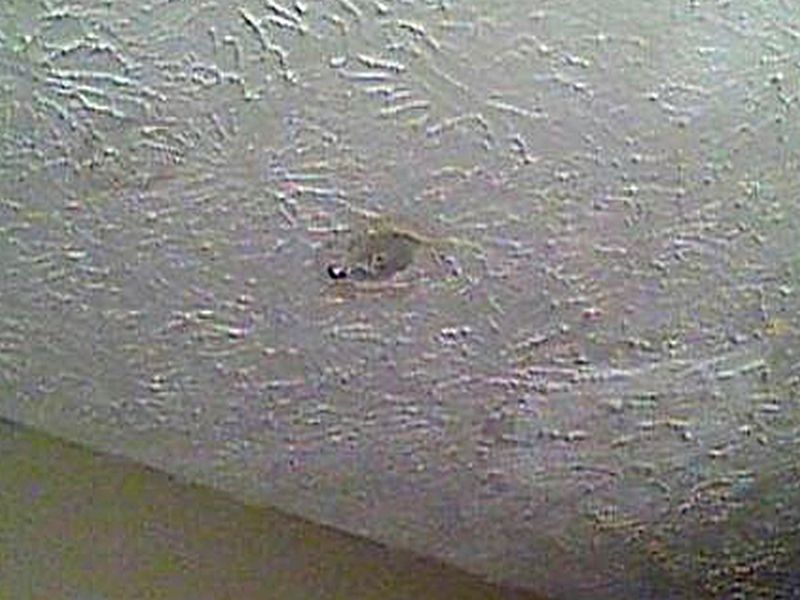
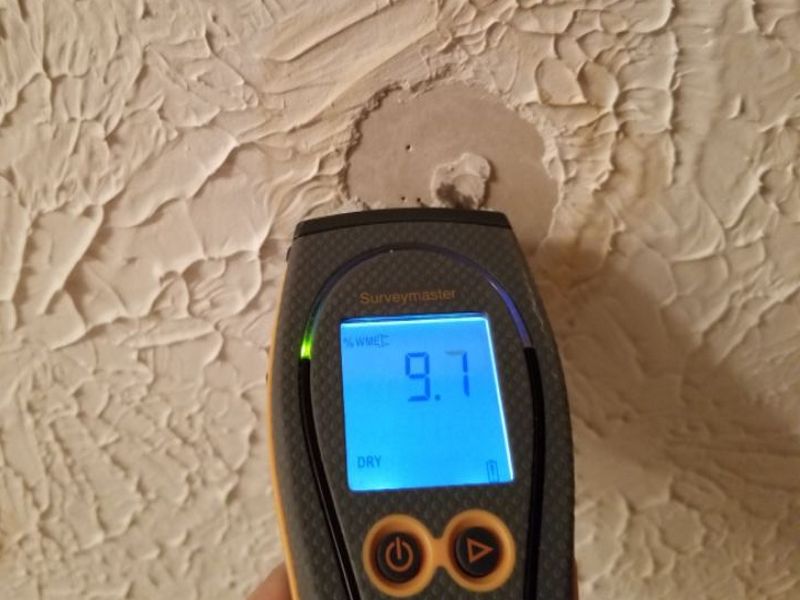
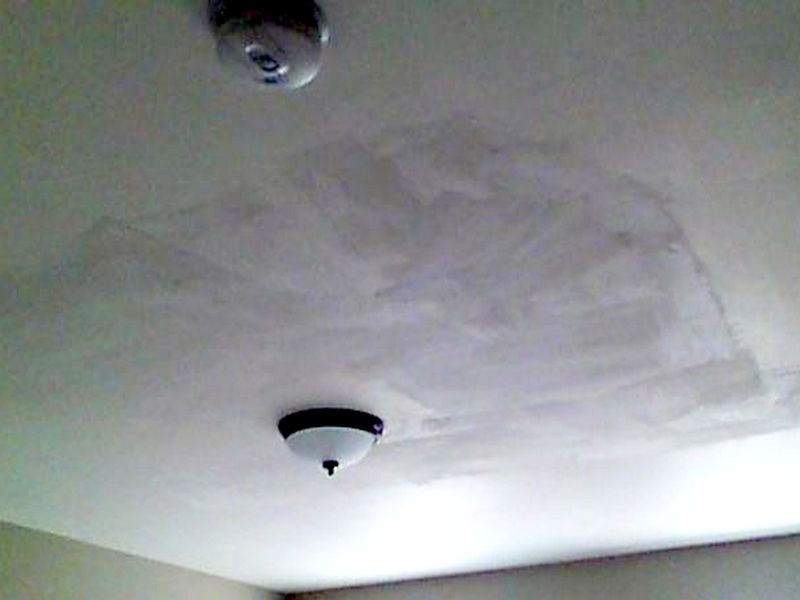
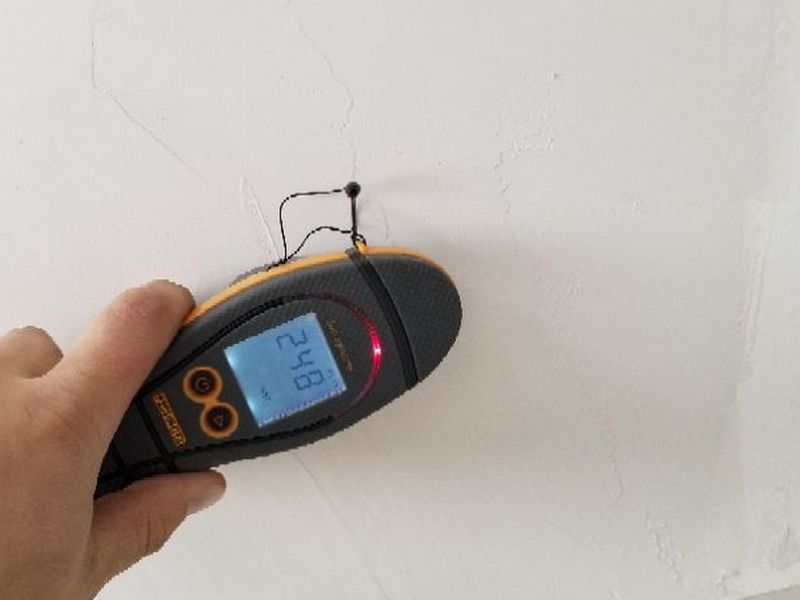
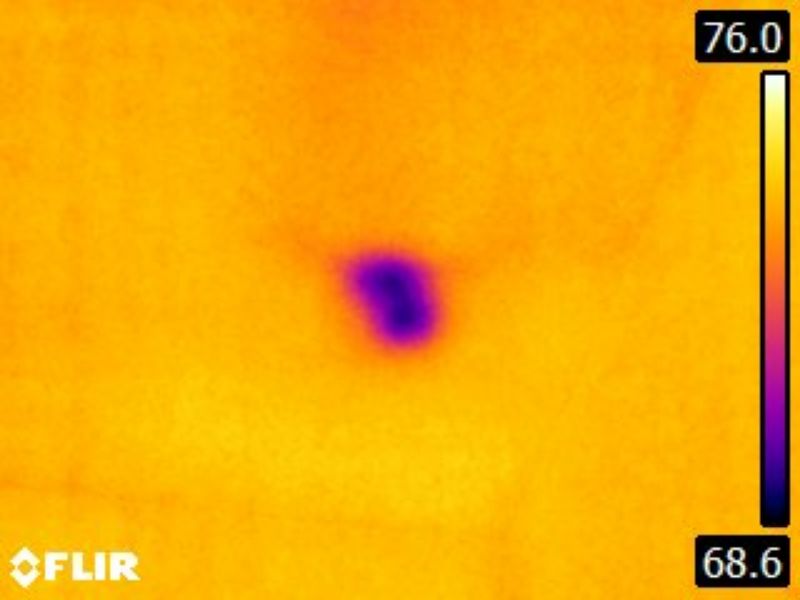
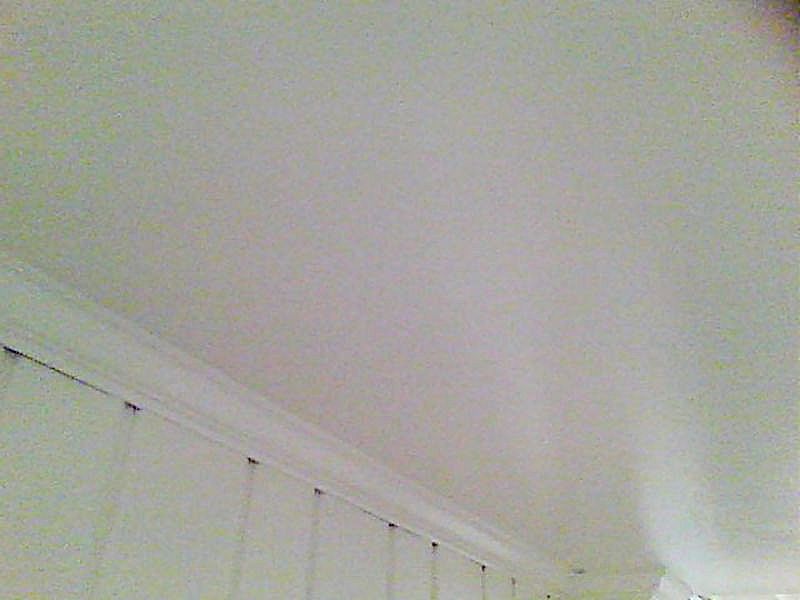
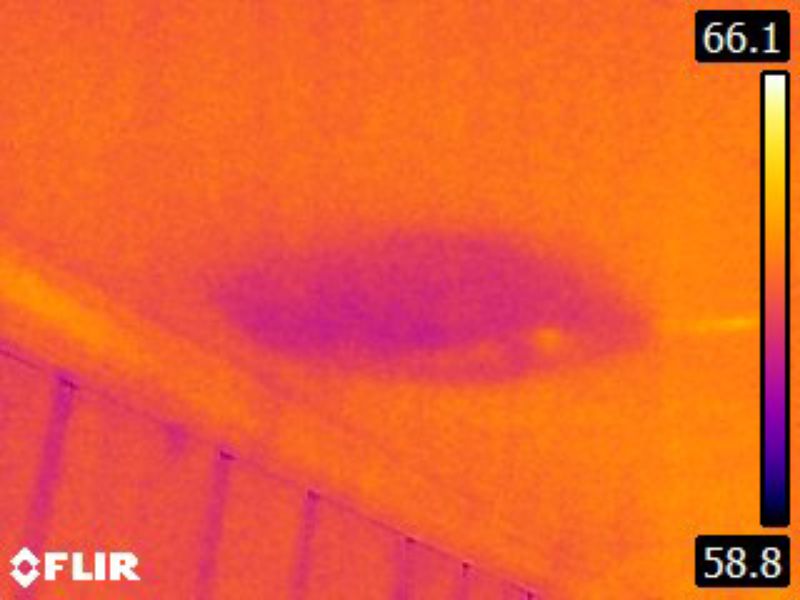
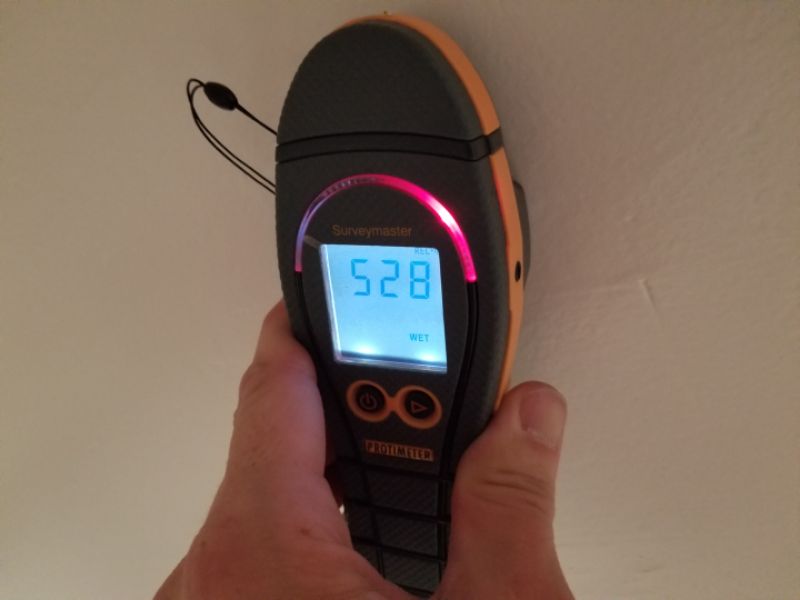
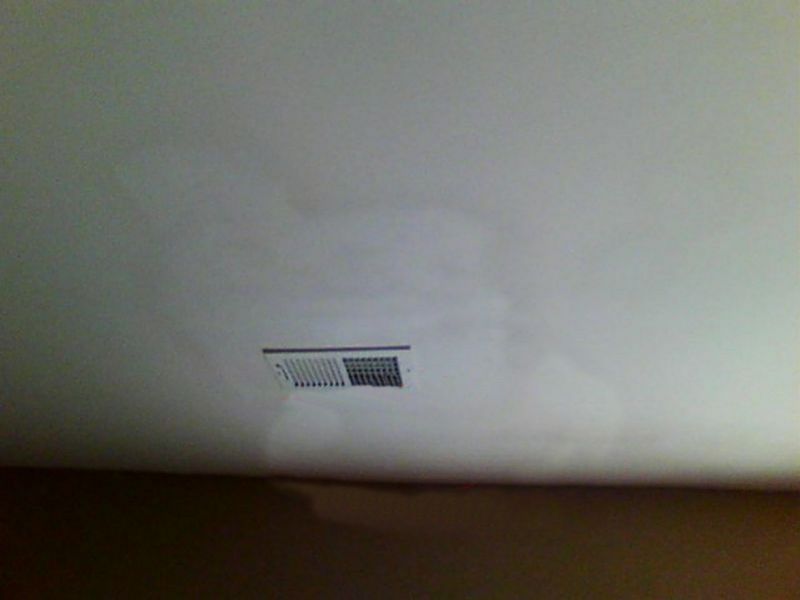
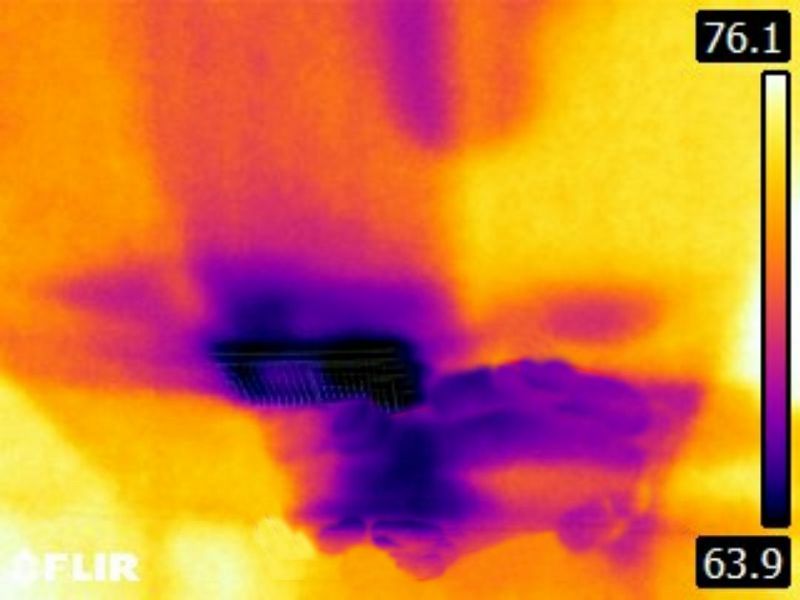
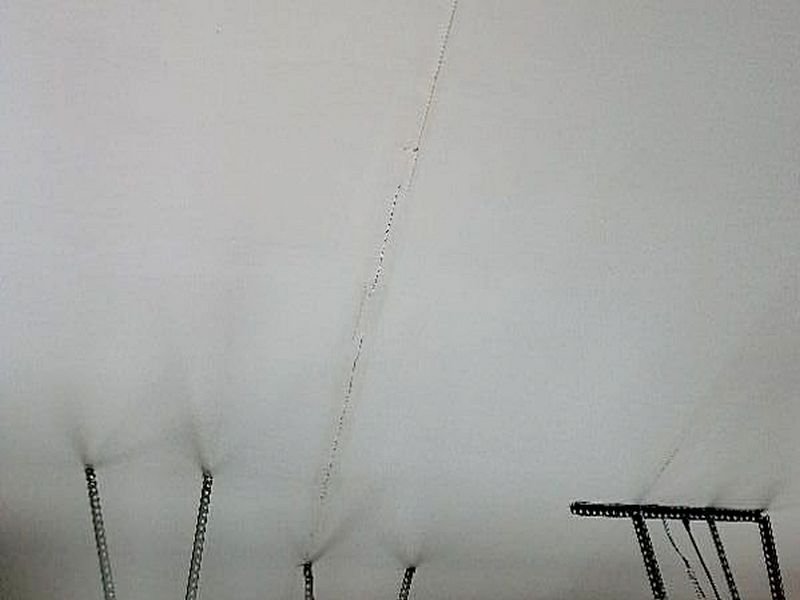
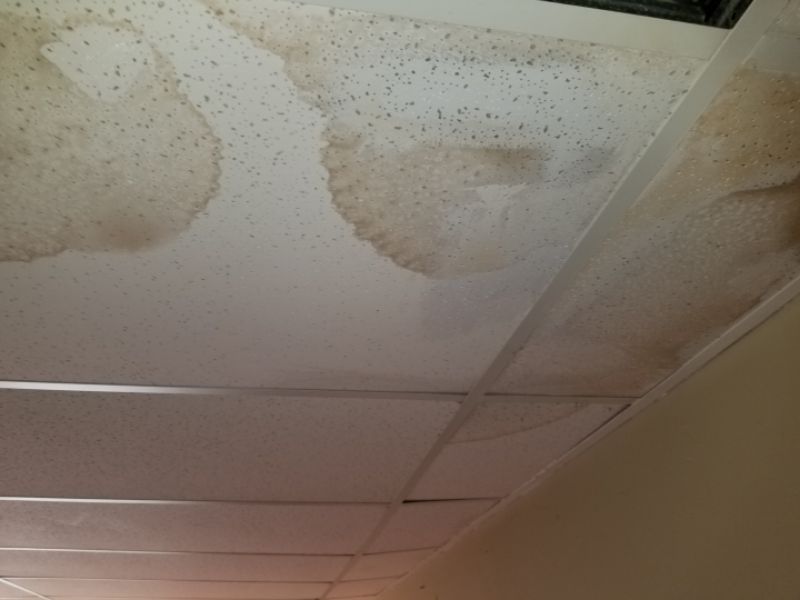
There are water stains on the attic insulation. The insulation is dry at the time of the inspection. Identify sources of moisture and mitigate any water penetration.
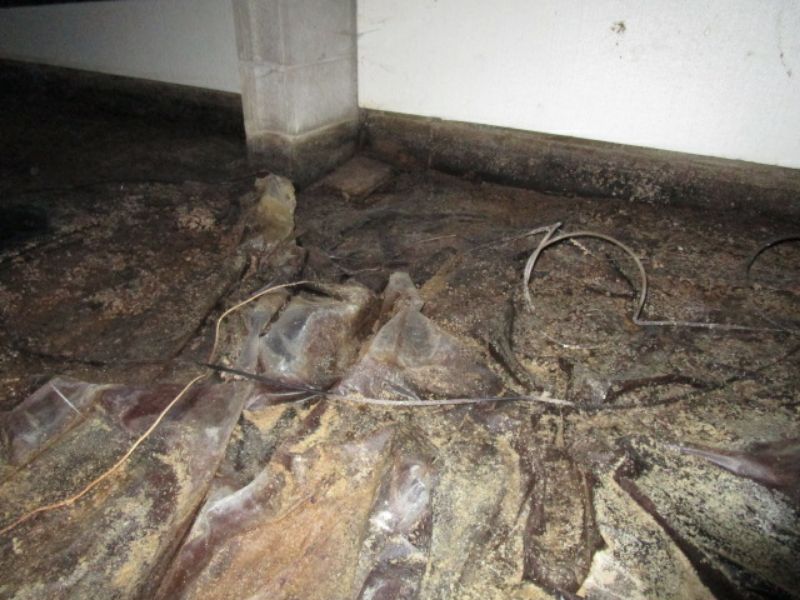
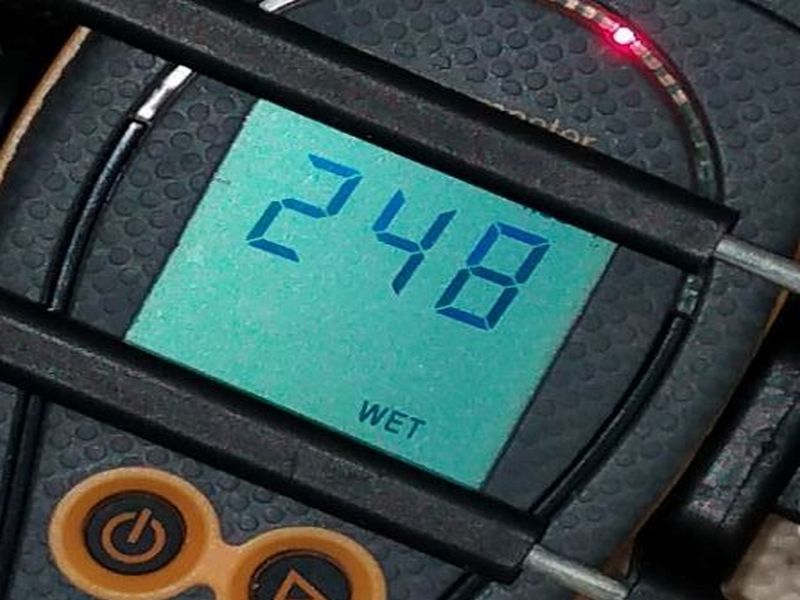
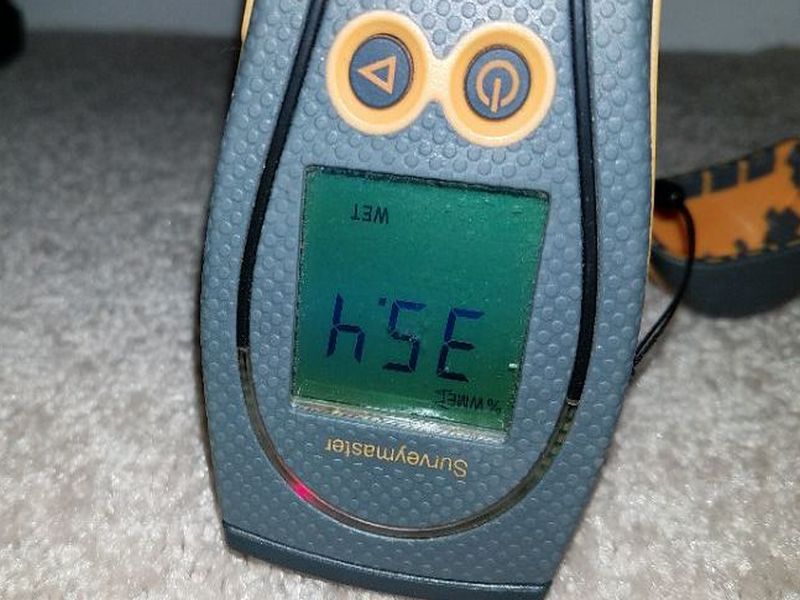
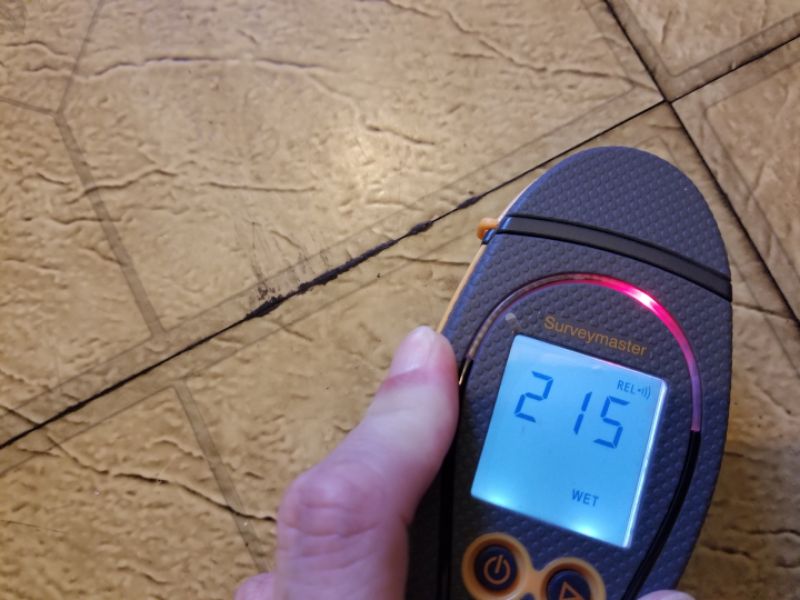
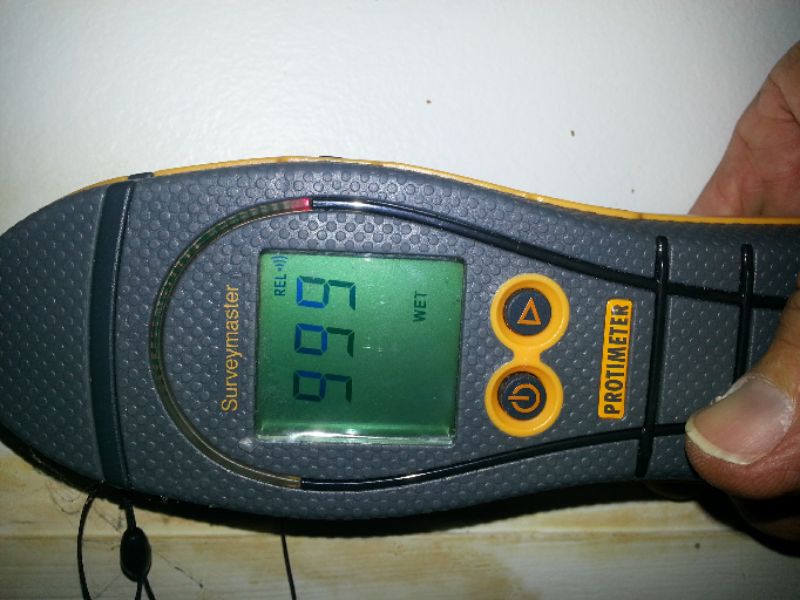
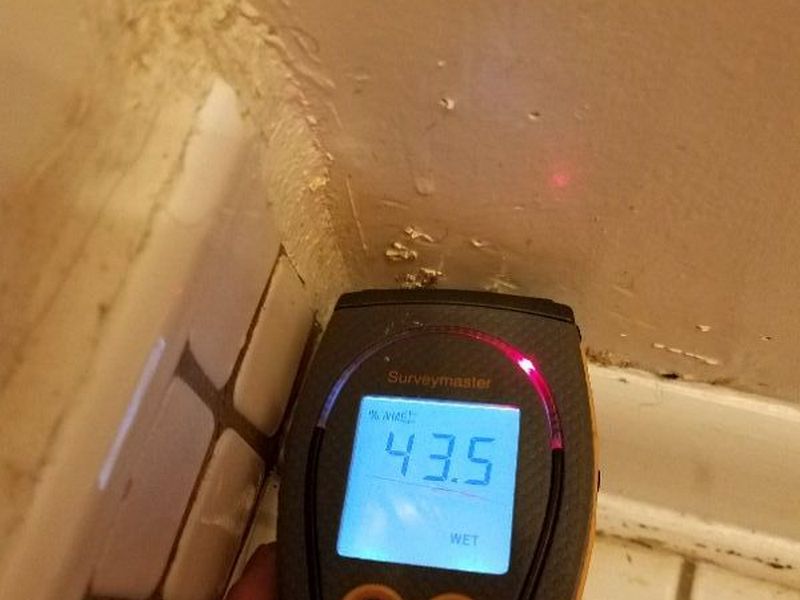
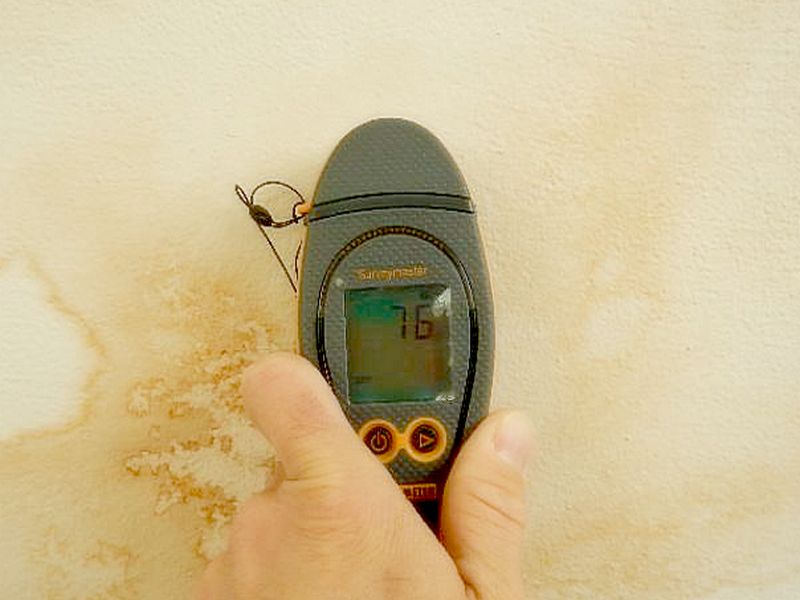
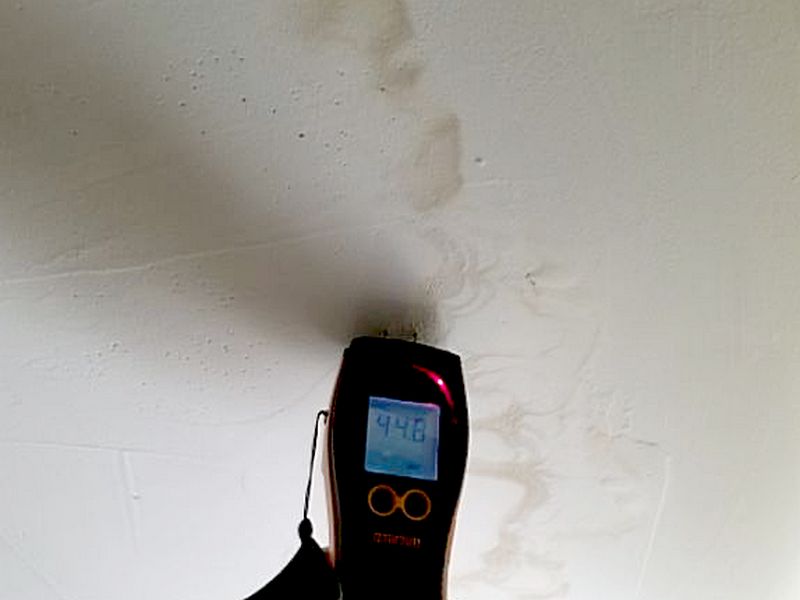
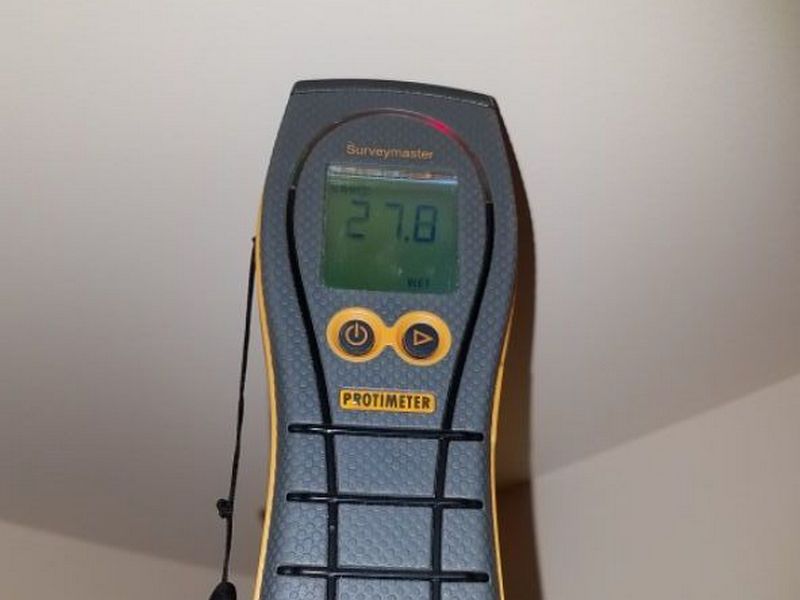
There are water stains on the attic insulation. The insulation is wet at the time of the inspection. The cause of the water must be identified. Identify sources of moisture and mitigate any water penetration. Replace the insulation as needed.